Push Notification Setup for TRIFFT White-Label Apps via Bloomreach
This guide explains how to enable push notifications for TRIFFT white-label mobile apps on iOS and Android using Bloomreach’s integration with Apple Push Notification Service (APNs).
Prerequisites
Before configuring the integration, ensure the following:
-
Your white-label mobile app is provisioned and distributed by TRIFFT.
-
The app includes the Bloomreach Mobile SDK.
-
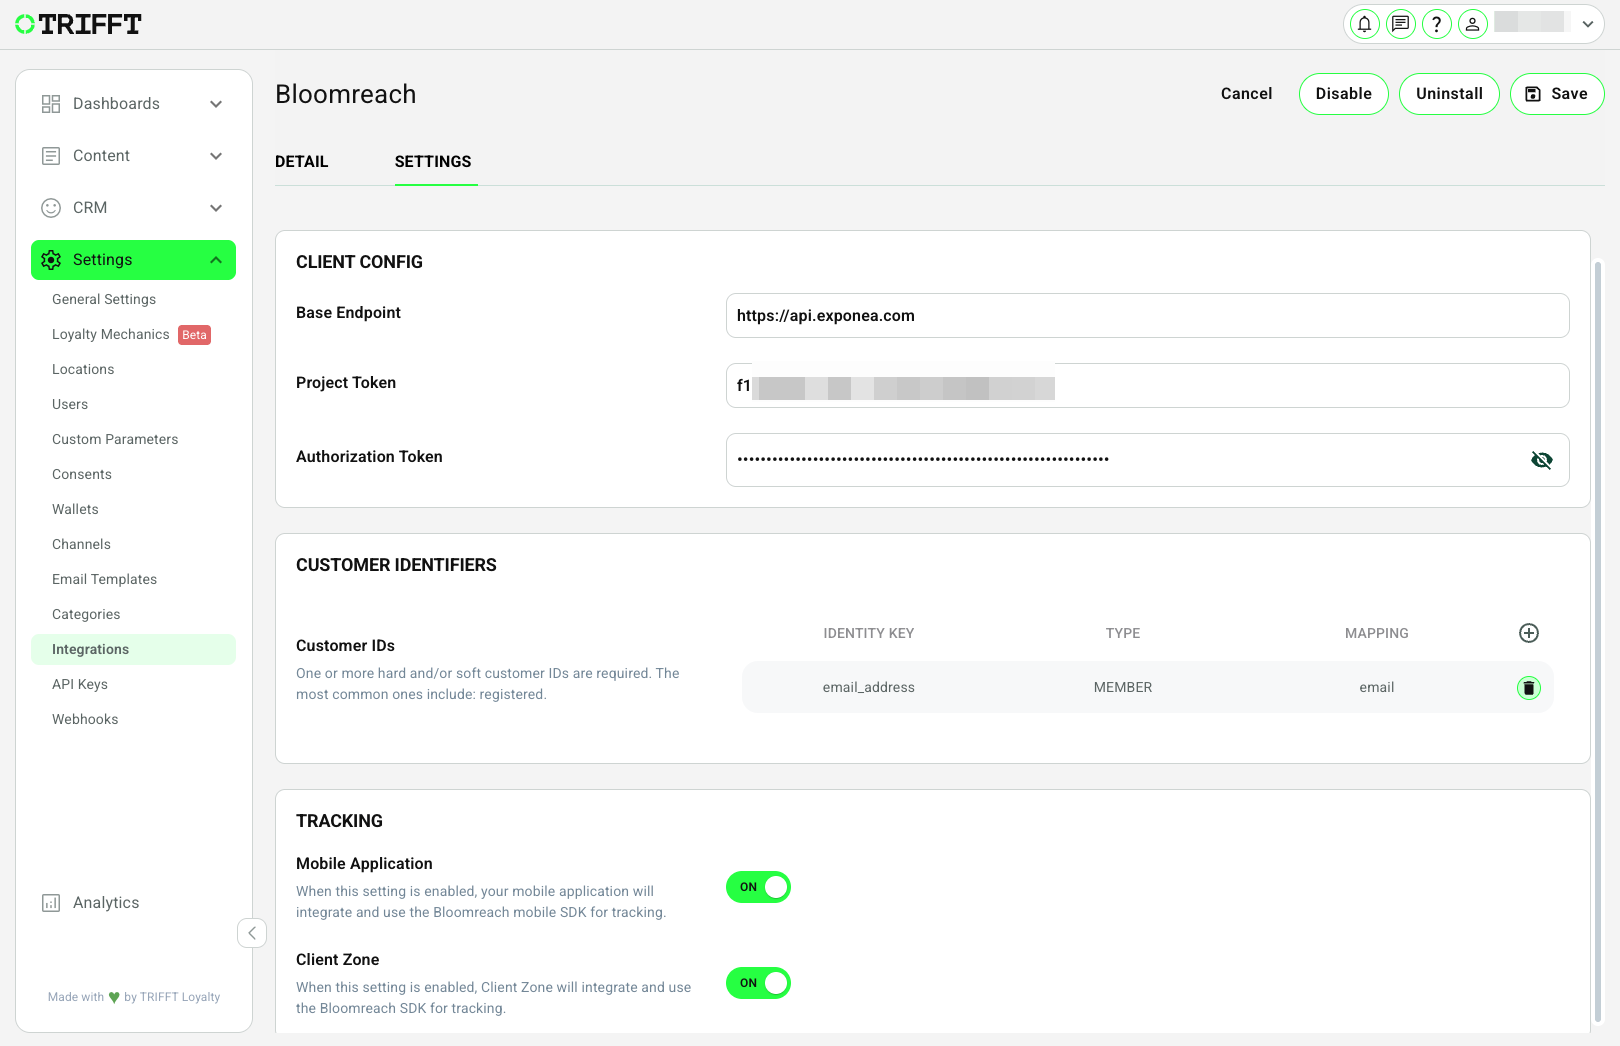
In your TRIFFT Content Cockpit under Integrations → Bloomreach, make sure:
- The Bloomreach integration is enabled
- The base endpoint, project token, and authorization token are properly configured
Step-by-Step Integration with Apple Push Notification Service
Step 1: Open Bloomreach Push Integration Settings
Navigate to: Data & Assets → Integrations → Add New Integration → Apple Push Notification Service
Open the Apple Push Notification Service integration editor.
Step 2: Fill Out Required APNs Credentials
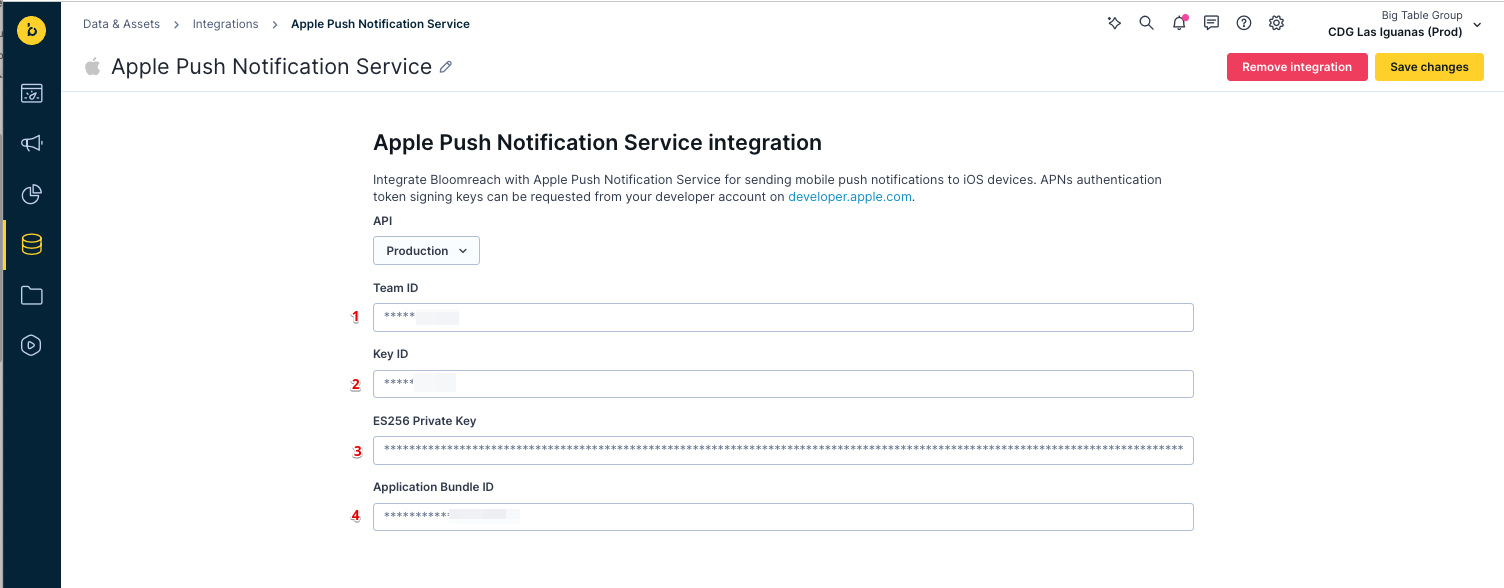
Format for Private Key
The private key must include the full block in this exact format:-----BEGIN PRIVATE KEY----- [KEY CONTENT HERE] -----END PRIVATE KEY-----
Example values:
Important Notes: • TRIFFT provides all the required IDs • The Key ID and Private Key must be generated separately for each individual mobile app (or at minimum for your company projects) https://developer.apple.com/account/resources/authkeys/list. • After downloading the .p8 key file, open it in a text editor to copy and paste the full content, including headers.
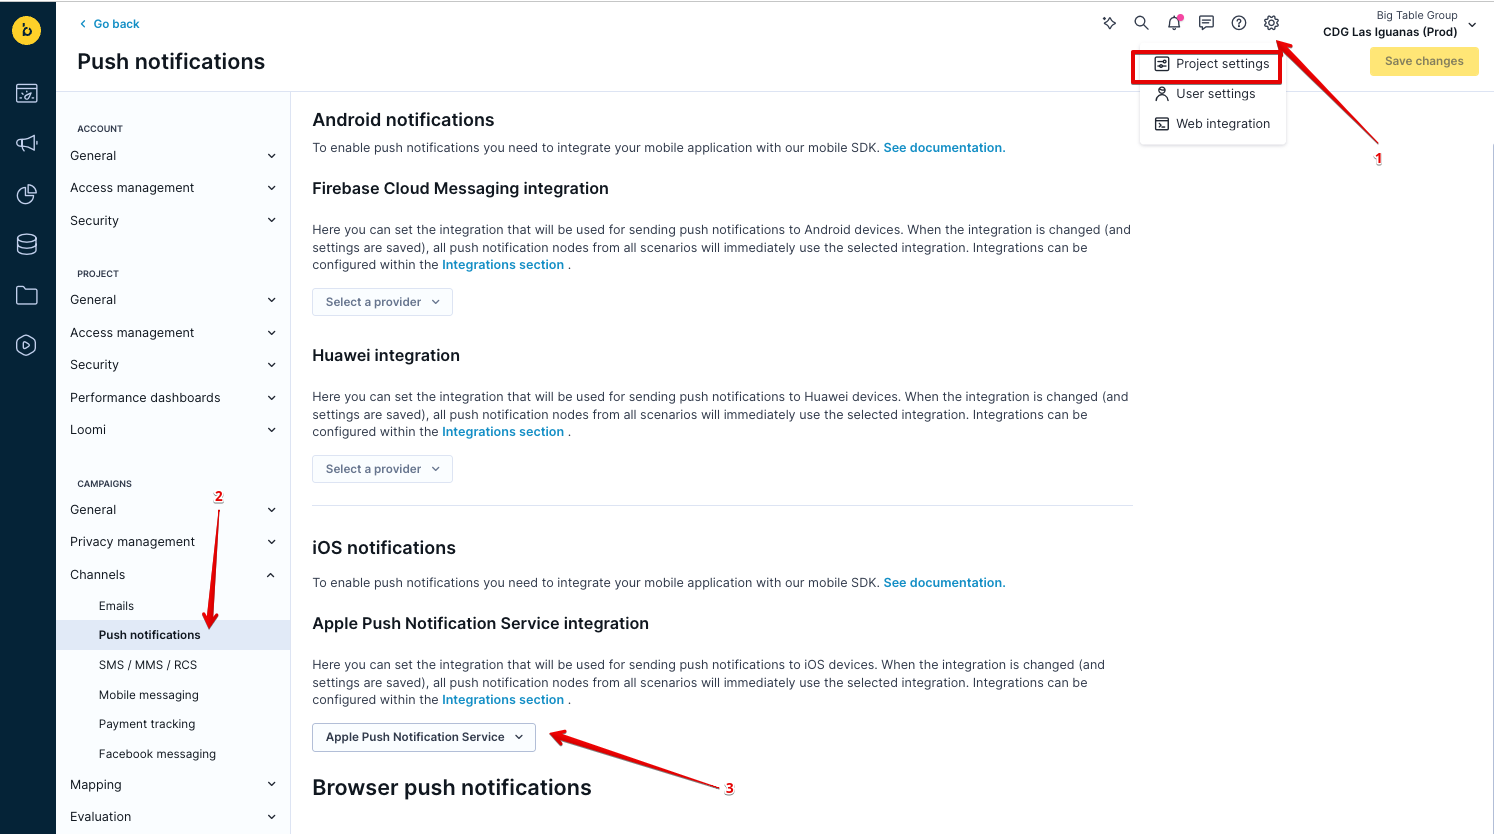
Step 3: Assign the Integration to iOS Notifications
Go to: Settings → Project settings → Channels → Push notifications
Under iOS notifications, select the following: Apple Push Notification Service → Apple Push Notification Service
Click Save changes.
How to Obtain Apple Credentials
These credentials are generated via your Apple Developer account:
- Visit: https://developer.apple.com/account/resources/authkeys/list
- Click + to create a new APNs key
- Download the .p8 private key and save it securely
- Copy the following:
- Key ID from the confirmation screen
- Team ID from your Apple Developer account profile
- Bundle ID from the app’s identifier under Certificates → Identifiers
Step-by-Step Integration with Firebase Cloud Messaging (Android)
Step 1: Open Bloomreach Push Integration Settings
Navigate to: Data & Assets → Integrations → click on Add New Integration

In the filter, search for Firebase and select Firebase Cloud Messaging.
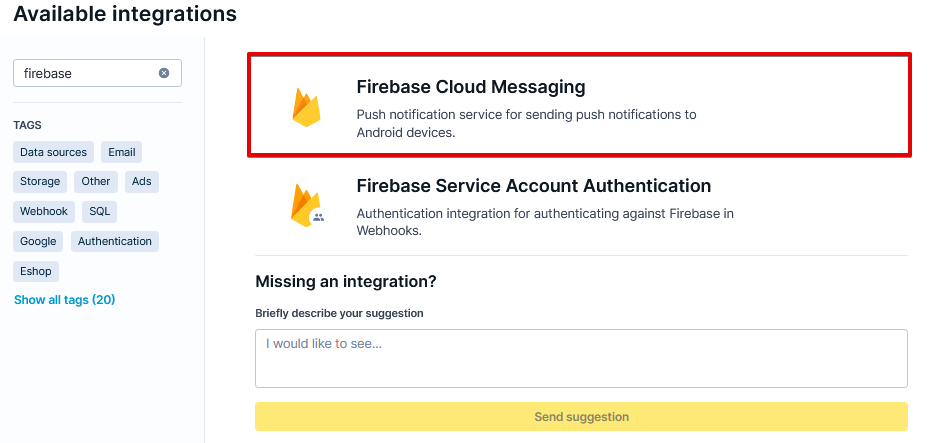
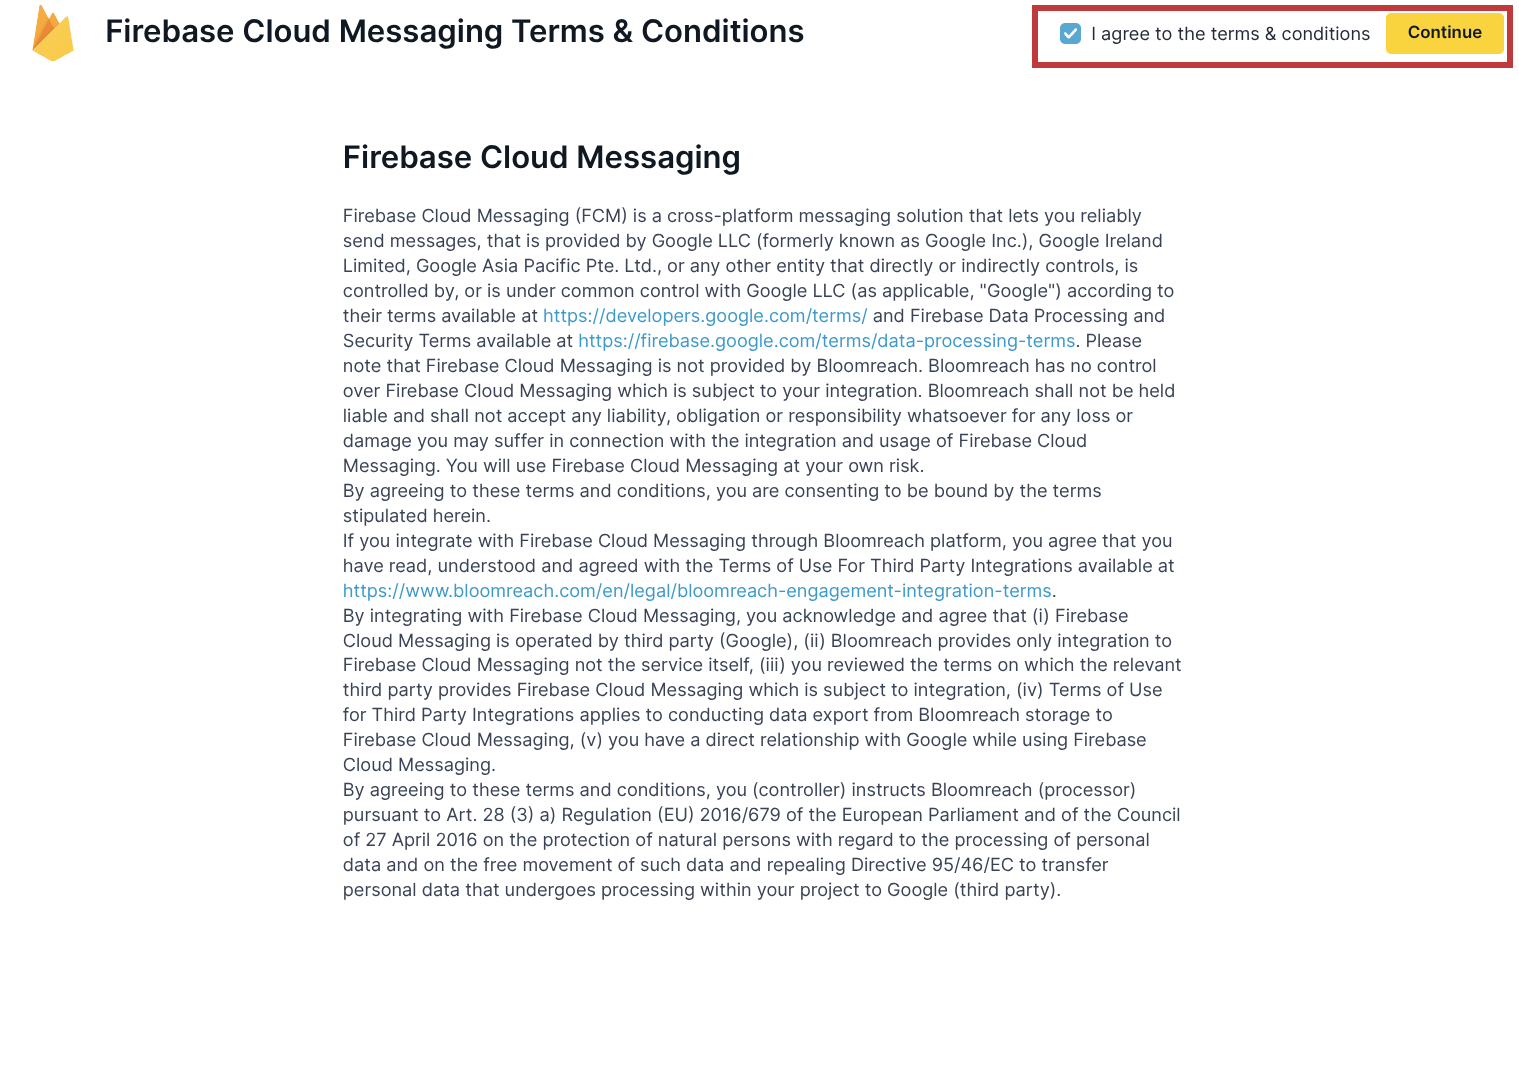
Accept the terms & conditions, then click Continue.
Step 2: Fill Out Required APNs Credentials
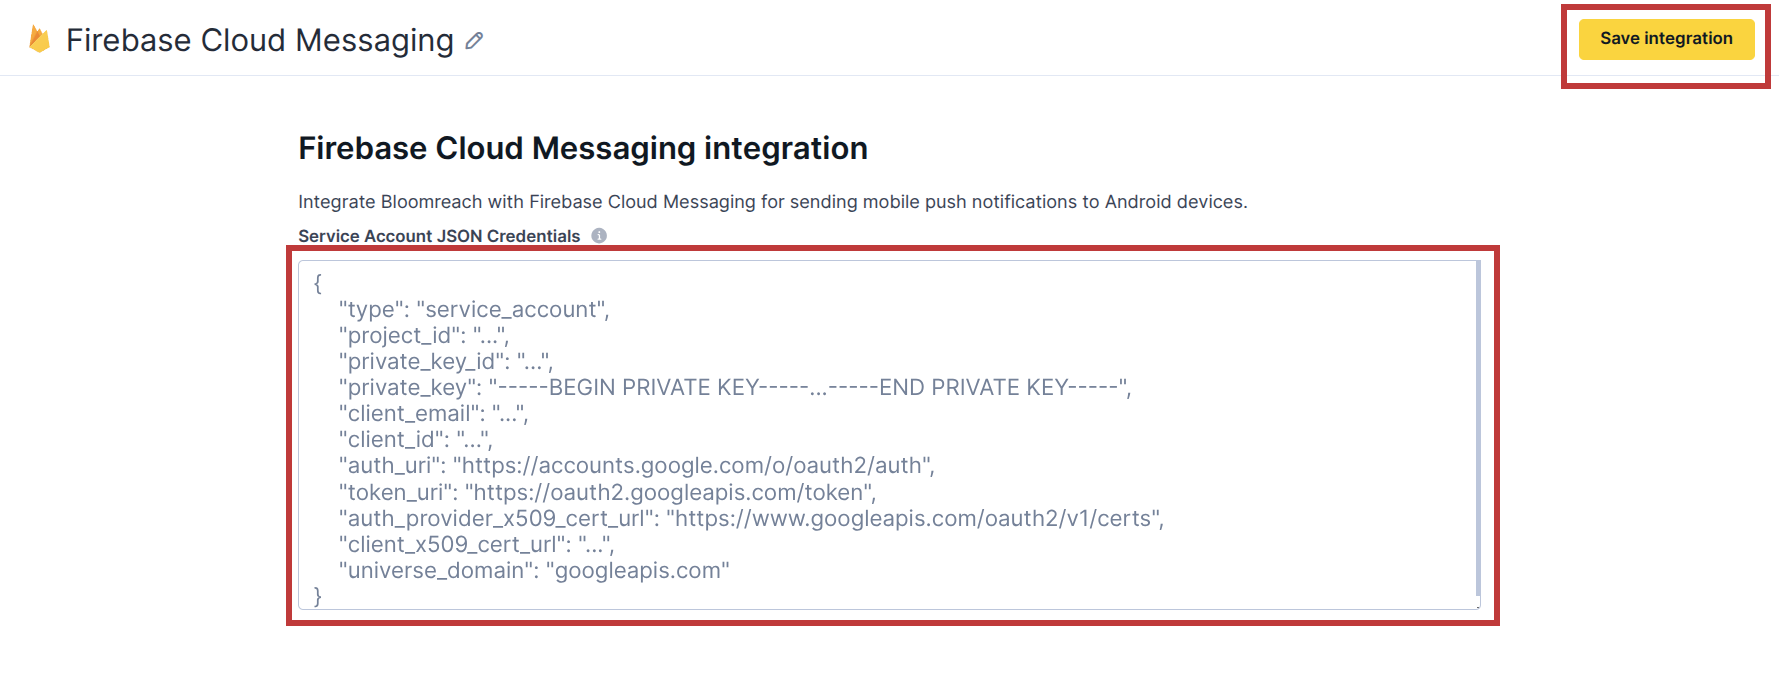
Open the Firebase Cloud Messaging integration editor by clicking on it.
The private key must include the full block in this exact format:-----BEGIN PRIVATE KEY----- [KEY CONTENT HERE] -----END PRIVATE KEY-----
Example values:
Important Notes:
- Ask the developers to obtain a private Firebase service account key.
- This key can only be generated once. For security reasons, the steps to generate it are not included here.
- Regenerating the key will invalidate the previous one.
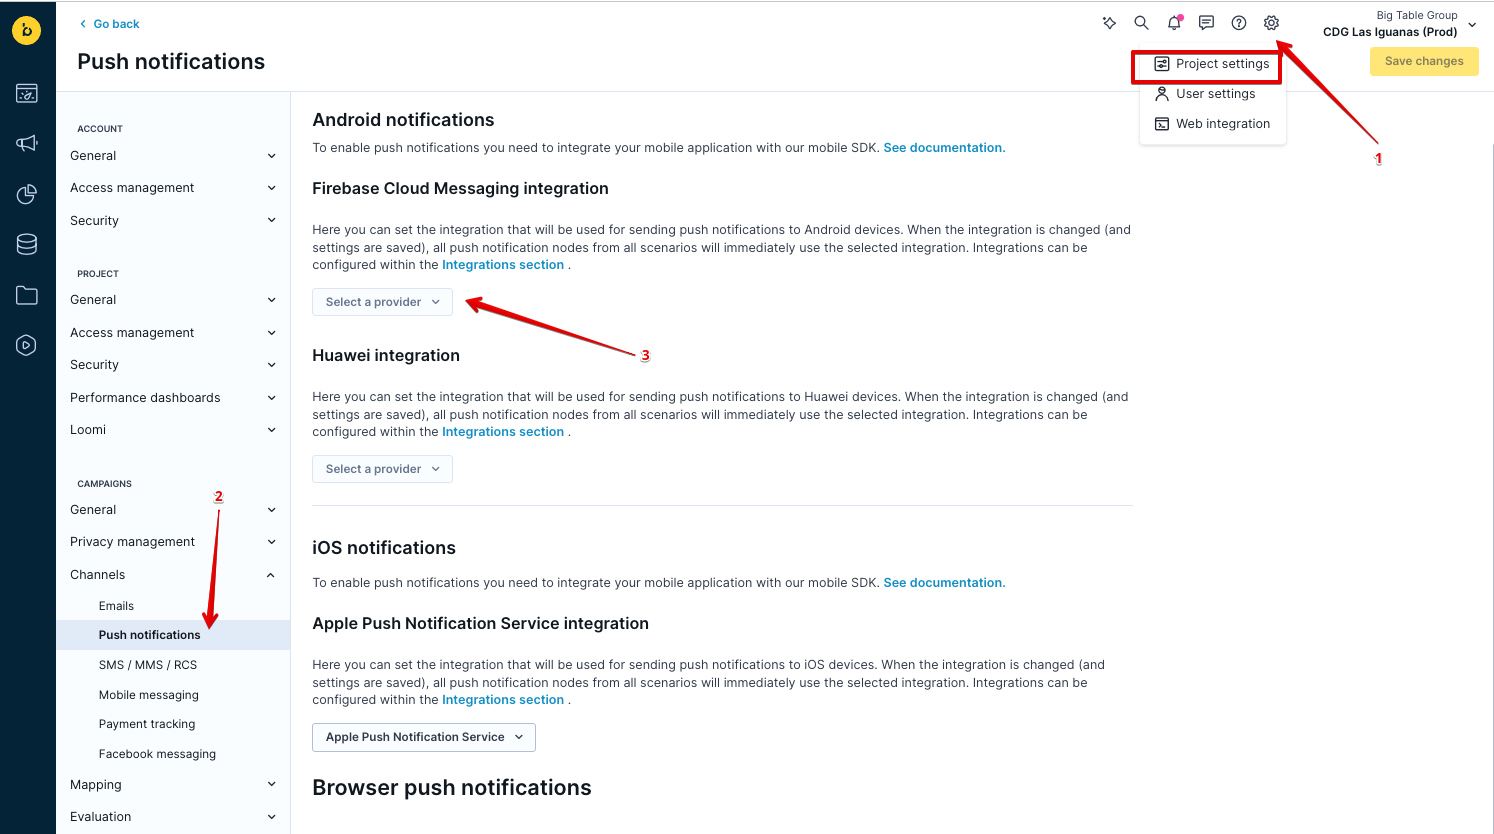
Step 3: Assign the Integration to Firebase Cloud Messaging
Go to: Settings → Project settings → Channels → Push notifications
Under Android notifications, select the following: Firebase Cloud Messaging integration → Firebase Cloud Messaging
Click Save changes.
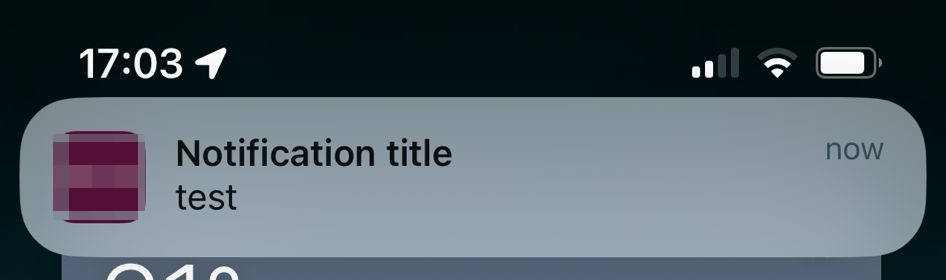
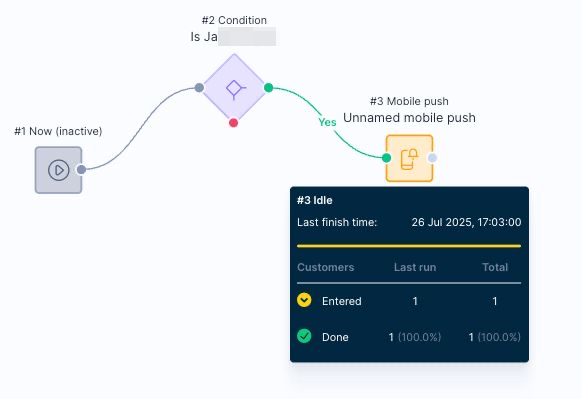
Testing the Setup
-
Create a basic scenario in Bloomreach (e.g., using a manual trigger or a small test segment).
-
Add a mobile push node to the flow.
-
Run the flow using a test user who has a valid push token for iOS/Android.
-
Confirm delivery by checking for the notification on the test device.