
Custom Parameters Set Up
This guide covers the technical setup for creating and mapping custom data fields within the TRIFFT environment.
Prerequisites
Technical Admin or Data Architect role required — Ensure you have the appropriate technical role to manage data structures within the TRIFFT Cockpit.
Before you begin, gather the following:
| Requirement | Details |
|---|---|
| Data | Field key names, Data types (String, Boolean, Date, JSON), and default values. |
| Integrations | API, Webhooks, or Shopify Metafield sync. |
Step-by-step setup
1. Access the parameters panel
- Go to Settings > Custom Parameters.
2. Define a new parameter
-
Click Add New in the top right corner.
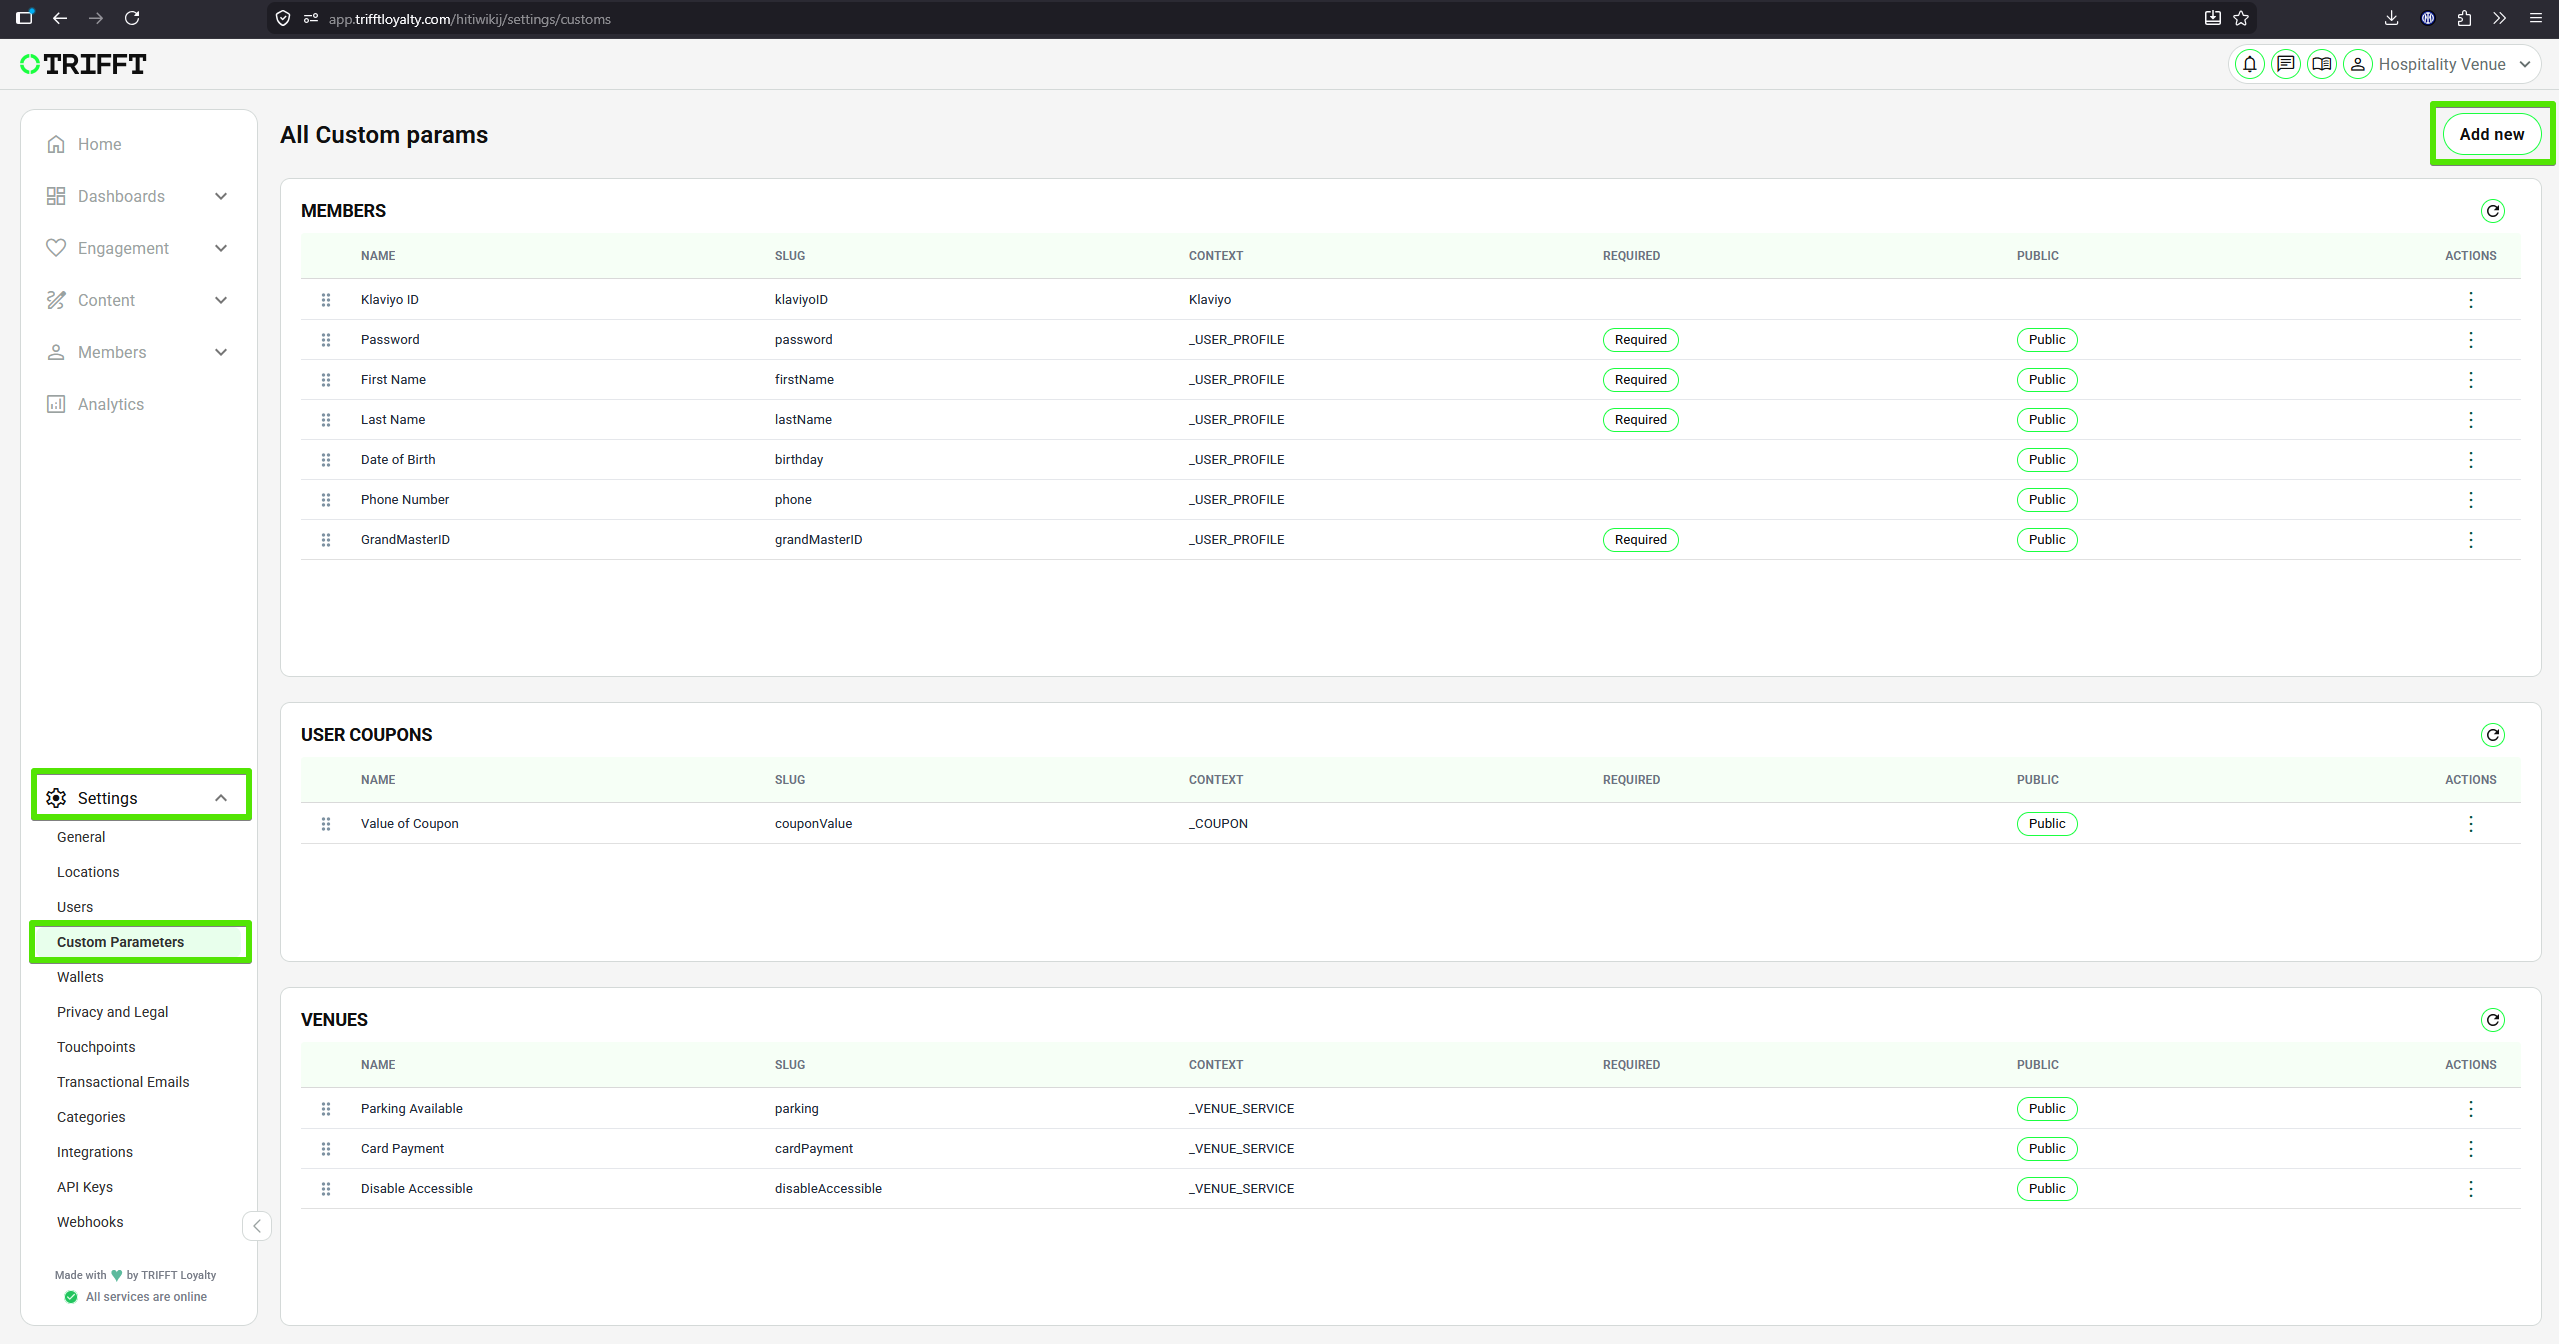
Creating new Custom Parameter
3. Configure Basic Information
- Configure all basic information of your custom parameter:
| Custom parameter | Description |
|---|---|
| Title | The name of the custom parameter. |
| Description | An internal description of the custom parameter. It is visible only to administrators and is not shown publicly. |
| Note | A public note or explanatory text displayed together with the custom parameter. |
| Entity | Defines which entity the custom parameter is associated with, such as members, coupons, venues, or another supported entity. |
| Context | Defines the context or section in which the custom parameter is used or displayed. |
| Type | Defines the data type of the custom parameter, such as STRING, BOOL, INT, or ENUM. |
| Publicity | Determines whether the custom parameter is publicly visible. |
| Requirement | Determines whether completing the custom parameter is required or optional. |
| Personal Identifiable Information (PII) | Indicates that the parameter contains personally identifiable information that can identify a specific individual, either directly or when combined with other data. |
| Secret | Hides the entered value while it is being filled in. It is typically used for passwords or other sensitive values. |
| Hidden | Hides the custom parameter from the user interface. Its value can be populated automatically, for example through a direct URL containing the custom parameter value. |
| Read Only | Prevents users from editing the value. The value can only be displayed or updated through another permitted method, such as an integration or API. |
| Filterable | Determines whether records can be filtered based on the value of this custom parameter. |
| Set Only Once | Allows the value to be set only once. After the initial value is saved, it cannot be changed. |
| Icon | Allows an image to be uploaded and used as the icon for the custom parameter. |
4. Configure Advance Settings
- Configure all advance settings of your custom parameter:
| Setting | Description |
|---|---|
| Slug | A unique identifier used for API communication and references to the custom parameter. |
| Visibilities | Defines the parts of the loyalty programme in which the custom parameter is visible, such as registration or the profile page. |
| Mappings | Defines which standard field or part of the loyalty programme the custom parameter is mapped to. |
| Autocomplete | Allows the custom parameter value to be prefilled automatically. |
5. Final check and Save
- Make your final check if all is set up correctly and click Save button in the top right corner.
Note that TYPE of your Custom Parameter cannot be changed in the future. Make sure this is filled correctly before the saving.
Configuration checklist
Run through this checklist before going live:
Naming & Security
- Key naming convention is followed (e.g.,
lowercase_with_underscores)- PII (Personally Identifiable Information) flags are correctly set for security
- TYPE of your Custom Param is set up correctly
Formatting & Implementation
- Date formats are standardized (e.g.,
YYYY-MM-DD)- Dynamic text tags in emails/app match the Internal Key exactly
Updated 3 days ago
Did this page help you?