
Members Set Up
This Technical Setup Guide provides the configuration steps required to manage the Members function within the TRIFFT Cockpit.
| Topic / function | Members |
|---|---|
| Audience | CRM / Marketing Ops / Implementation |
| Goal | Provide step-by-step setup for member profile management and administrative adjustments |
| Prereq systems | TRIFFT Cockpit |
What you will learn
This guide covers how to manage member profiles in the TRIFFT Cockpit, including manual point adjustments, tier overrides, and managing PII (Personally Identifiable Information) in compliance with privacy regulations.
Prerequisites
- Access: Ensure you have the Admin or Support role in the TRIFFT Cockpit to view and edit member data.
- Data: Confirm that member identification fields (Email or Phone) are configured as mandatory for registration.
- Integrations: If syncing to external tools like Klaviyo, ensure the integration is active to propagate profile changes.
Profile setup
-
Navigate to the Members hub: Log in to the TRIFFT Content Cockpit and navigate to Members → Member List.
-
Open a member's detail: Use the search bar to find an existing member by Email, Phone, or ID and click on their profile.
-
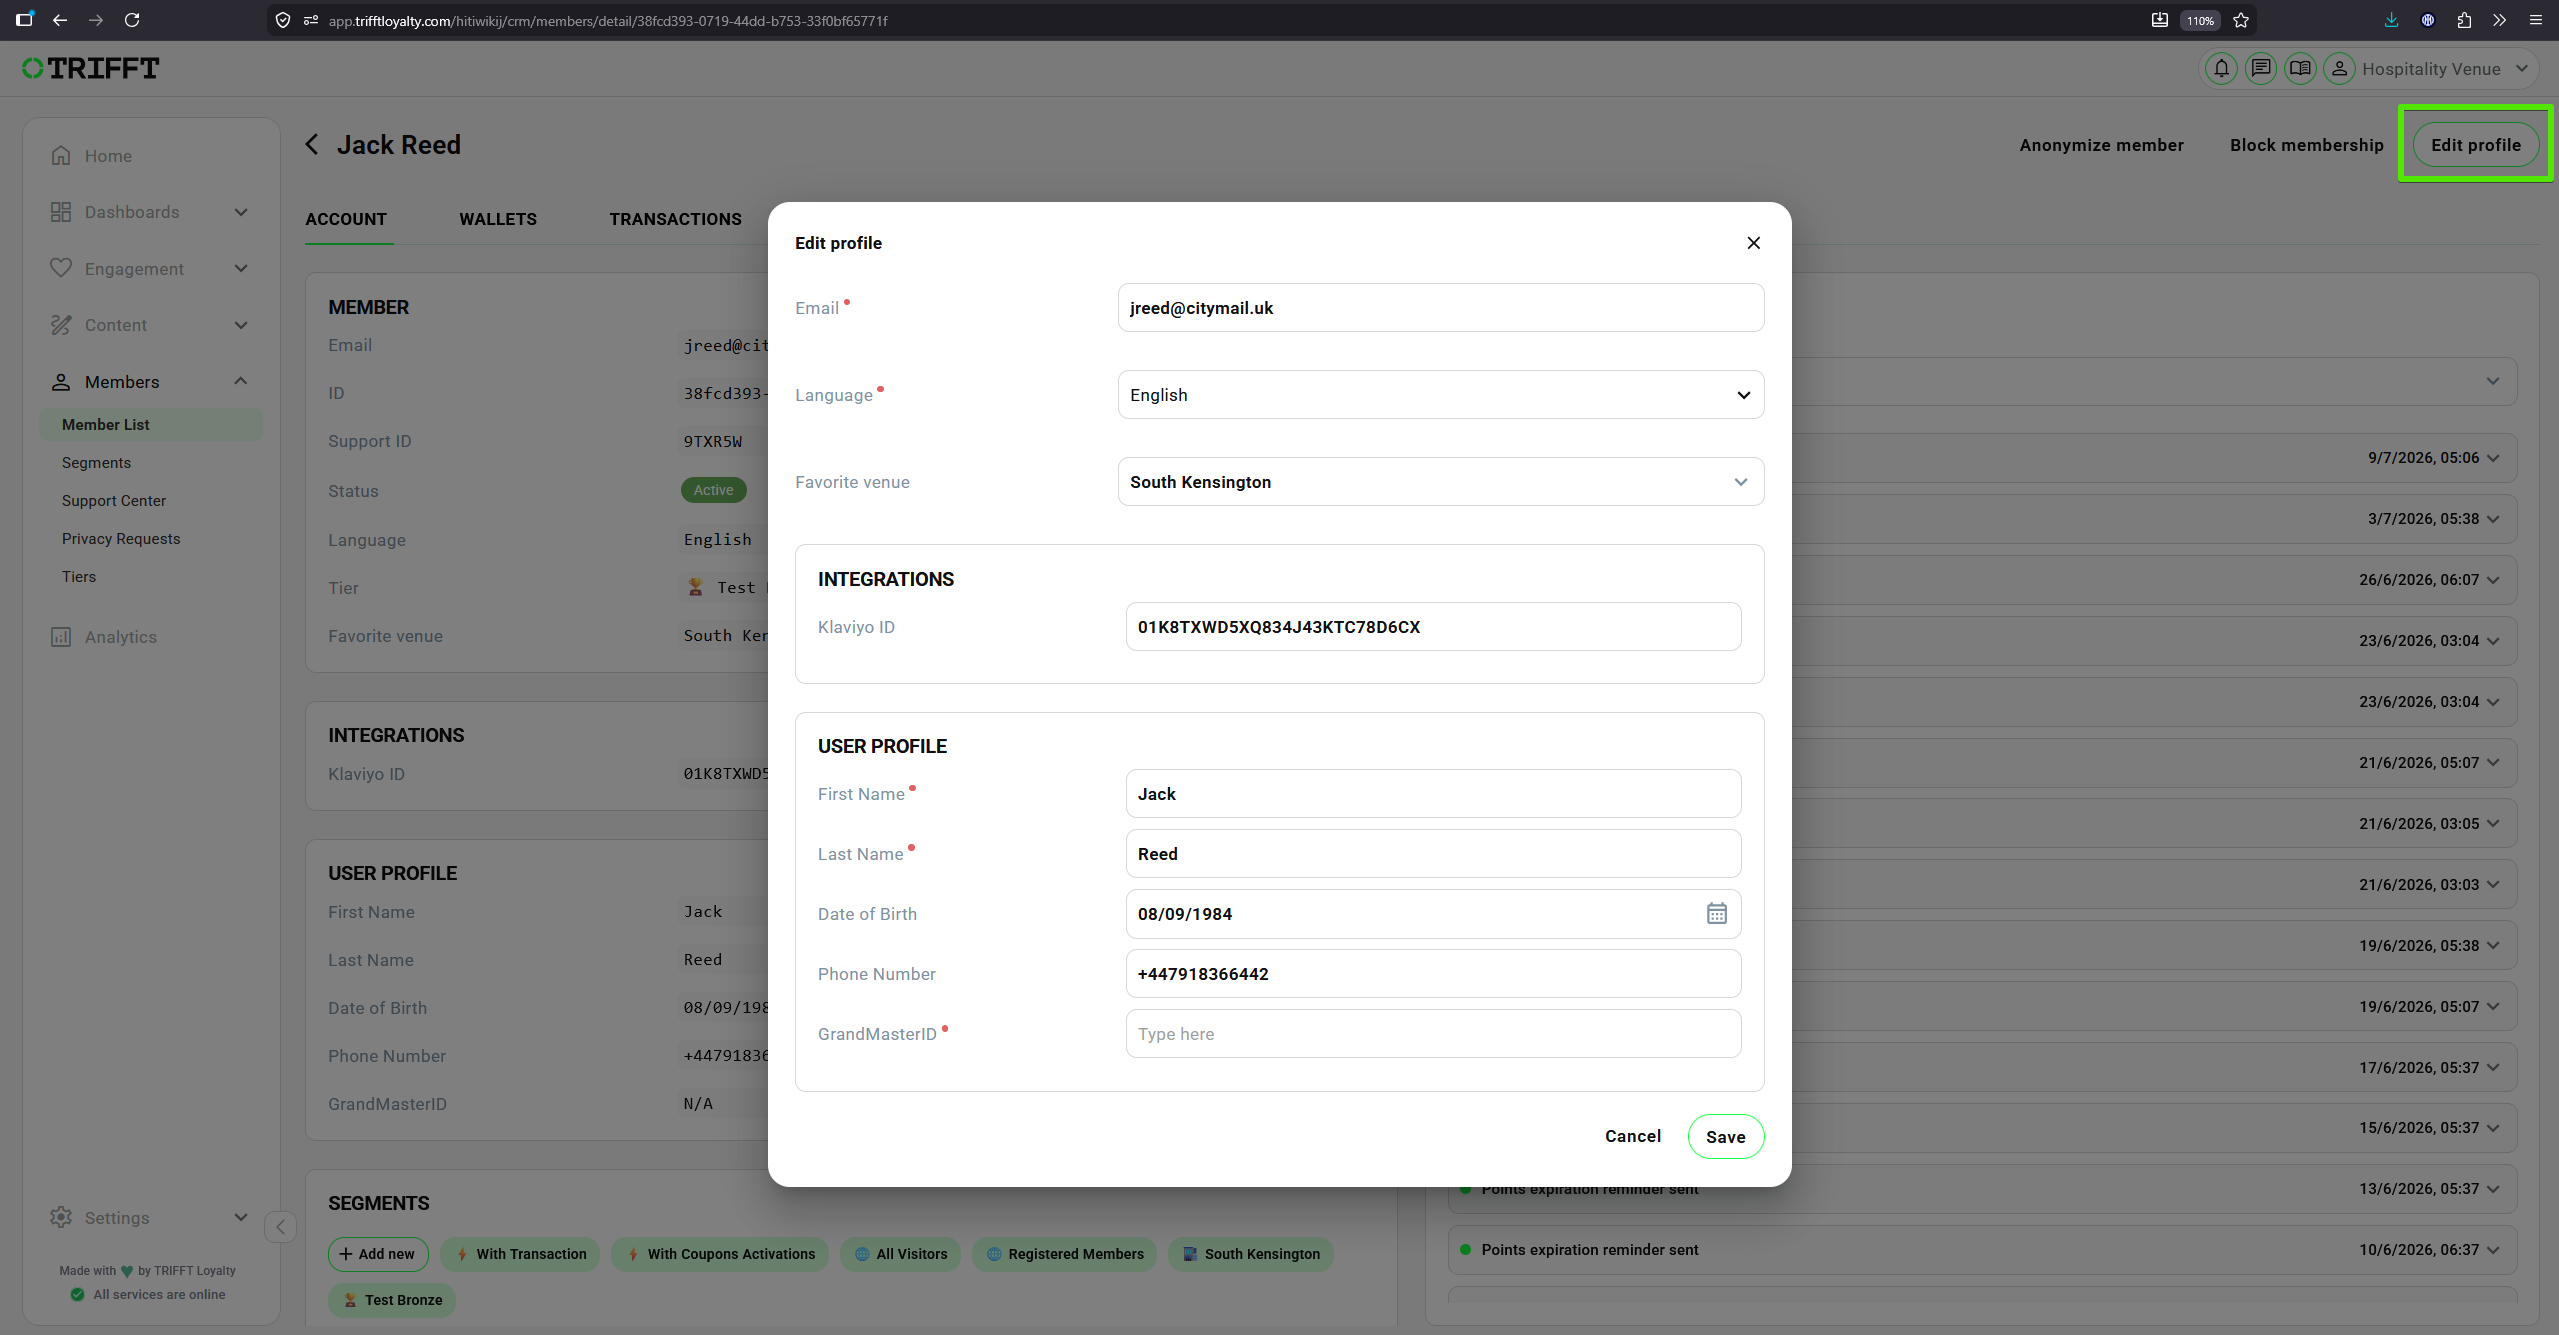
Update Identity and Attributes: Click Edit profile in the top right corner and enter or edit core profile data, including names and custom parameters used for segmentation.
-
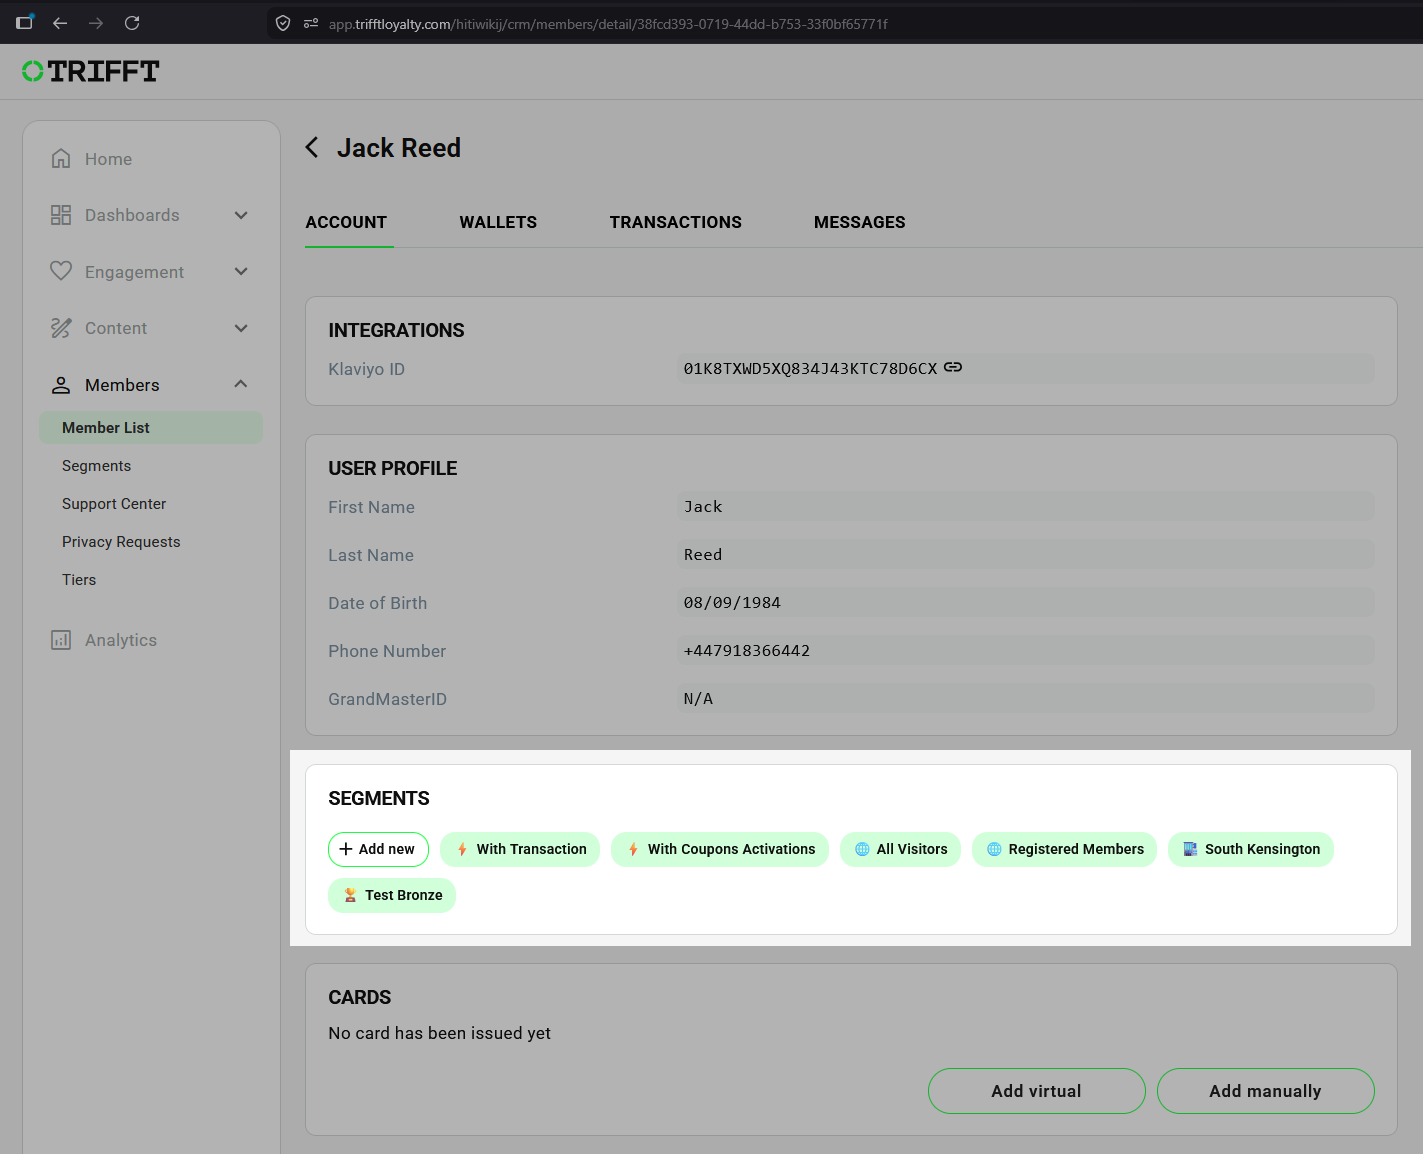
Assign Segment Tags: Manually apply or remove segment tags if the member requires specific targeting outside of automated rules.
-
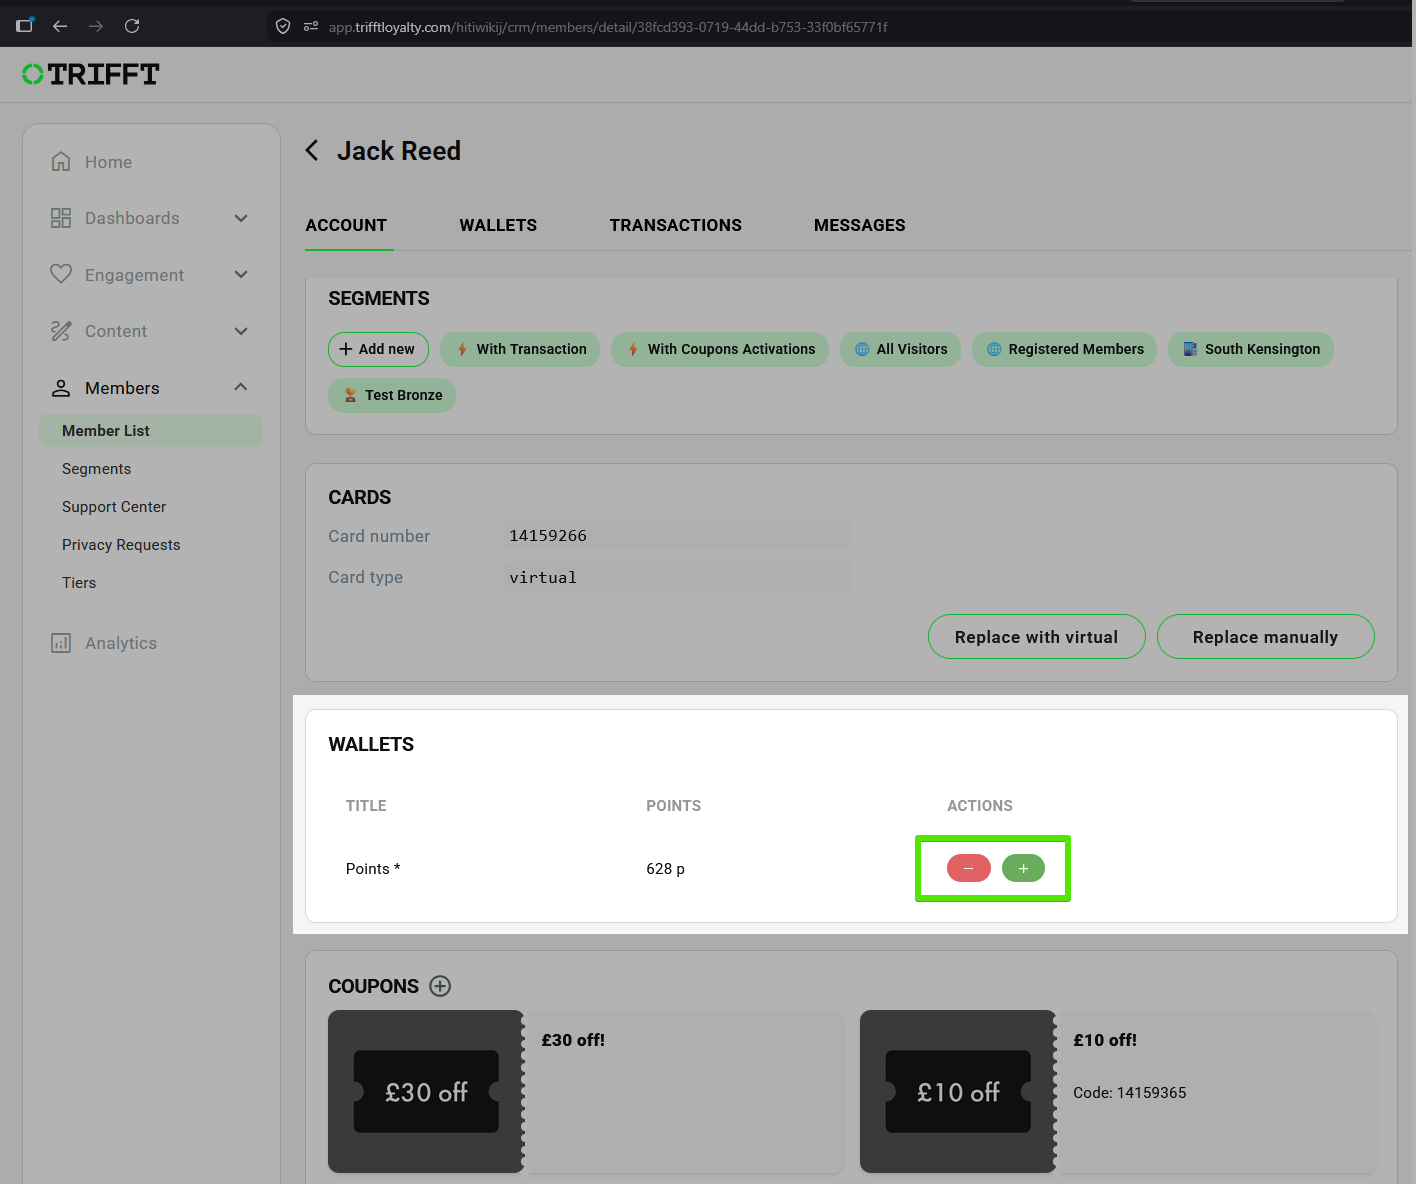
Adjust Point Balances: Navigate to the Wallet section to manually add or subtract points.
-
Save and Sync: Click Save Changes. Verify that the updates appear in the member’s Activity Log and sync to connected platforms like Shopify or Klaviyo.
Wallets
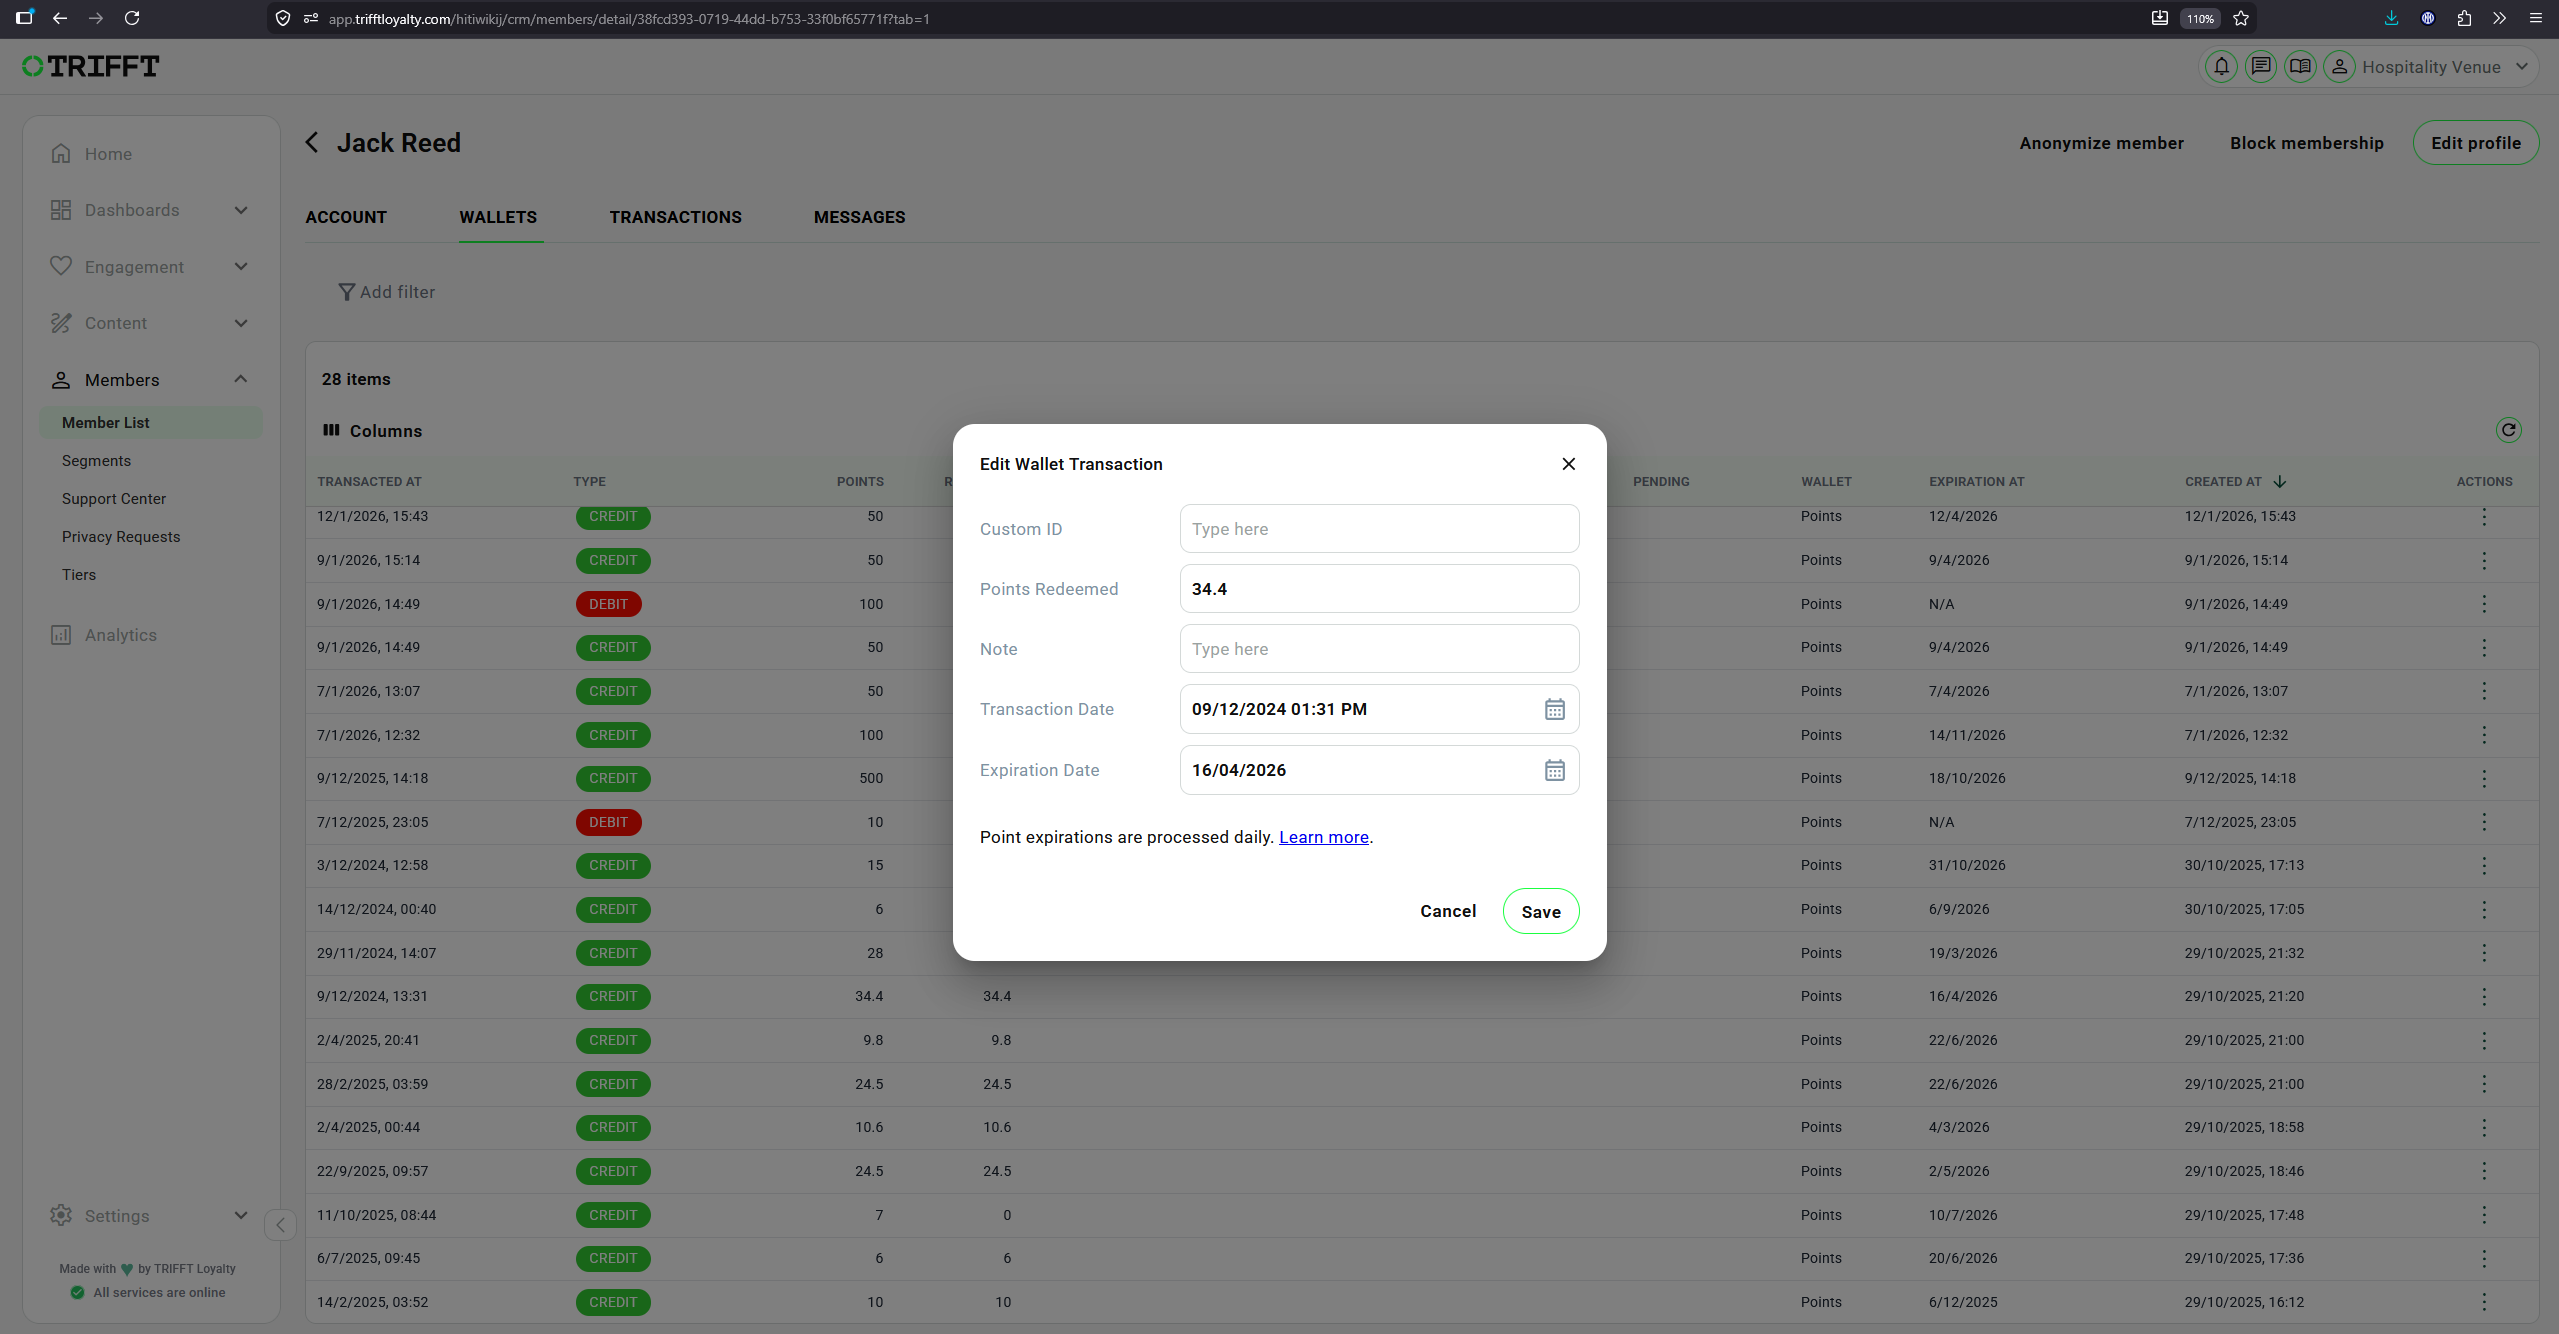
Click on the Wallets tab to see all wallet movements.
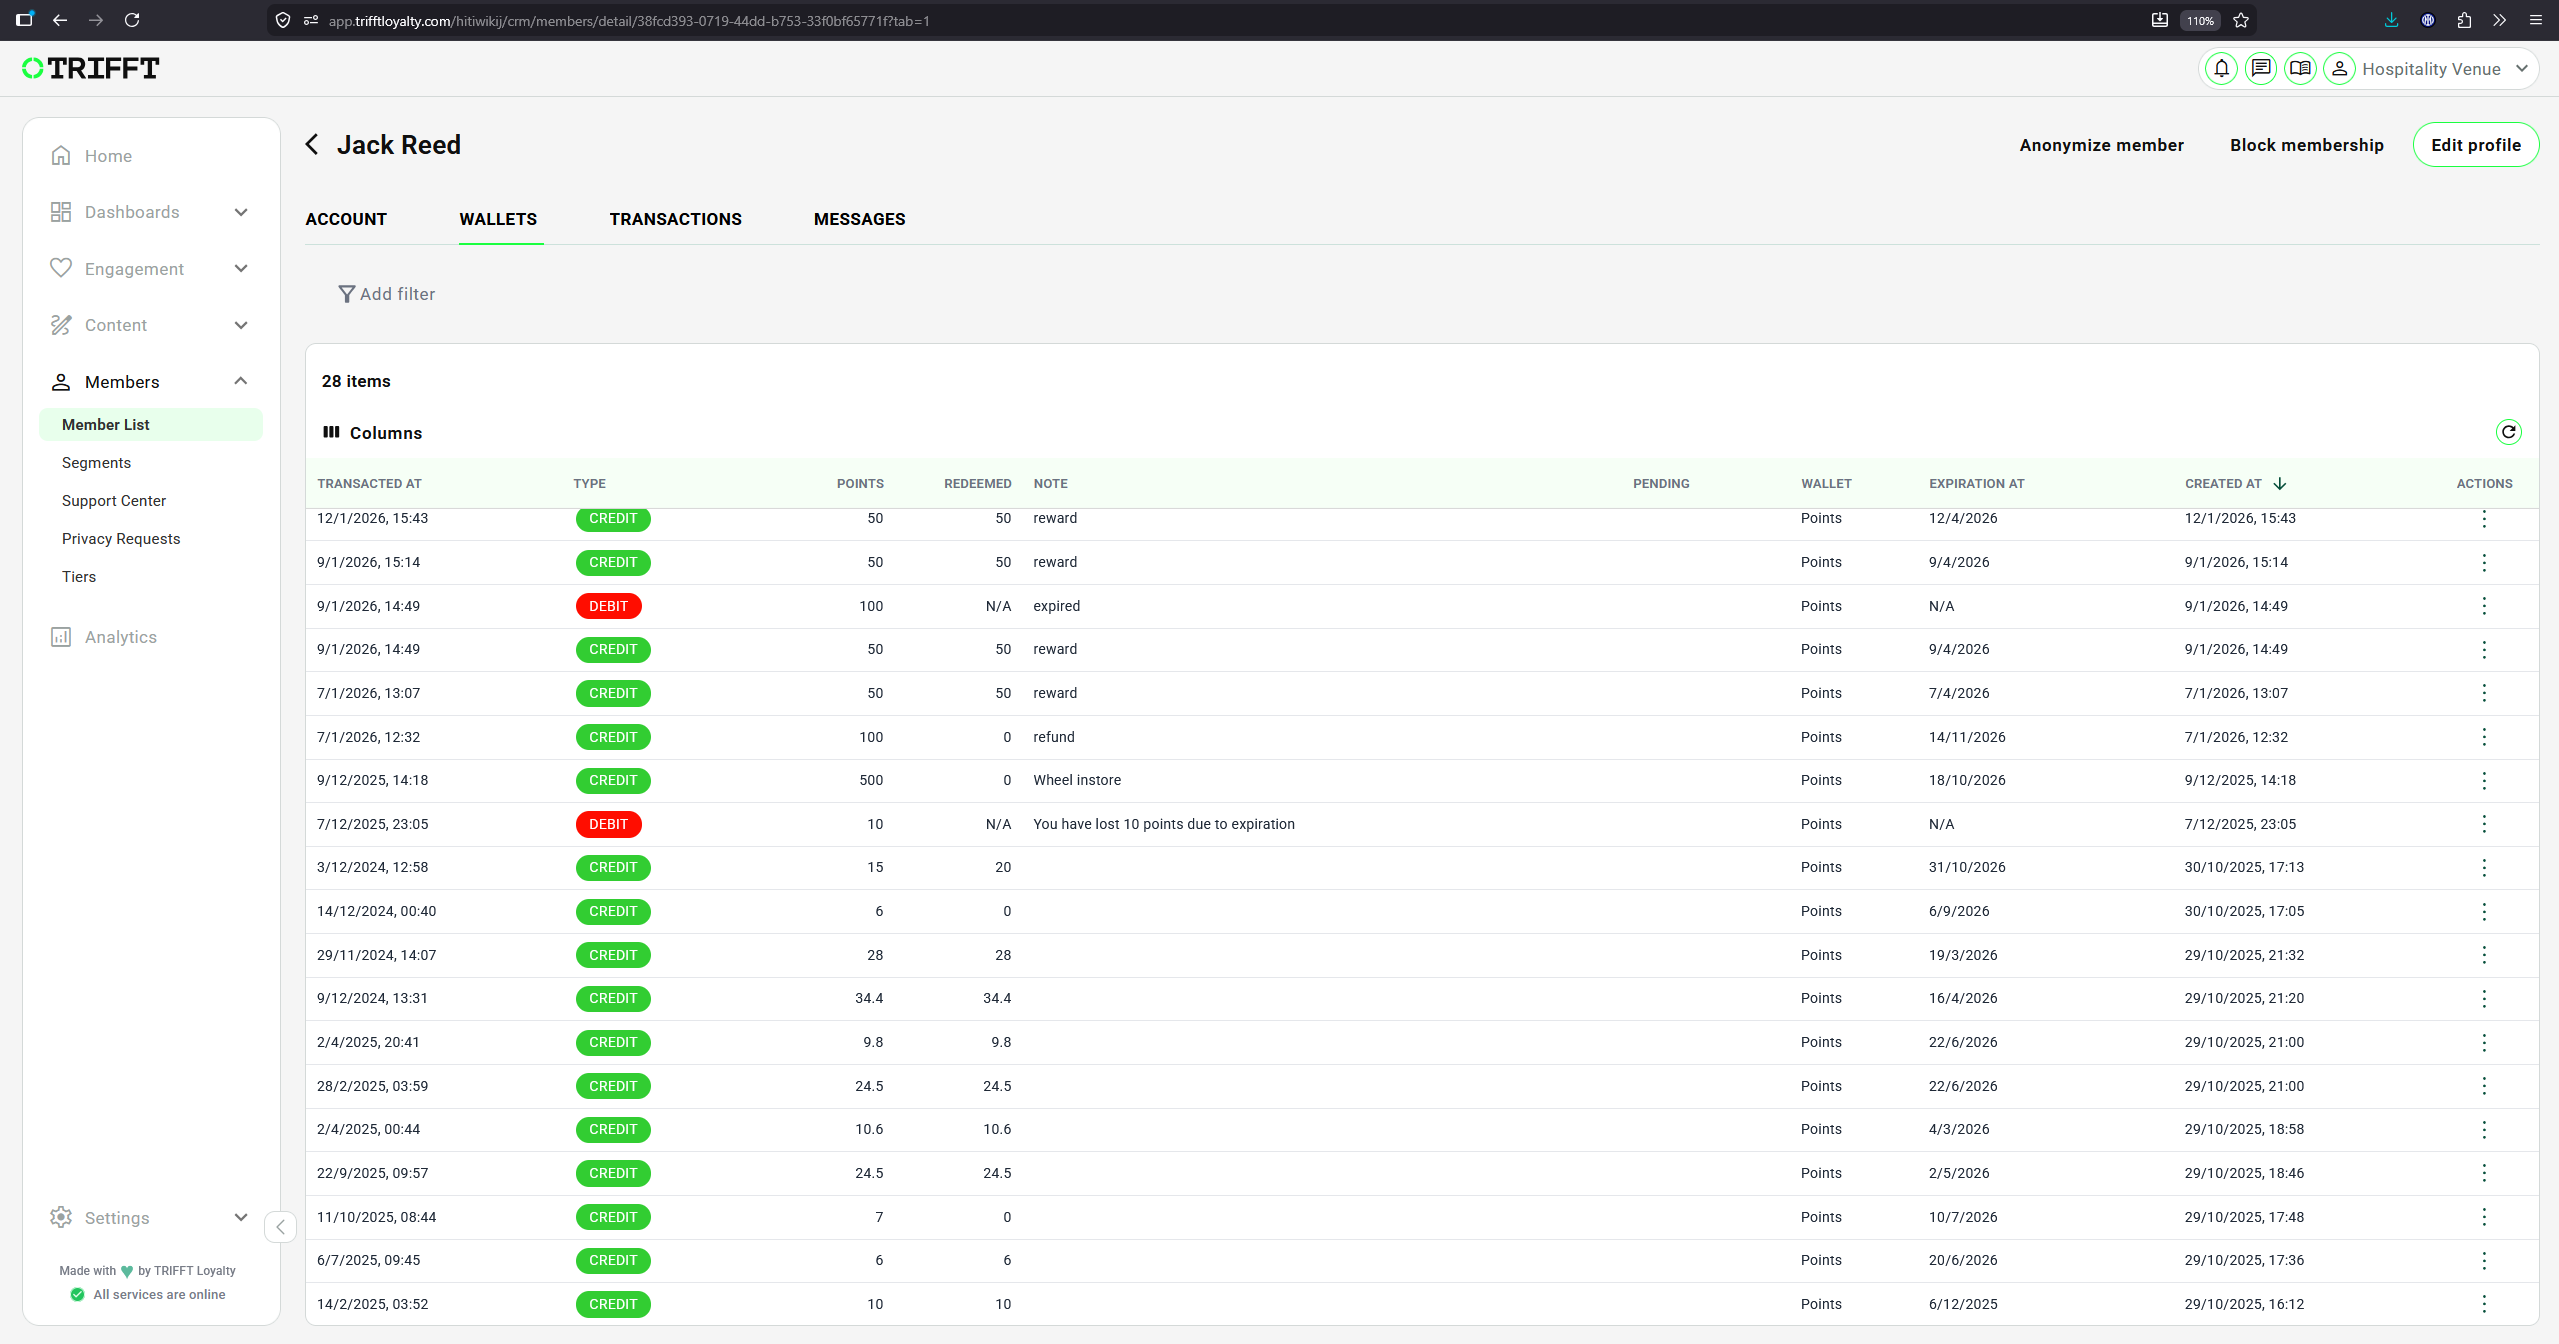
If you need to change some wallet movement (i.e. setup expiration of points) click on the three dots on the right or use right-click and select Edit. Make your adjustments and click the Save button:
Transactions
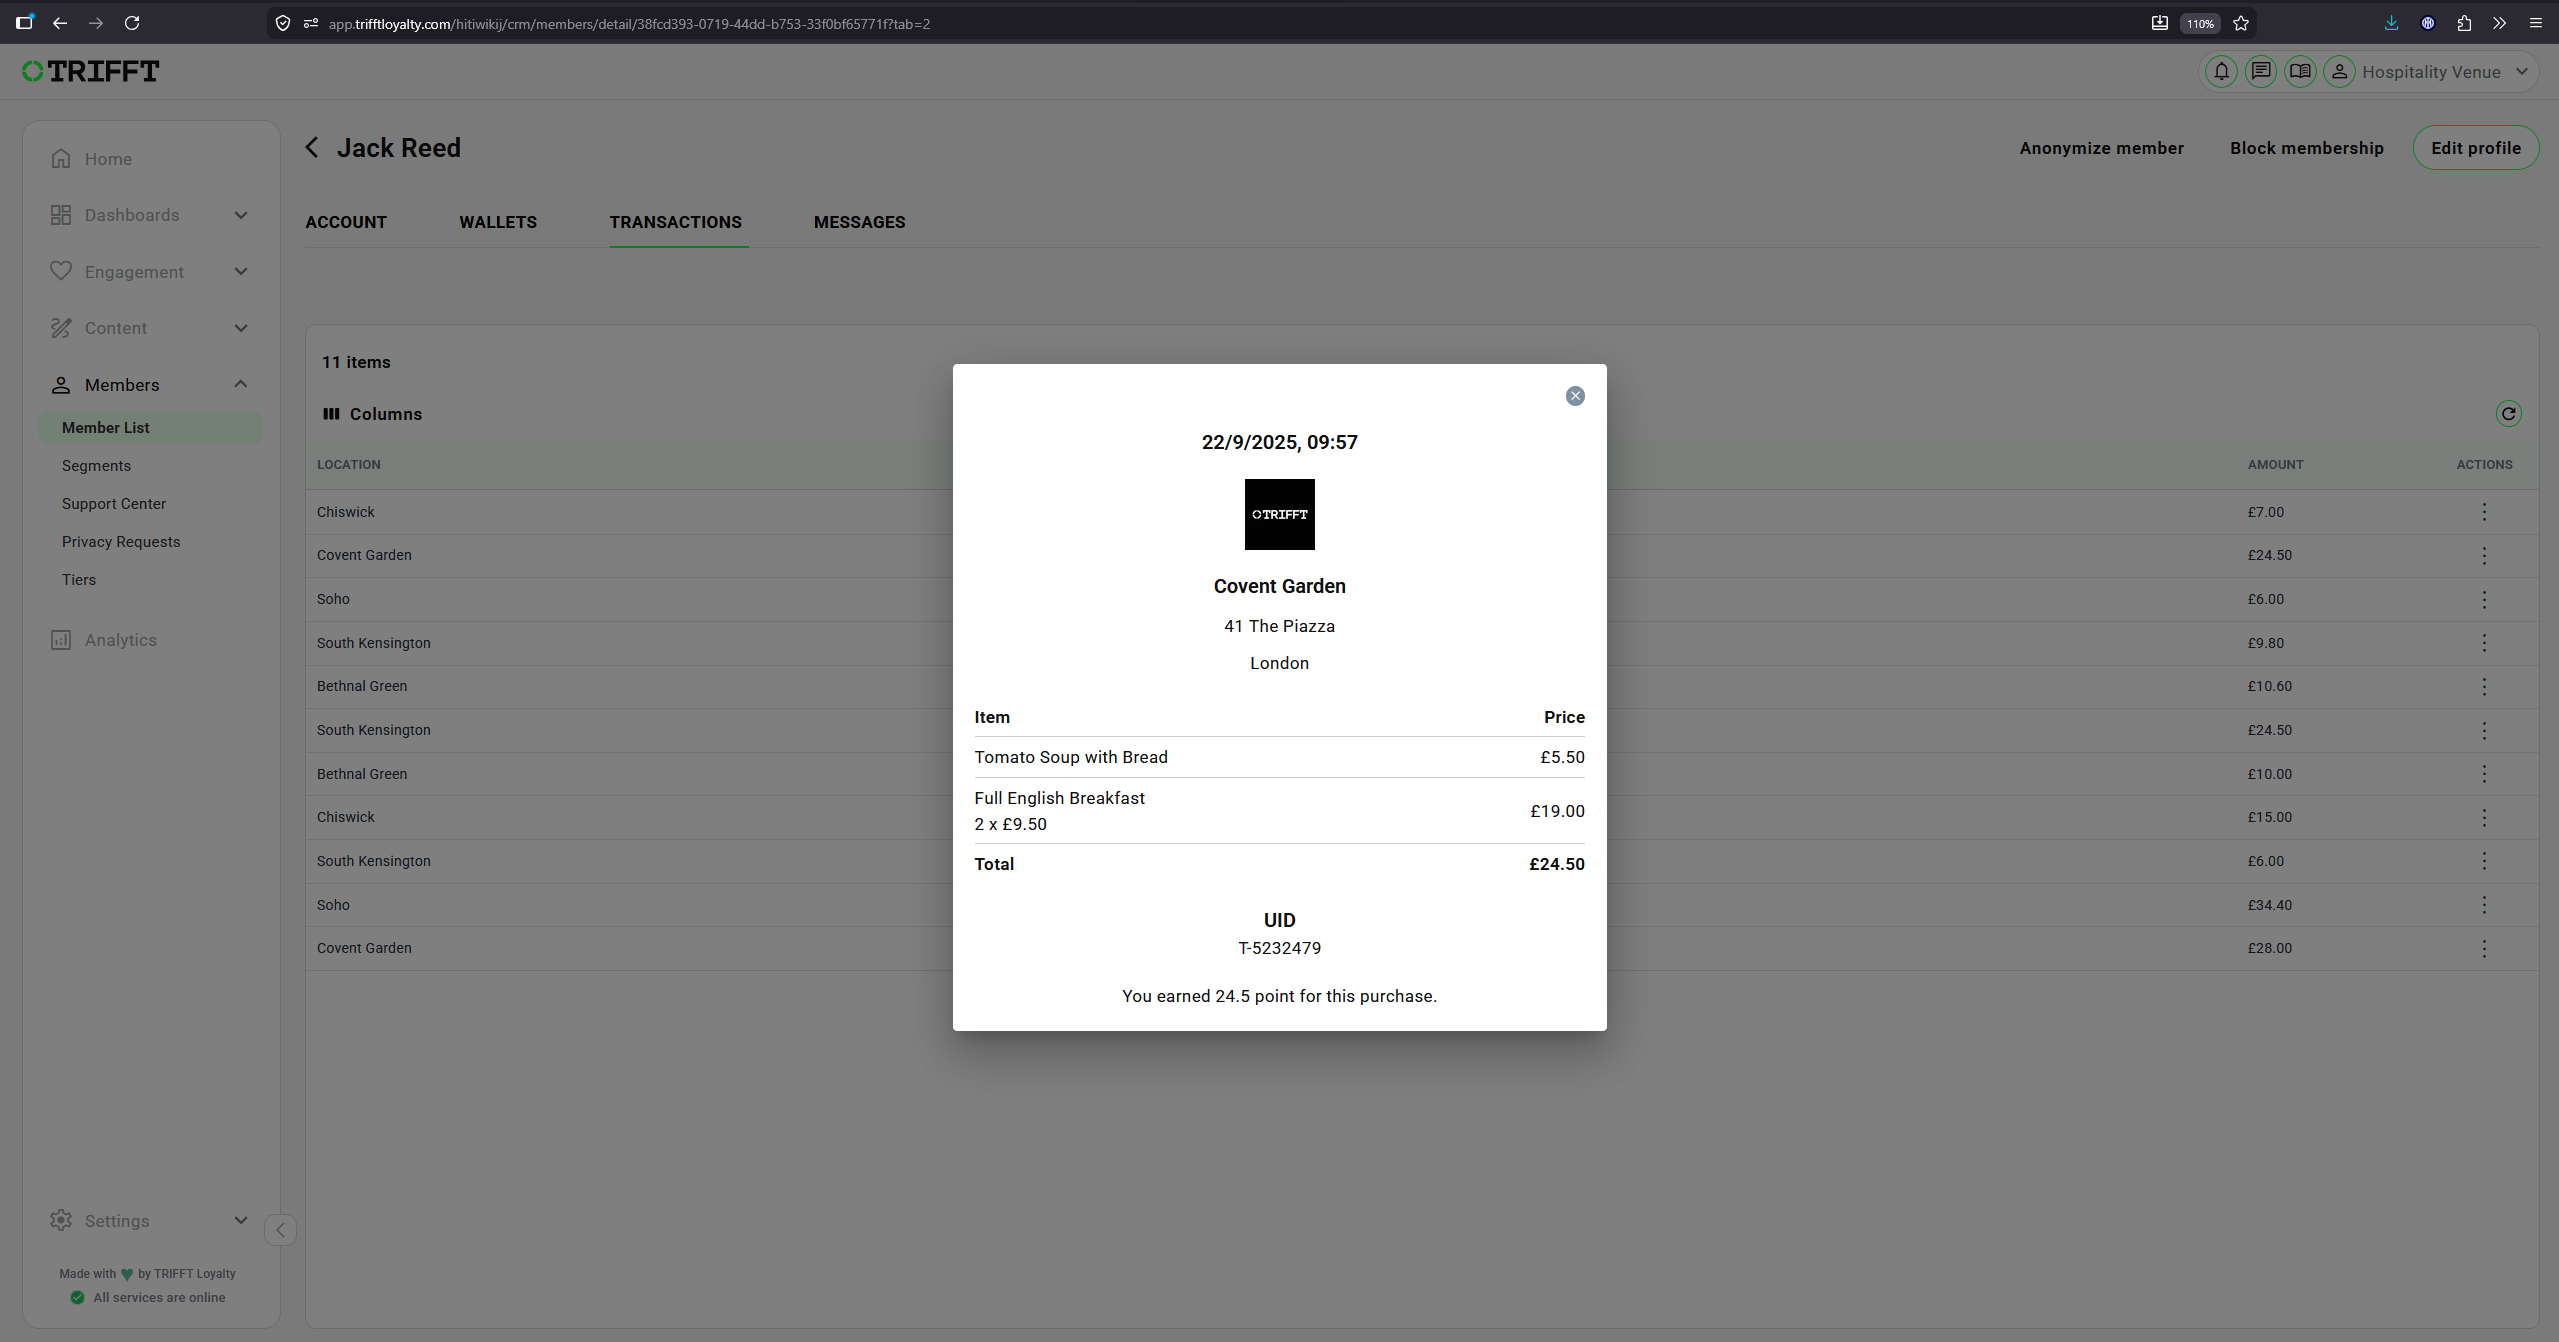
This is a purely informational screen where you can view an overview and details of all transactions created by the given user:
Messages
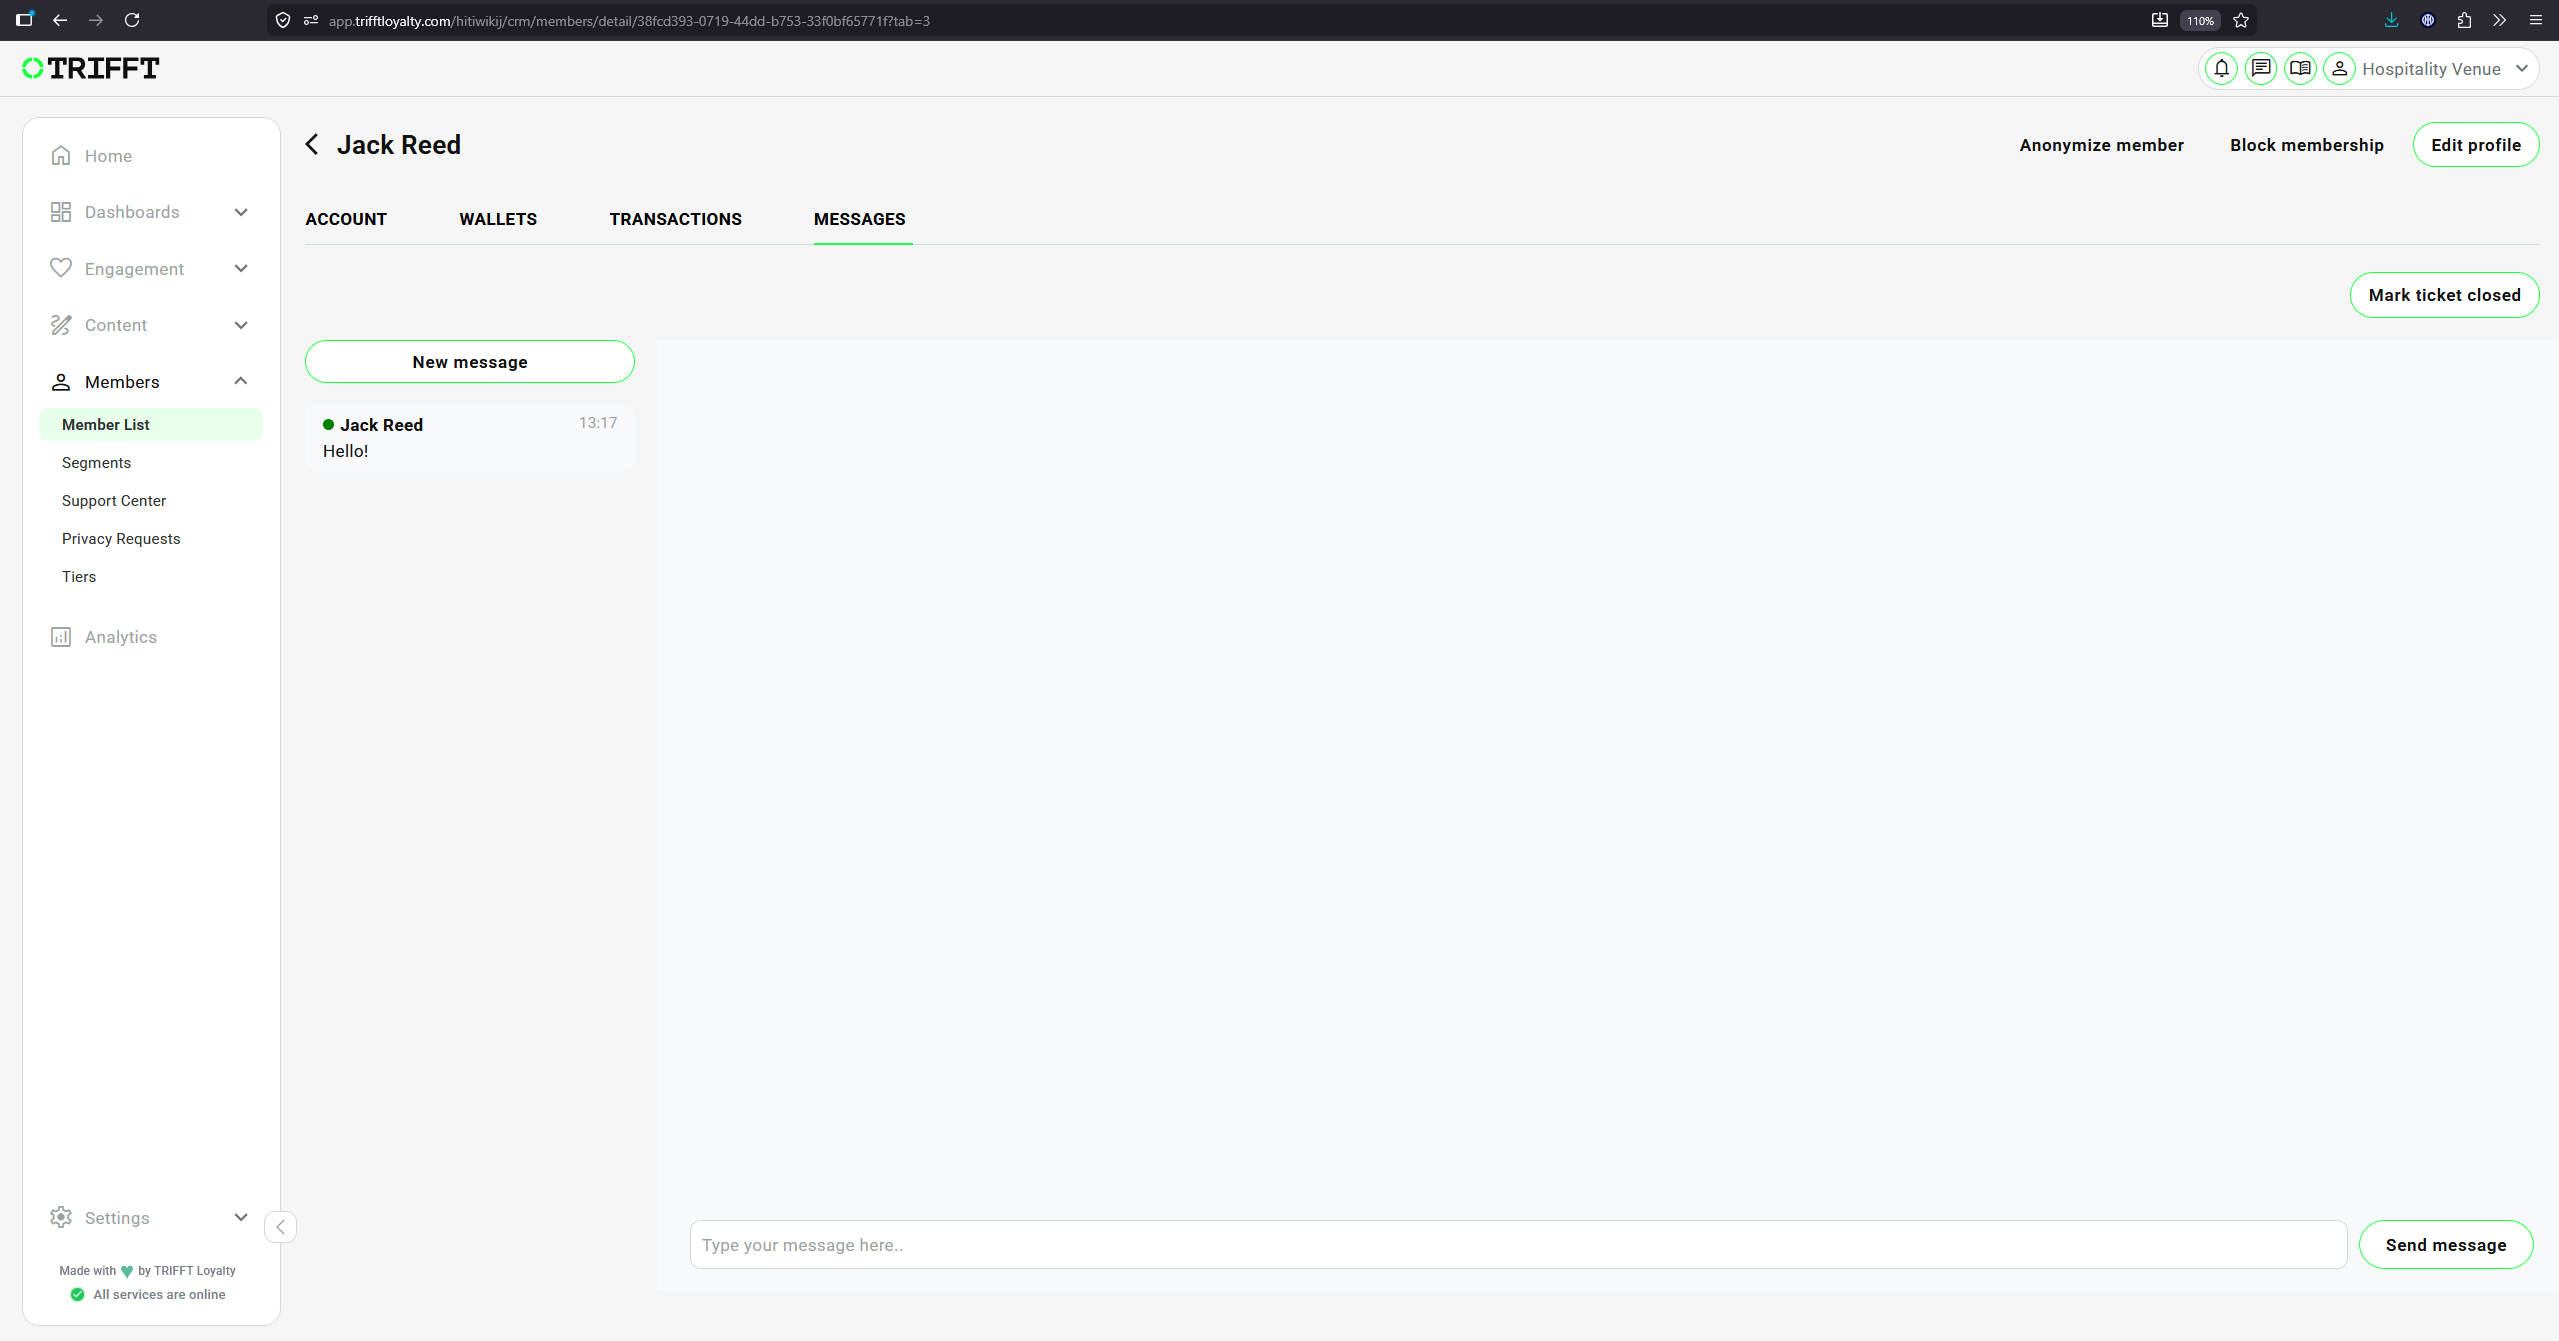
If you need to contact a customer directly, you can send them a direct message. If they do not have the app open at that moment and have push notifications enabled, they will receive a push notification containing your message.
After opening the message, the member can reply directly. Their response will appear in this detail, and a new record will also be created in Members → Support Center.
Configuration checklist
- Data Integrity: Manual point adjustments include a mandatory reason for audit purposes.
- PII Protection: Admin access is restricted to ensure only authorized personnel can view sensitive contact details.
- Sync Verification: Changes to tiers or points are reflected in the member’s mobile app view within seconds.
- Consent Alignment: Marketing communication statuses match the member's most recent legal opt-in/out requests.
- Attribute Accuracy: Zero-party data (e.g., birthday, interests) is correctly formatted to trigger automated campaigns.
Updated 6 days ago