
News Set Up
This guide covers how to set up news articles from scratch in the Content Cockpit, including content localization, segment-based targeting, and validity scheduling.
| Topic/function | News |
|---|---|
| Audience | CRM / Marketing Ops / Implementation |
| Goal | Provide step-by-step setup for creating and targeting news articles |
| Prereq systems | Content Cockpit, Active Mobile App or Web Portal channel |
Prerequisites
- Access: Ensure you have the Admin or Editor role within the Content Cockpit to access the Content module.
- Data: Confirm that the required Segments (e.g., "Gold Tier" or "New Members") have been created if the news is intended for a specific audience.
- Assets: Prepare a high-quality main image (recommended 16:9 aspect ratio) and localized copy for all active program languages.
Step-by-step setup
-
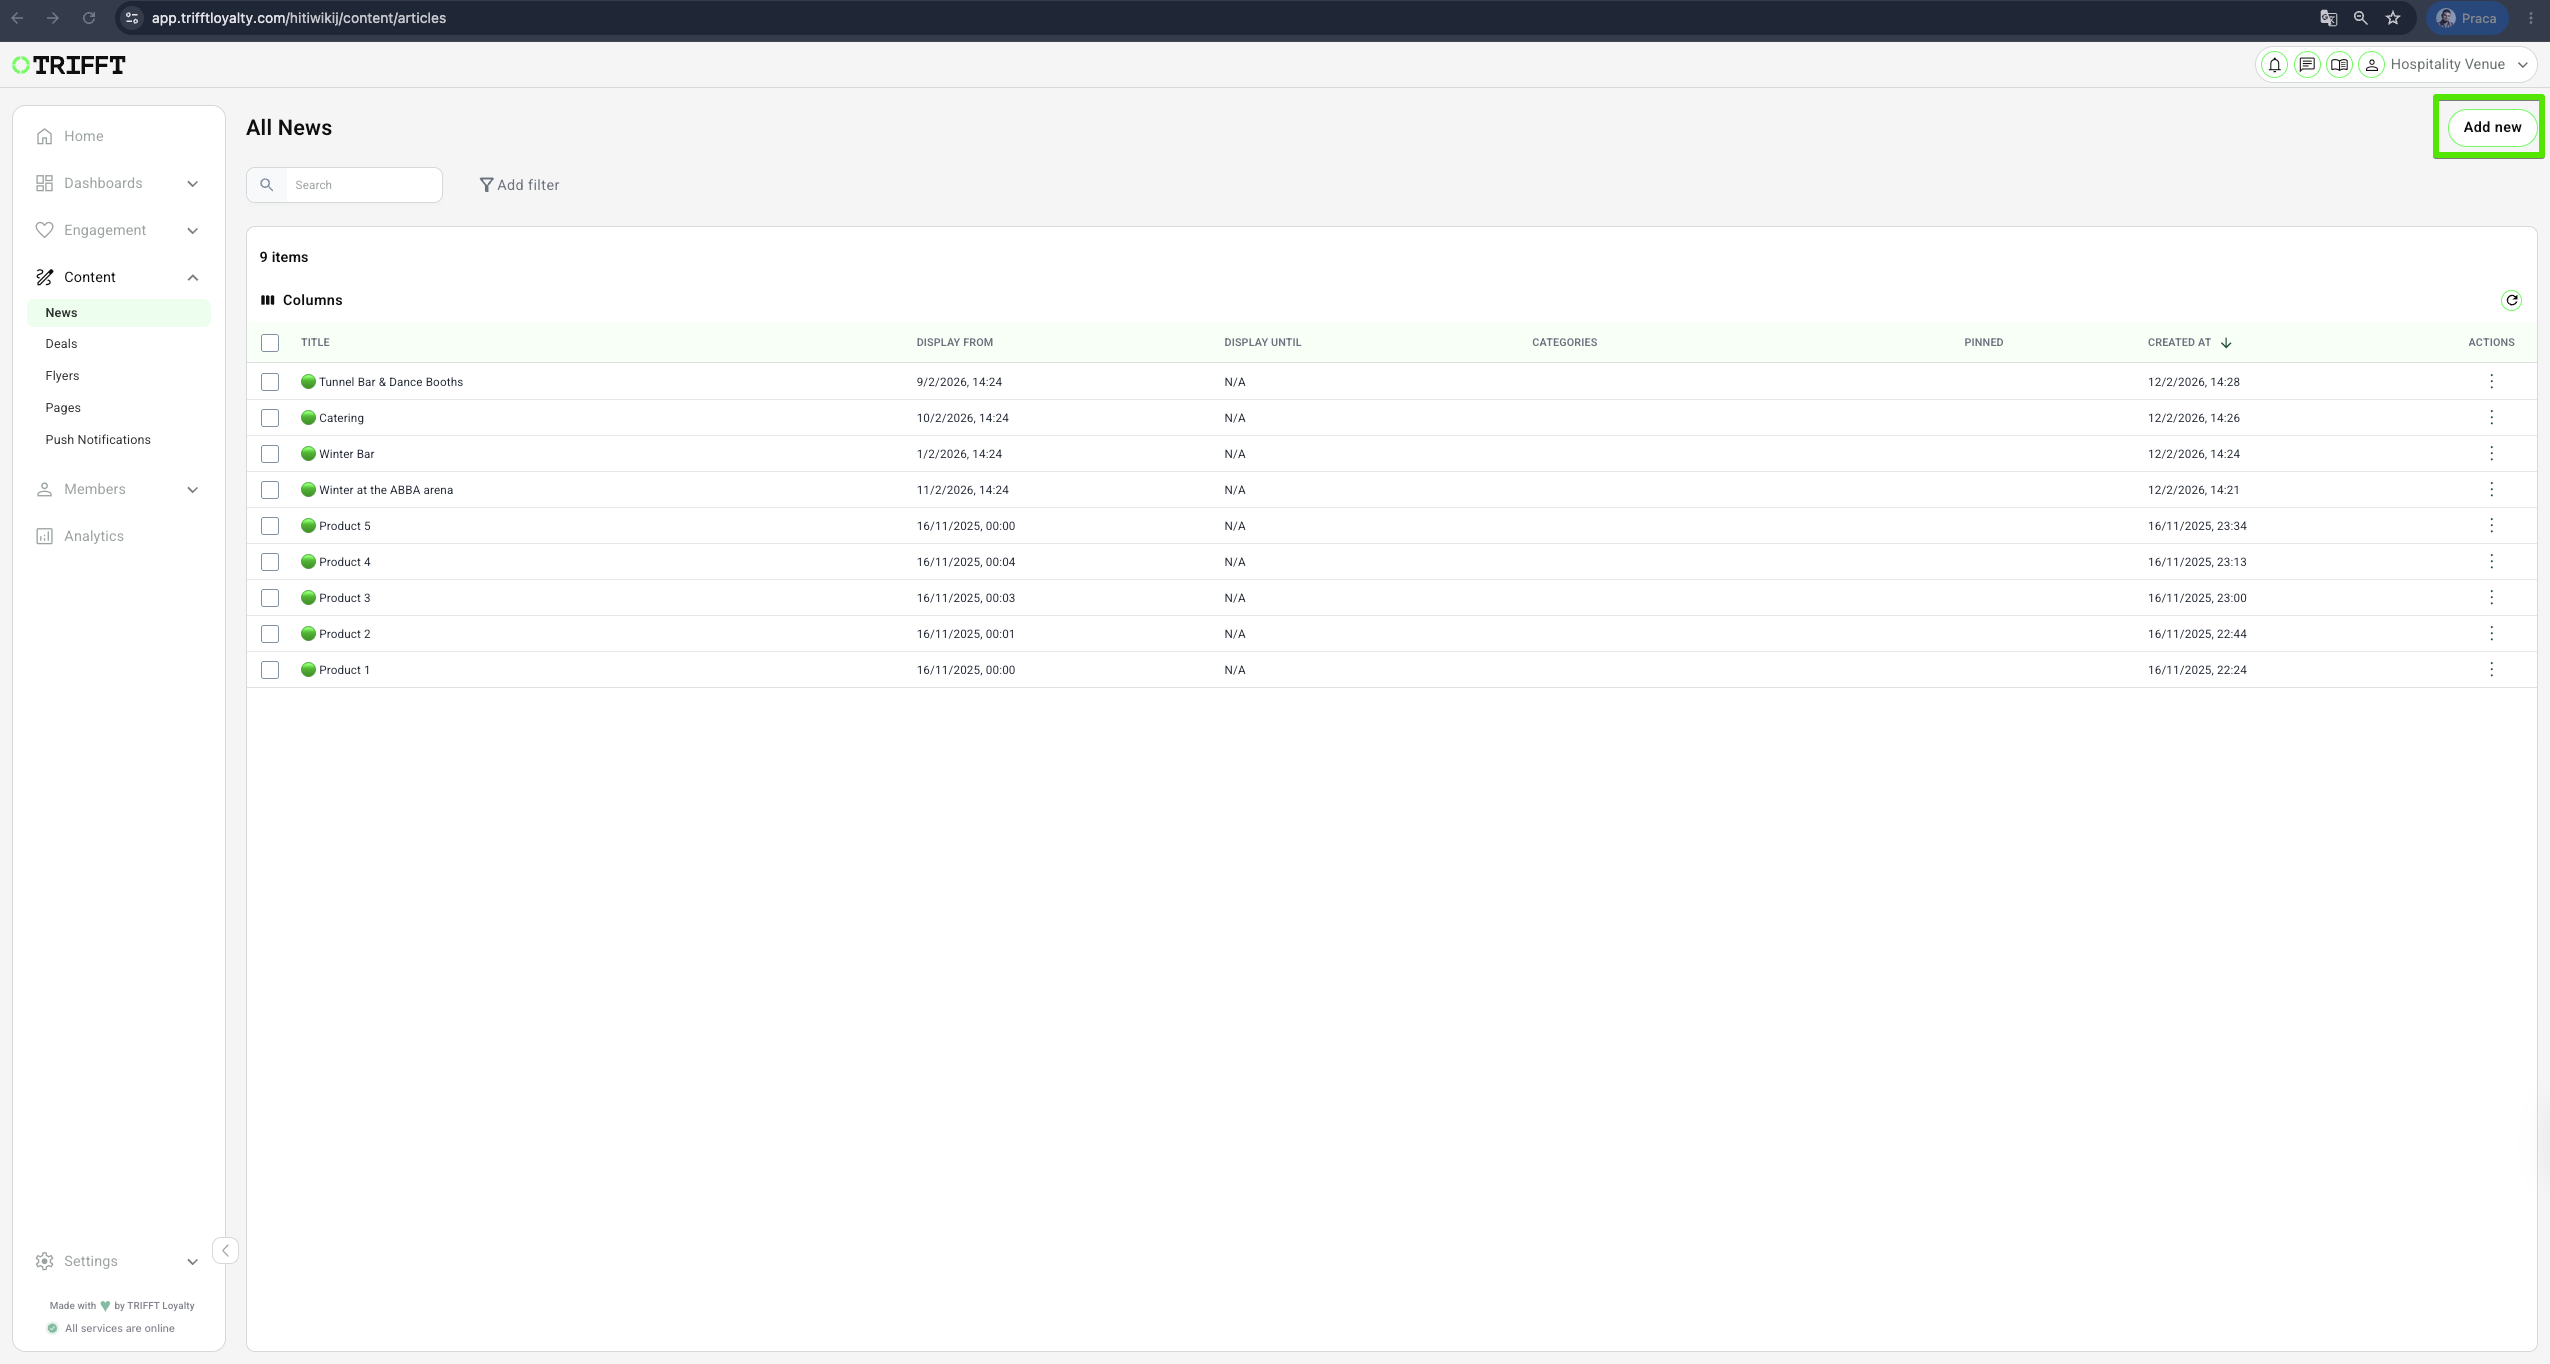
Navigate to the News Module: Log in to the Content Cockpit and select Content > News from the left-hand navigation menu.
-
Initiate Creation: Click the Add news button in the top right corner.
-
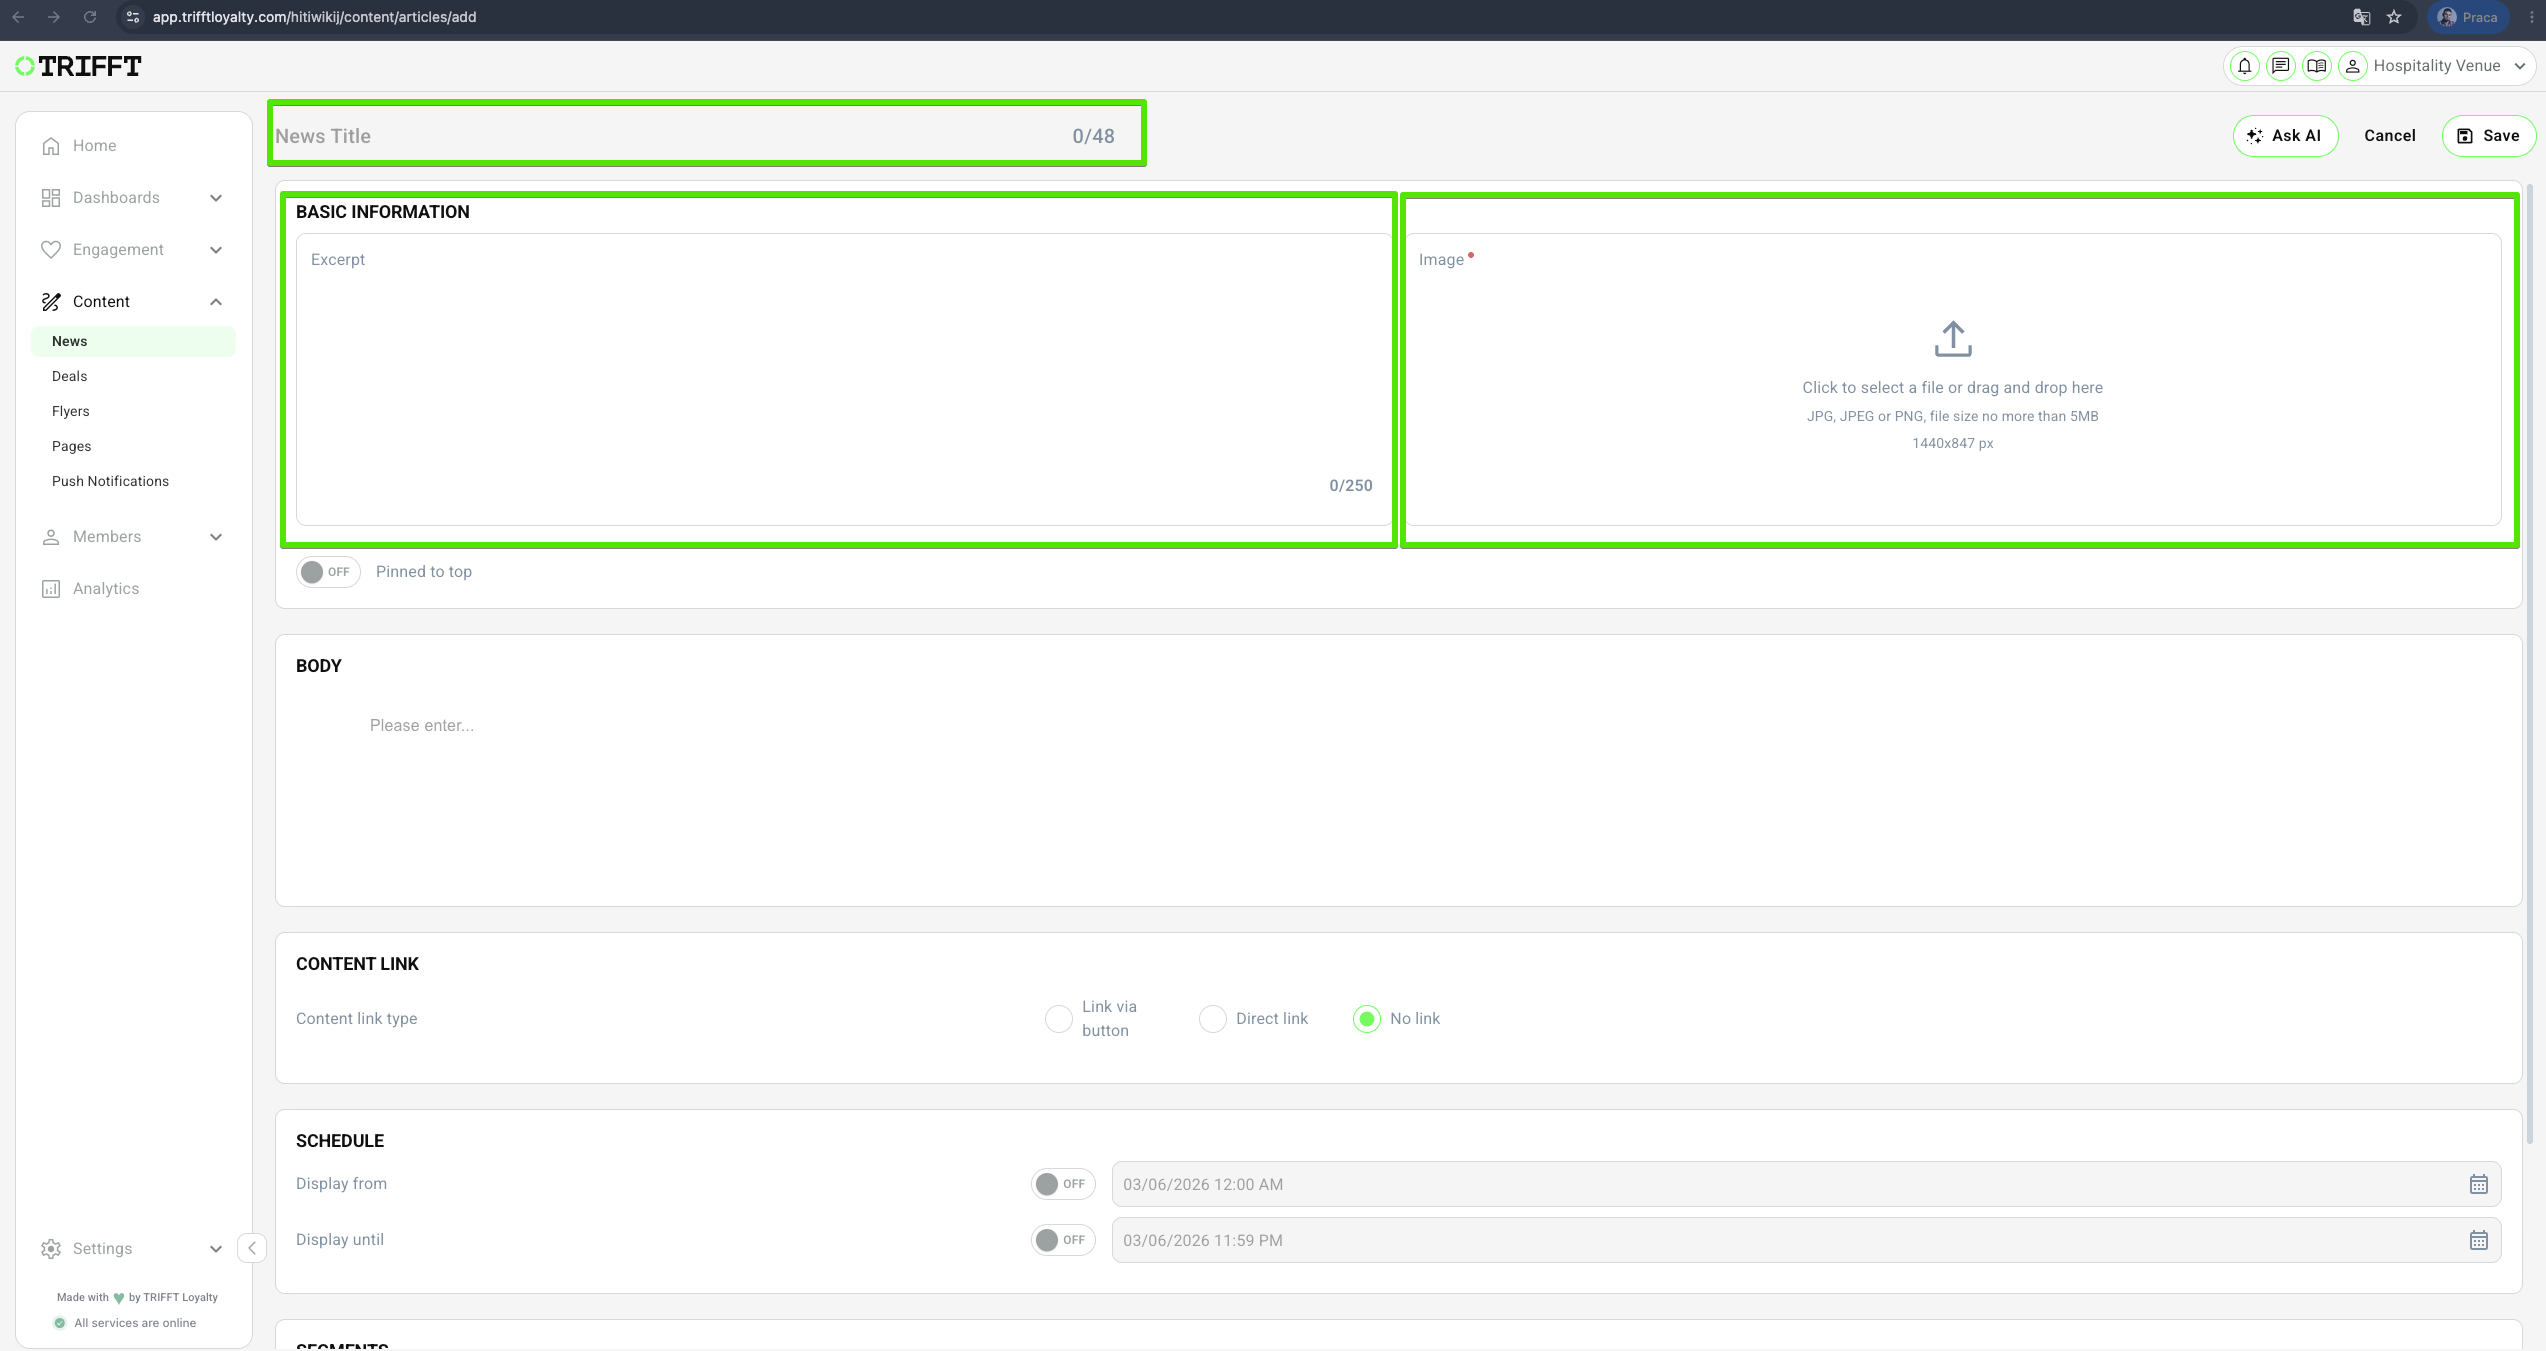
Define Core Content:
- Enter a News Title (displayed as the main heading).
- Add Basic information, which serves as the teaser in the member's news feed. ExcerptThis piece of content is displayed to Members as a preview before they click to see the full version of the News. The emoji database is available for use. There is also a character limit displayed on the right.
- Upload the Main Image to be displayed at the top of the article.
- (Optional) Toggle Pinned to top This is a toggle switch that allows you to display your News with higher priority. News with pinned to top set to True will appear 1st before other News that are not pinned.
-
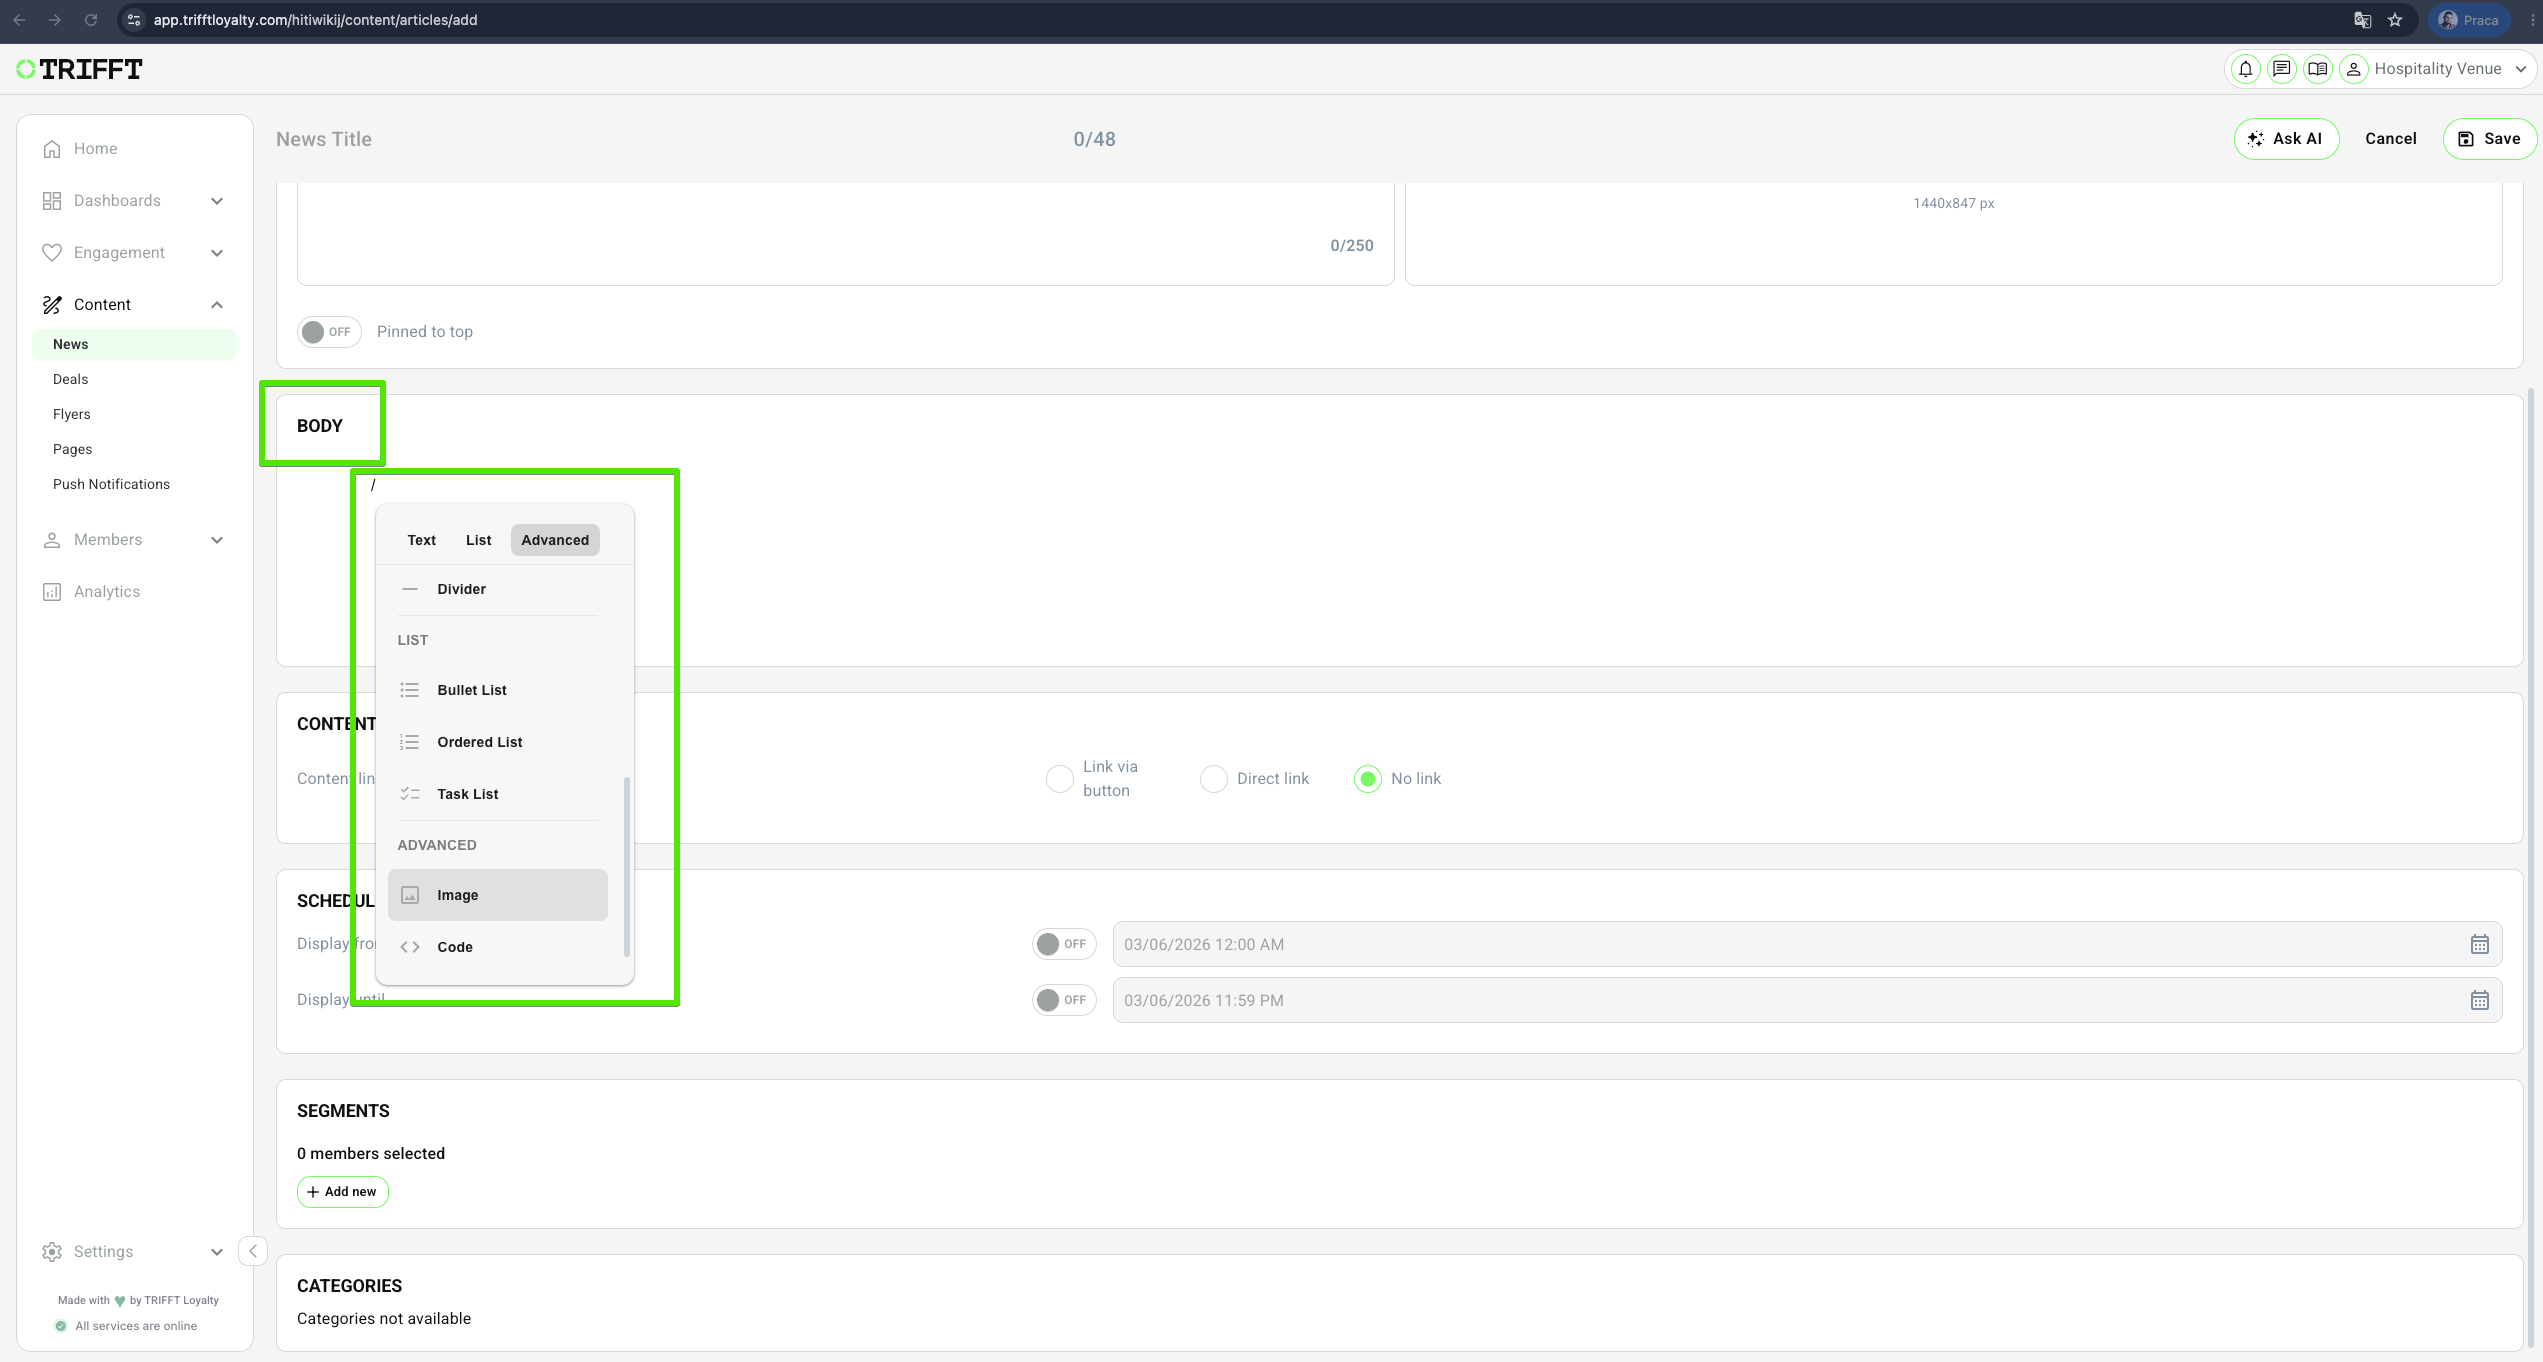
Configure Body Content: Use the rich text editor to draft the Article Body. You can embed links, format text, and add supporting media.
-
Set Content link:
You can also link any content to your news. For more details on how to use linking, see this article: Linking your content.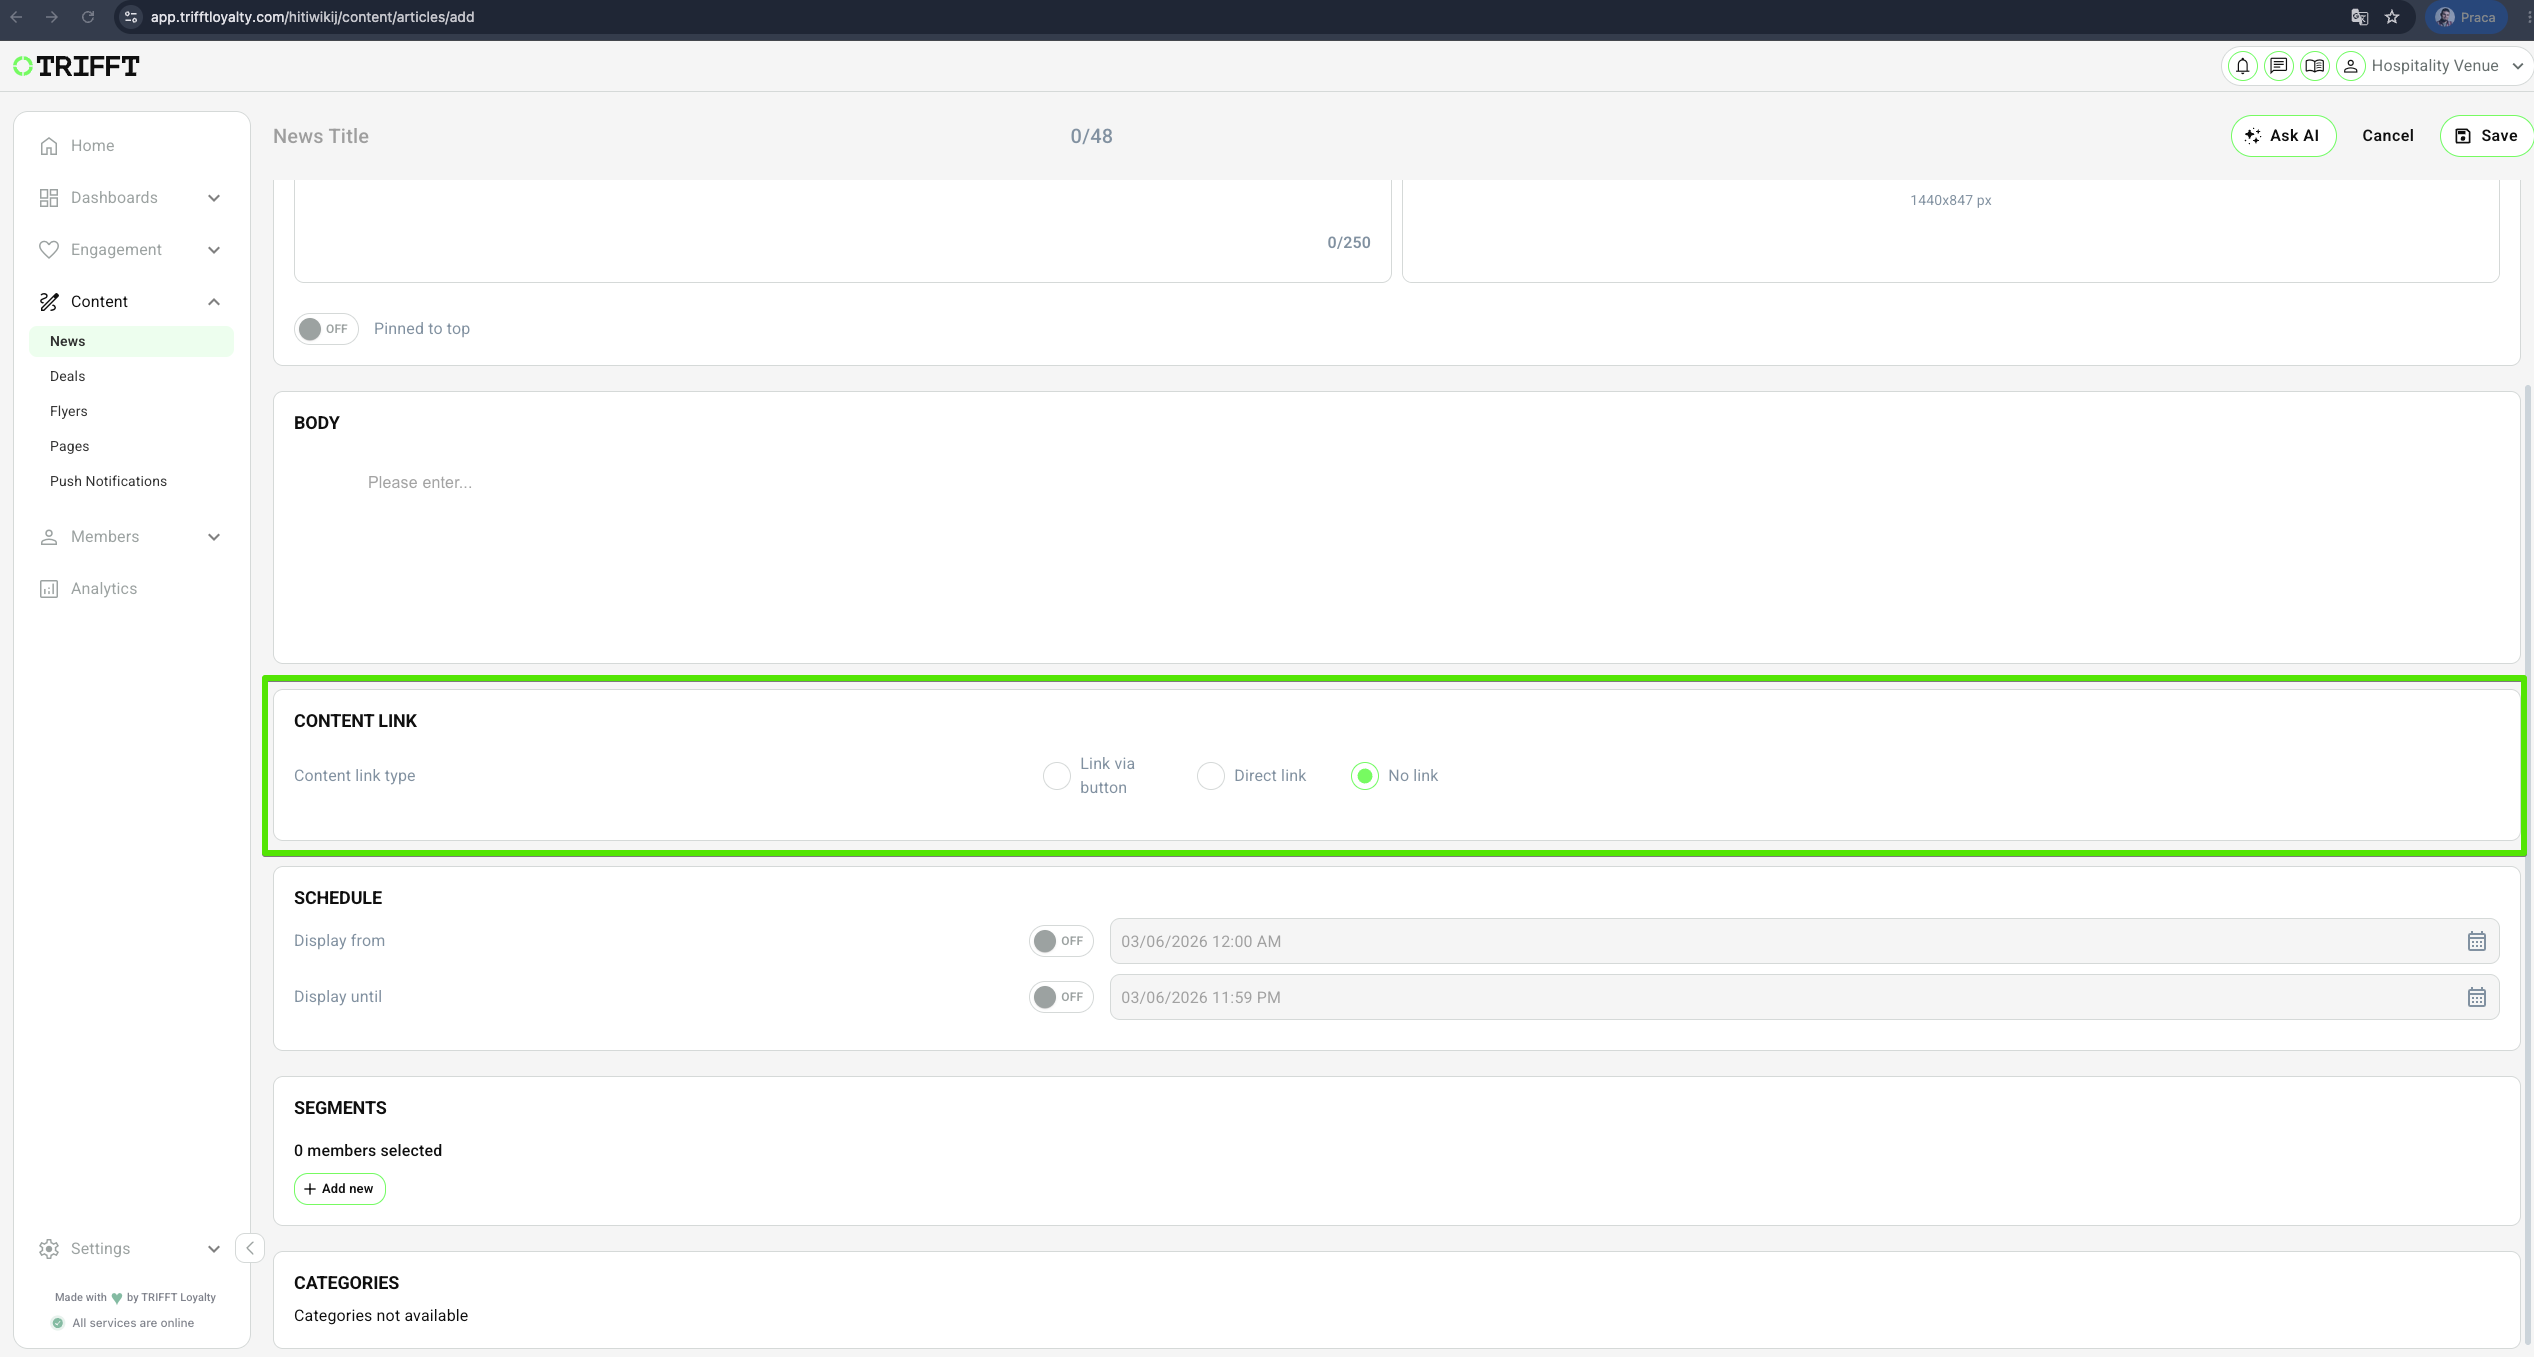
-
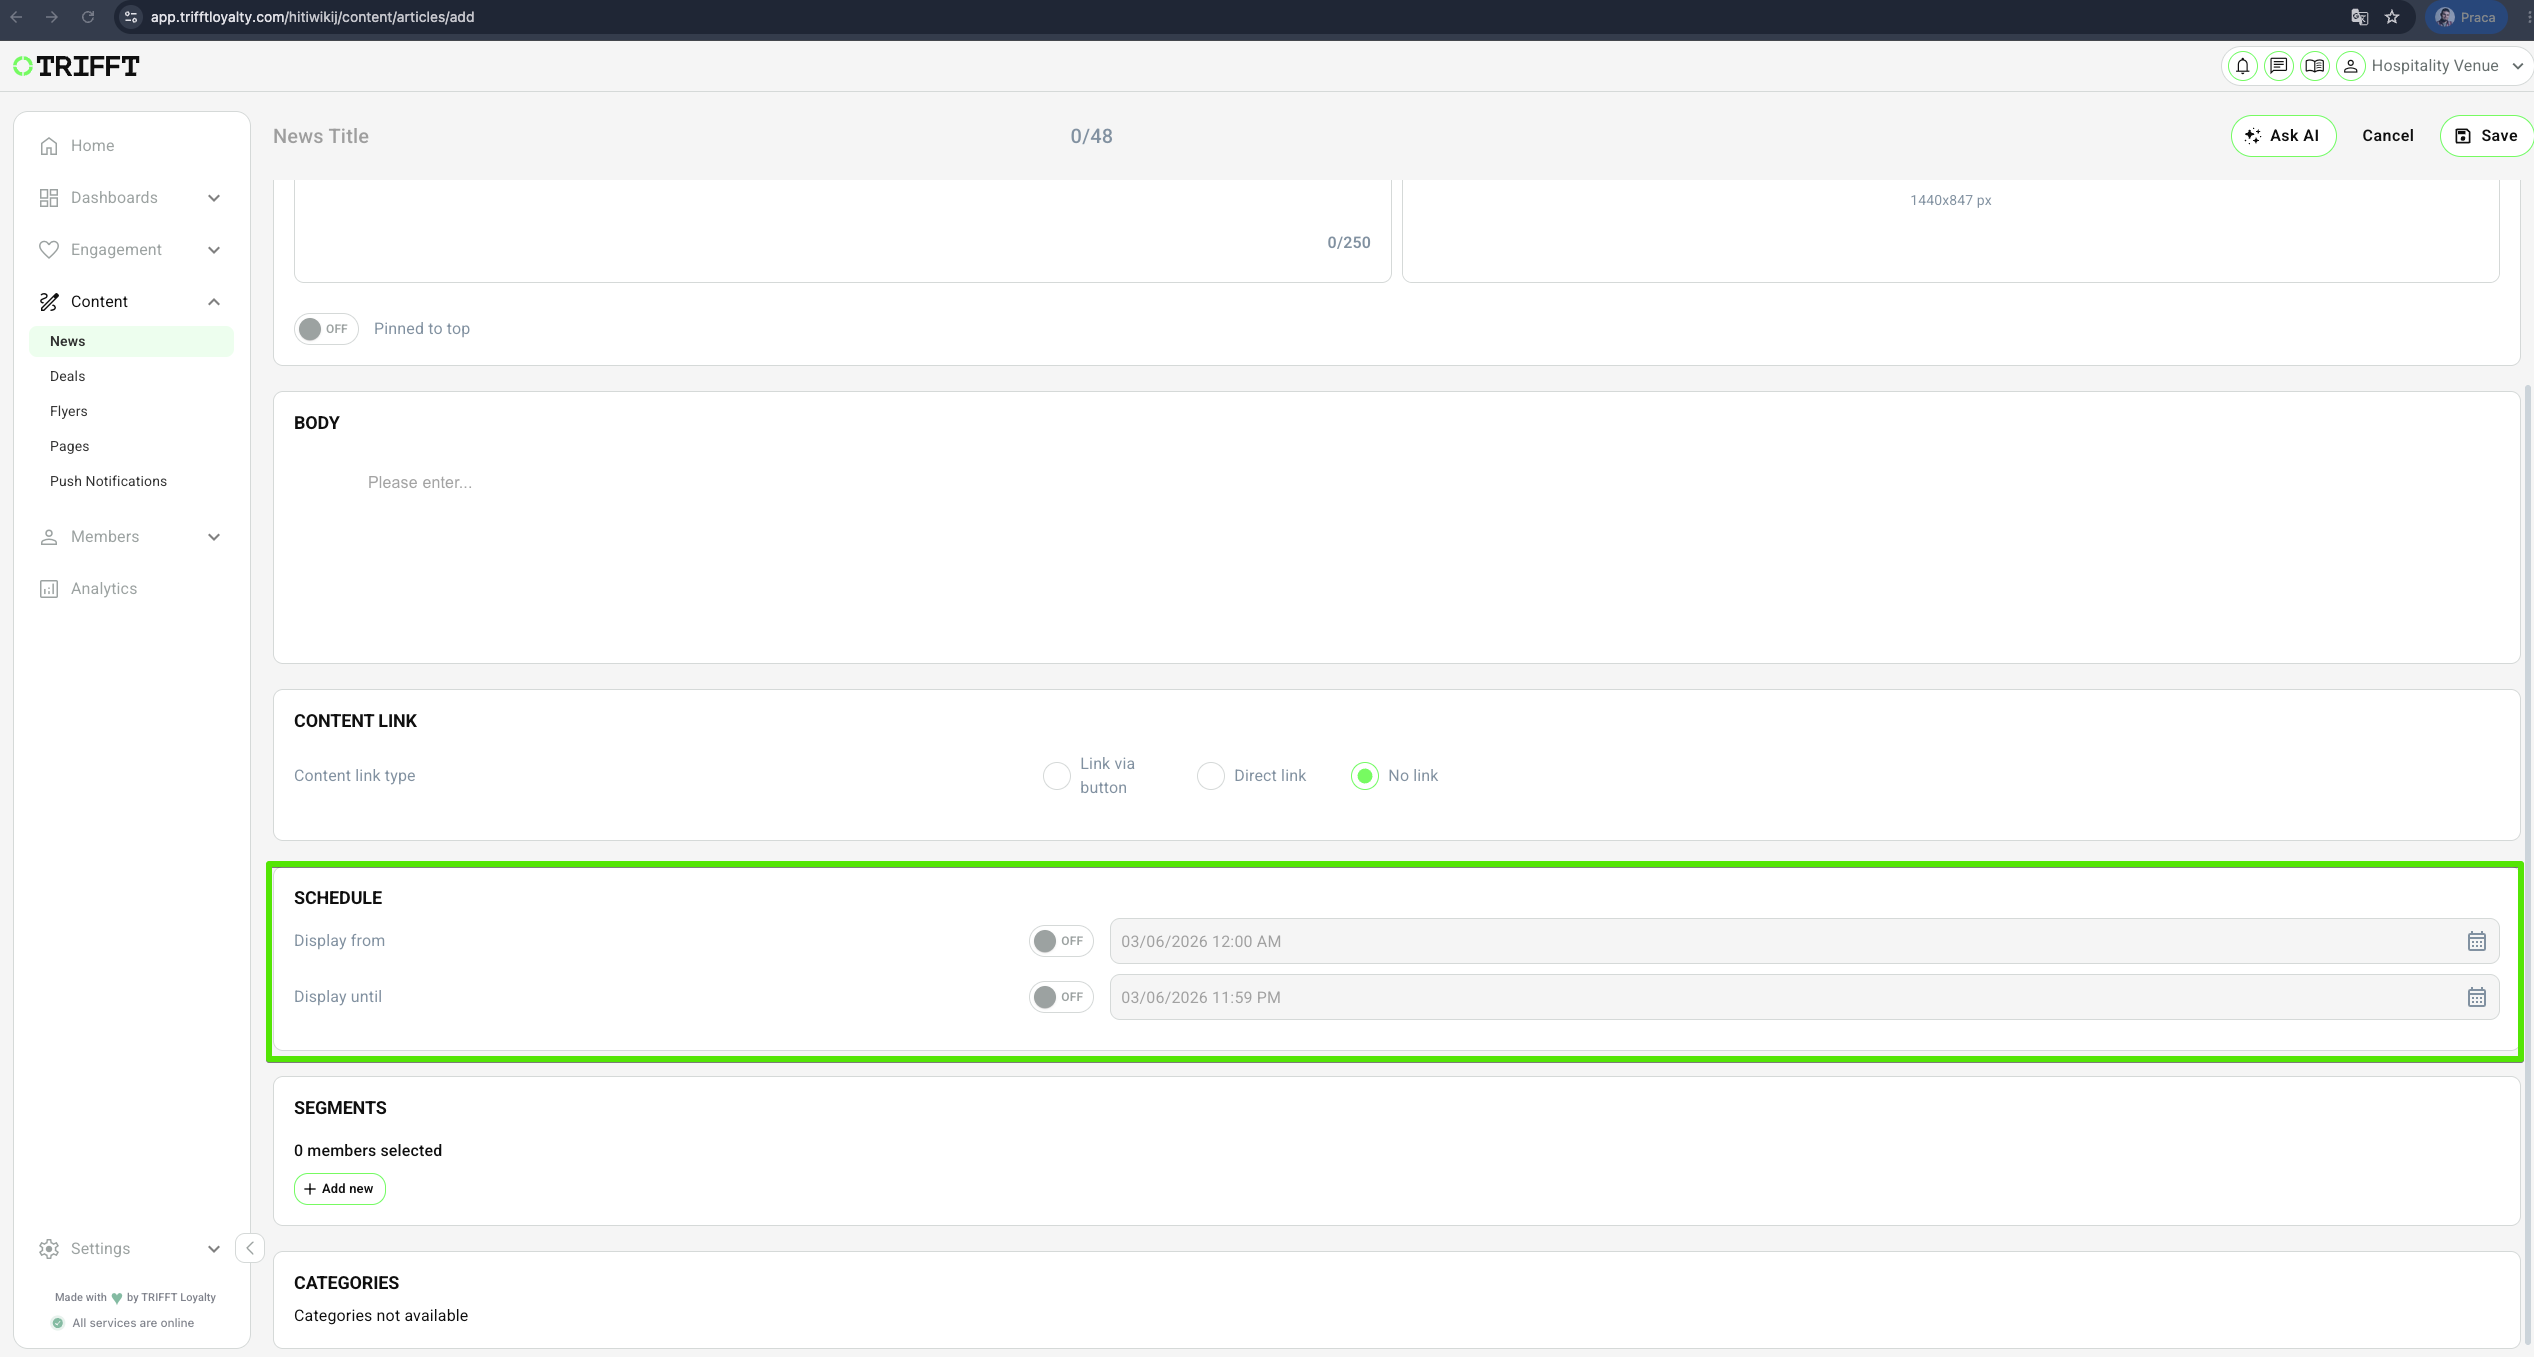
Set the Schedule:
- Define the Display from and Display until to control when the news is visible to members.
-
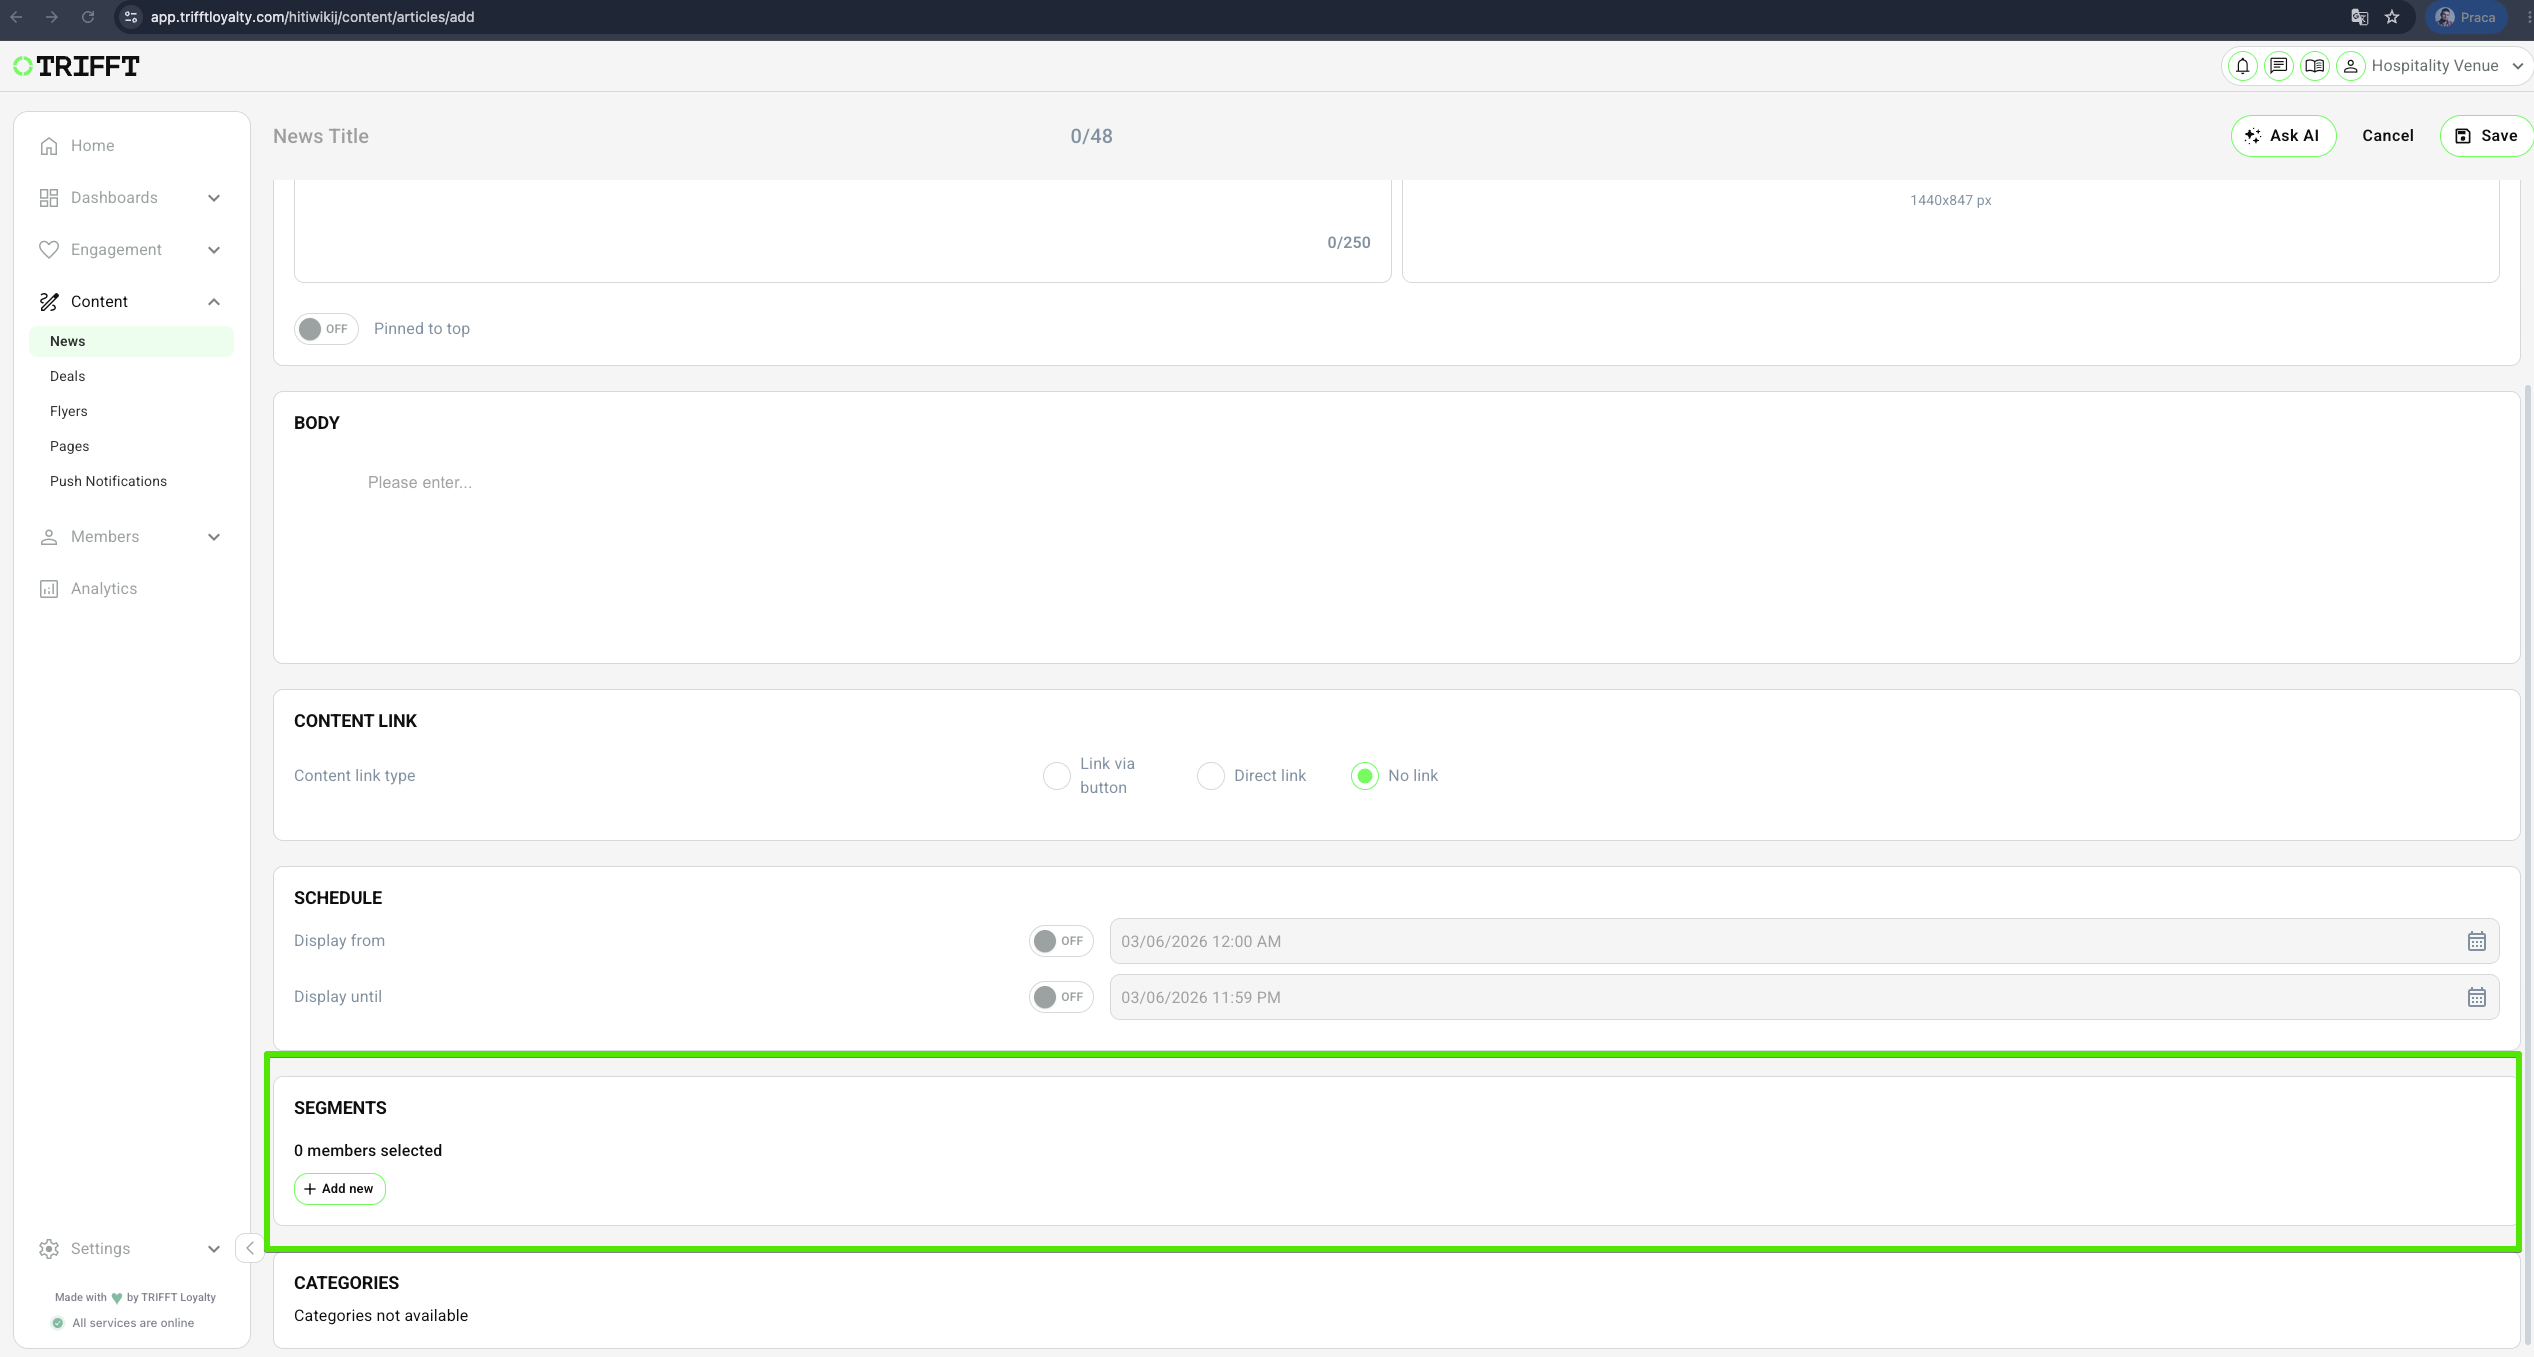
Choose Segments: Select the specific Segments that should see this news. If left blank, the news will not be visible to any members. After selecting the segments, there is information on how many users are selected.
-
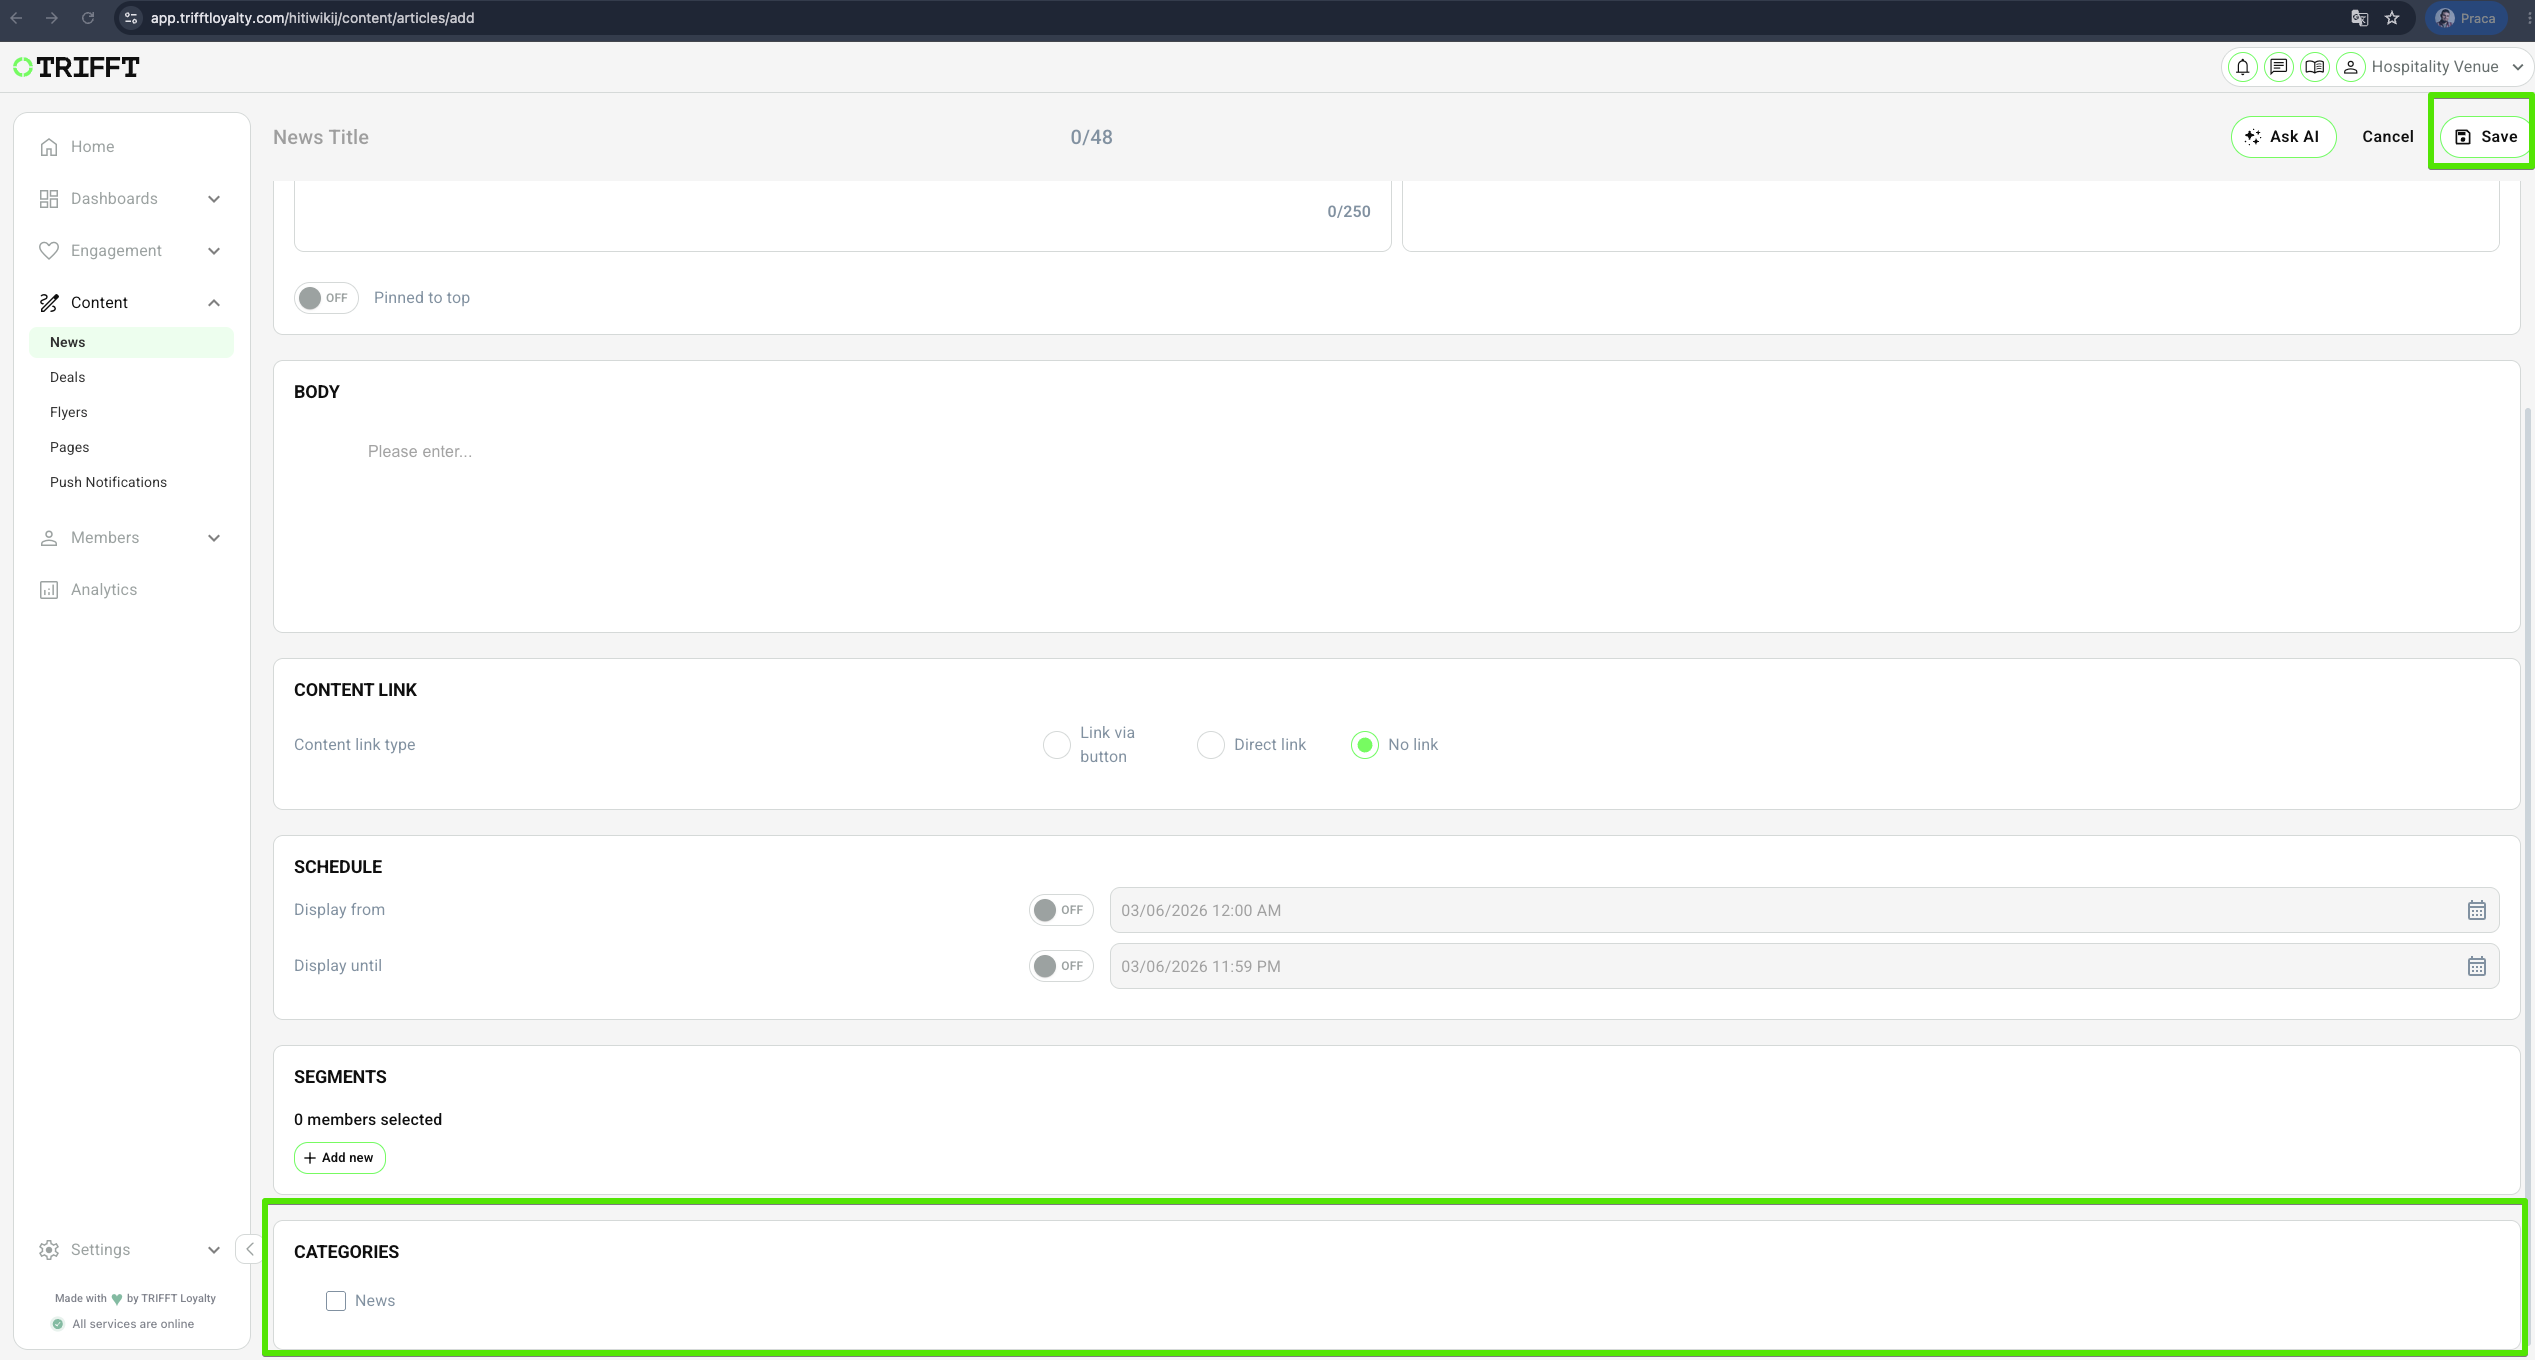
Categories: To group News, you can add it to a category by selecting one from the displayed list. To create a new category, go to the Categories Set Up section. Click Save to finalize.
Configuration checklist
- Audience Definition: Targeted segments are correctly applied to prevent irrelevant content delivery.
- Validity Period: The start and end dates are set correctly to avoid displaying expired promotions.
- Image Optimization: The main image is uploaded and renders correctly on both mobile and web views.
- Deep Linking: Any links within the body content correctly direct users to the intended Deals, Rewards, or external URLs.
Updated about 1 month ago