
Coupons Set Up
This guide covers how to set up Coupons in TRIFFT from scratch, including validation steps.
Step-by-step setup
1. Open the Coupons panel
-
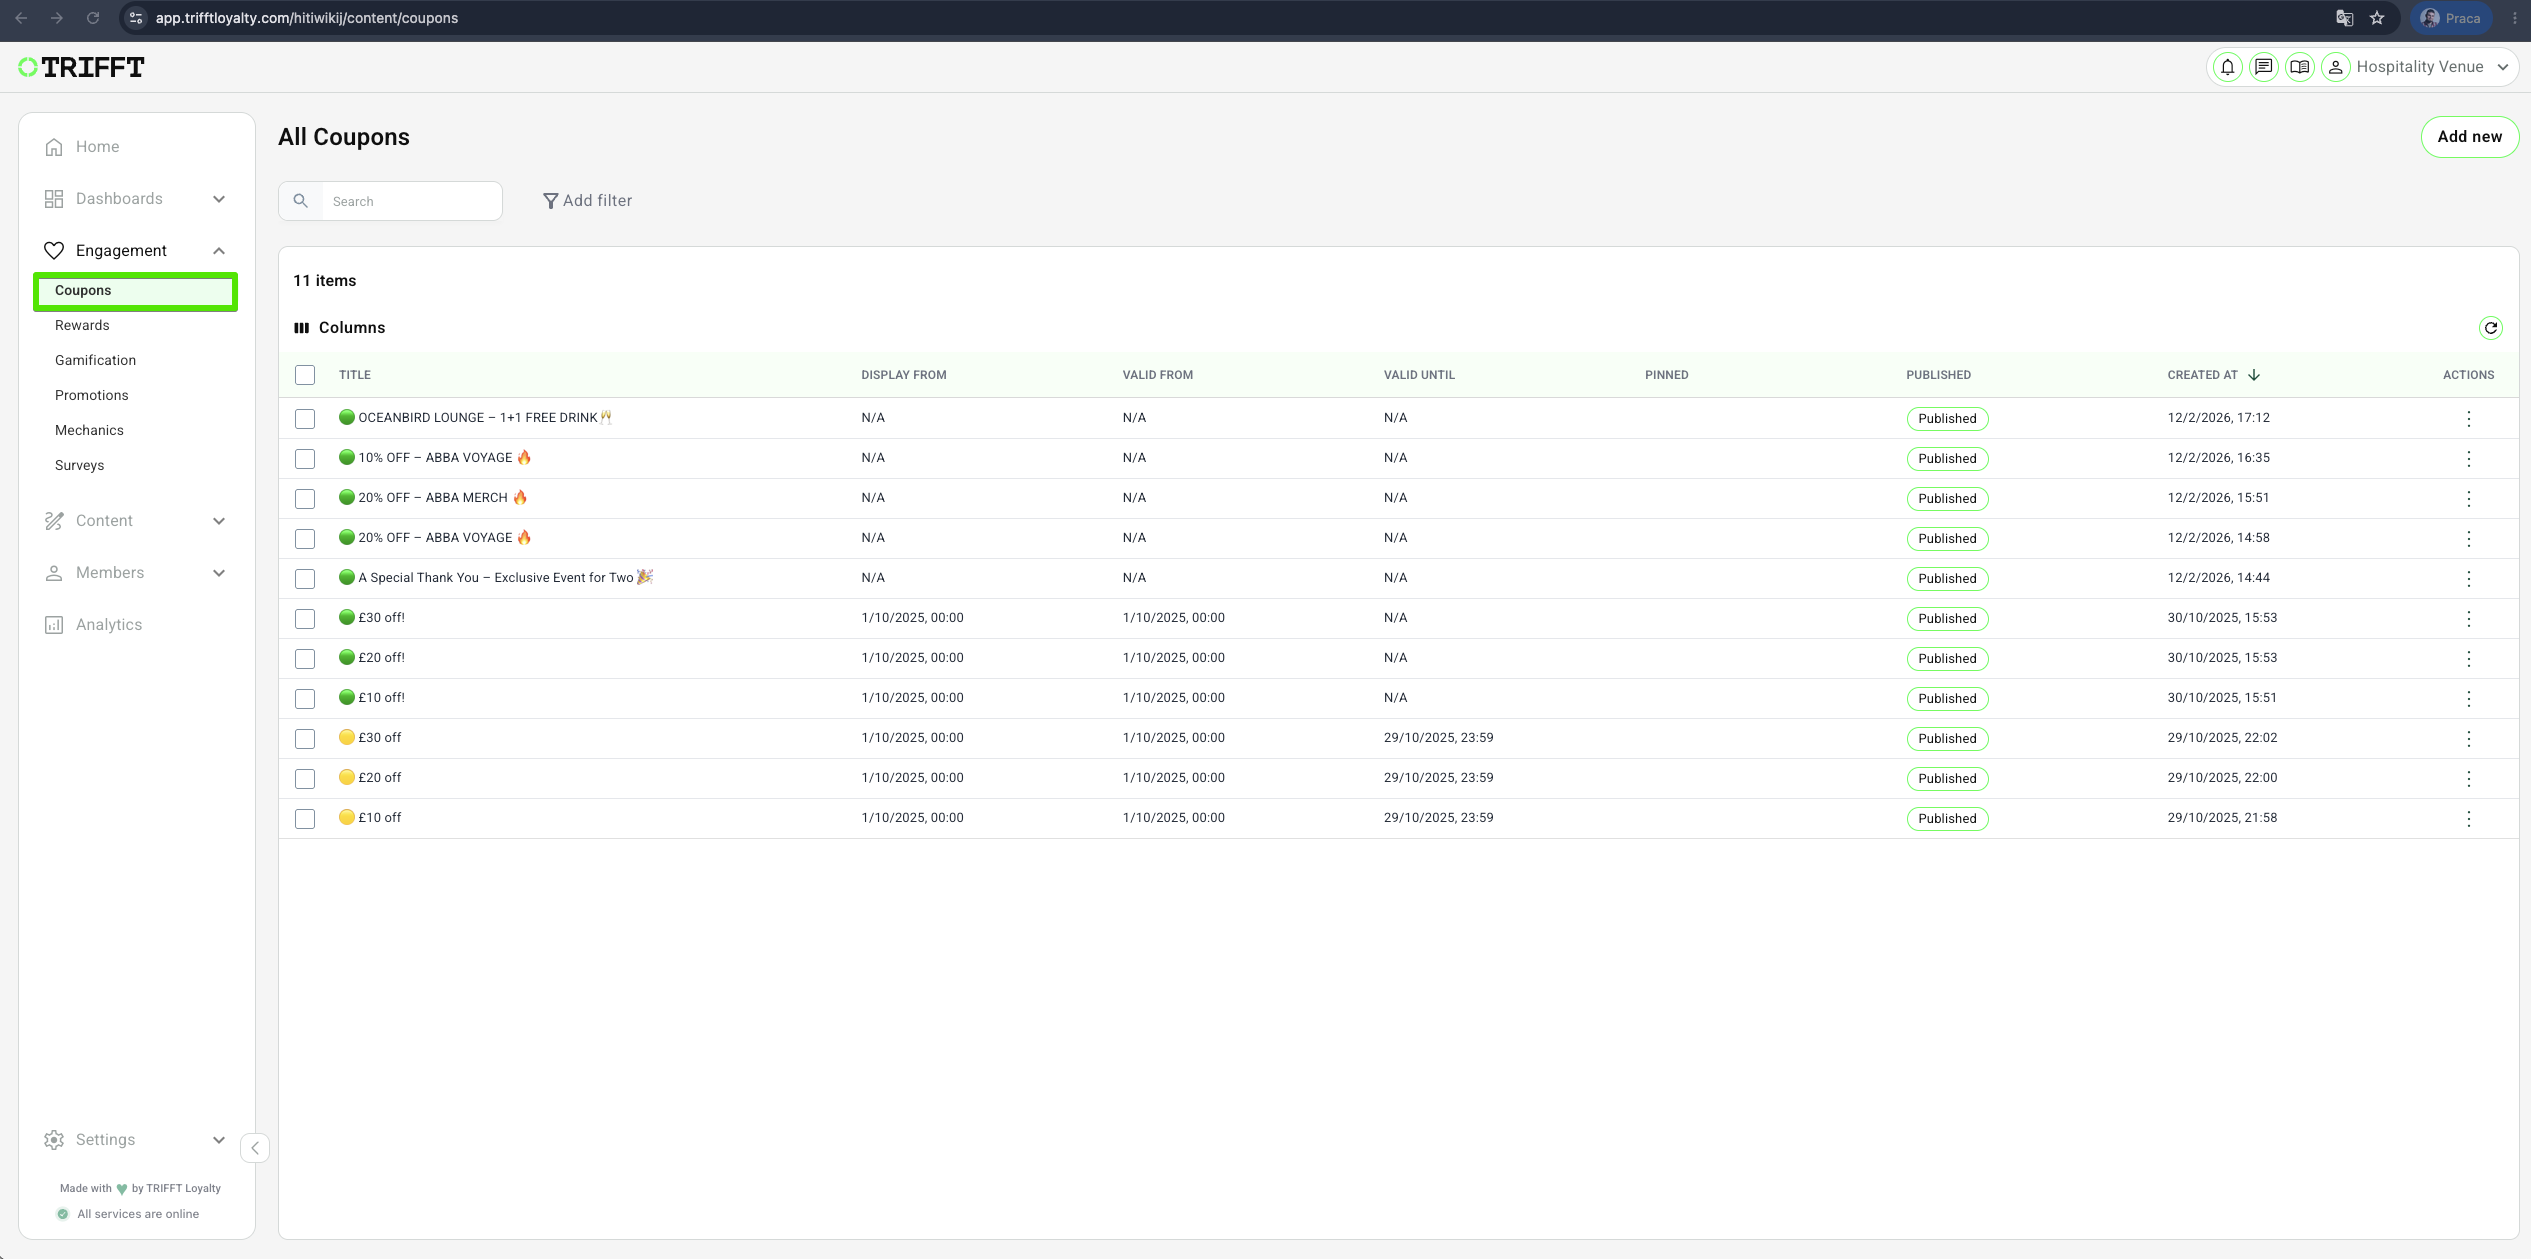
Access the Content Cockpit and go to Engagement > Coupons.
2. Create a new coupon
-
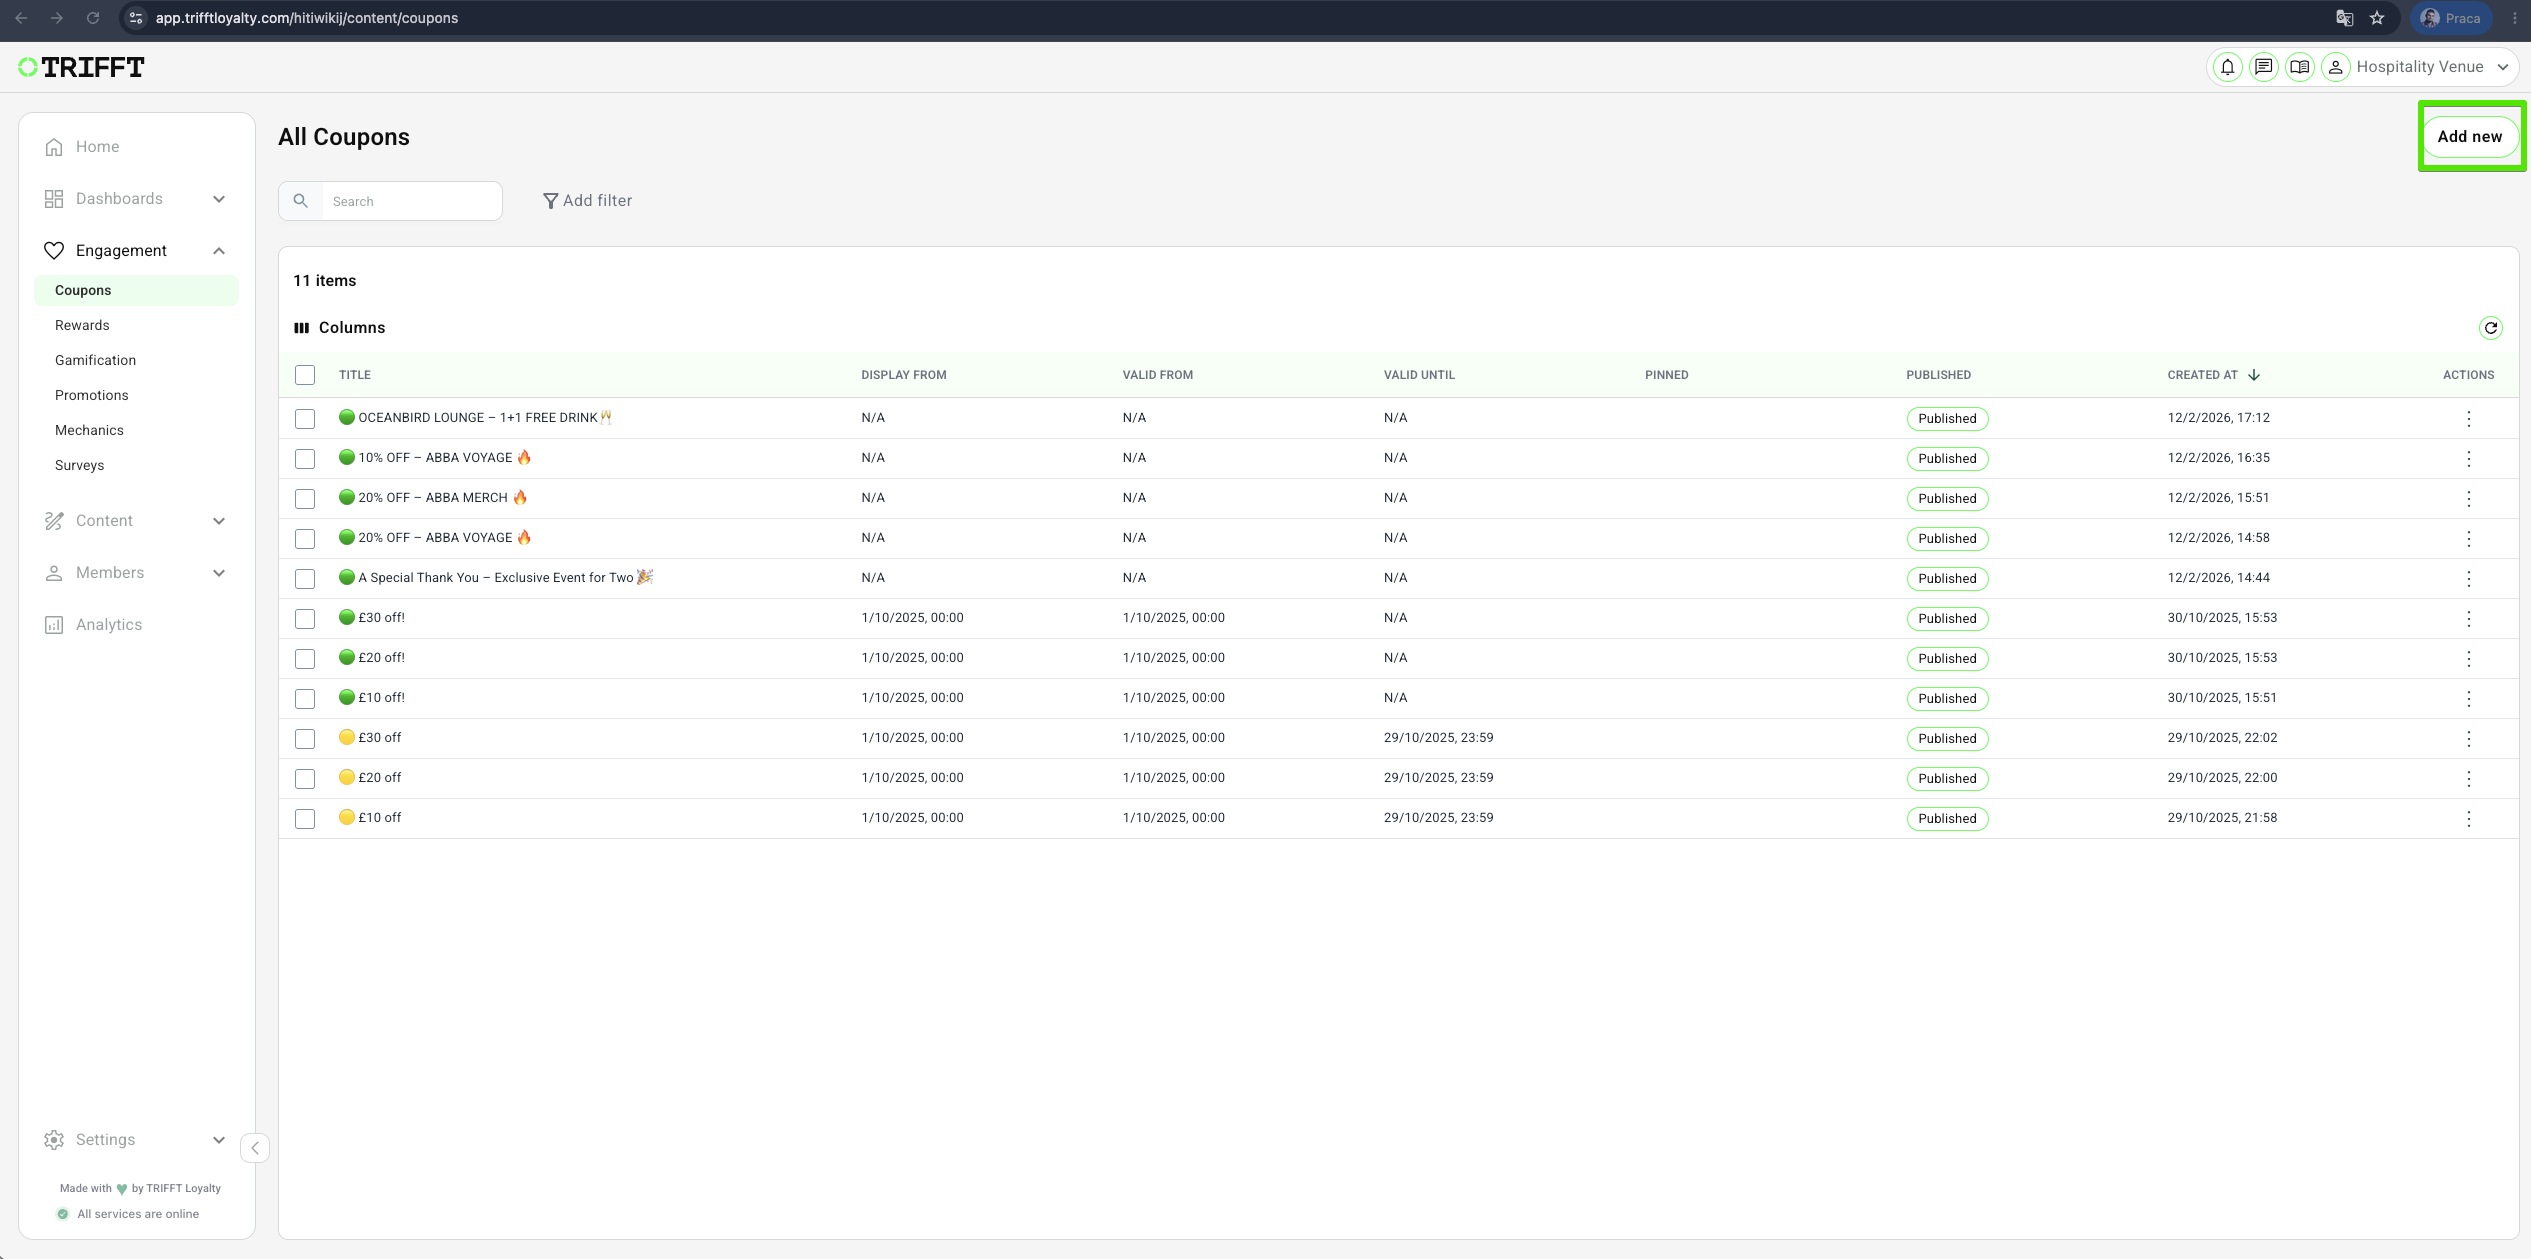
Click Add new.
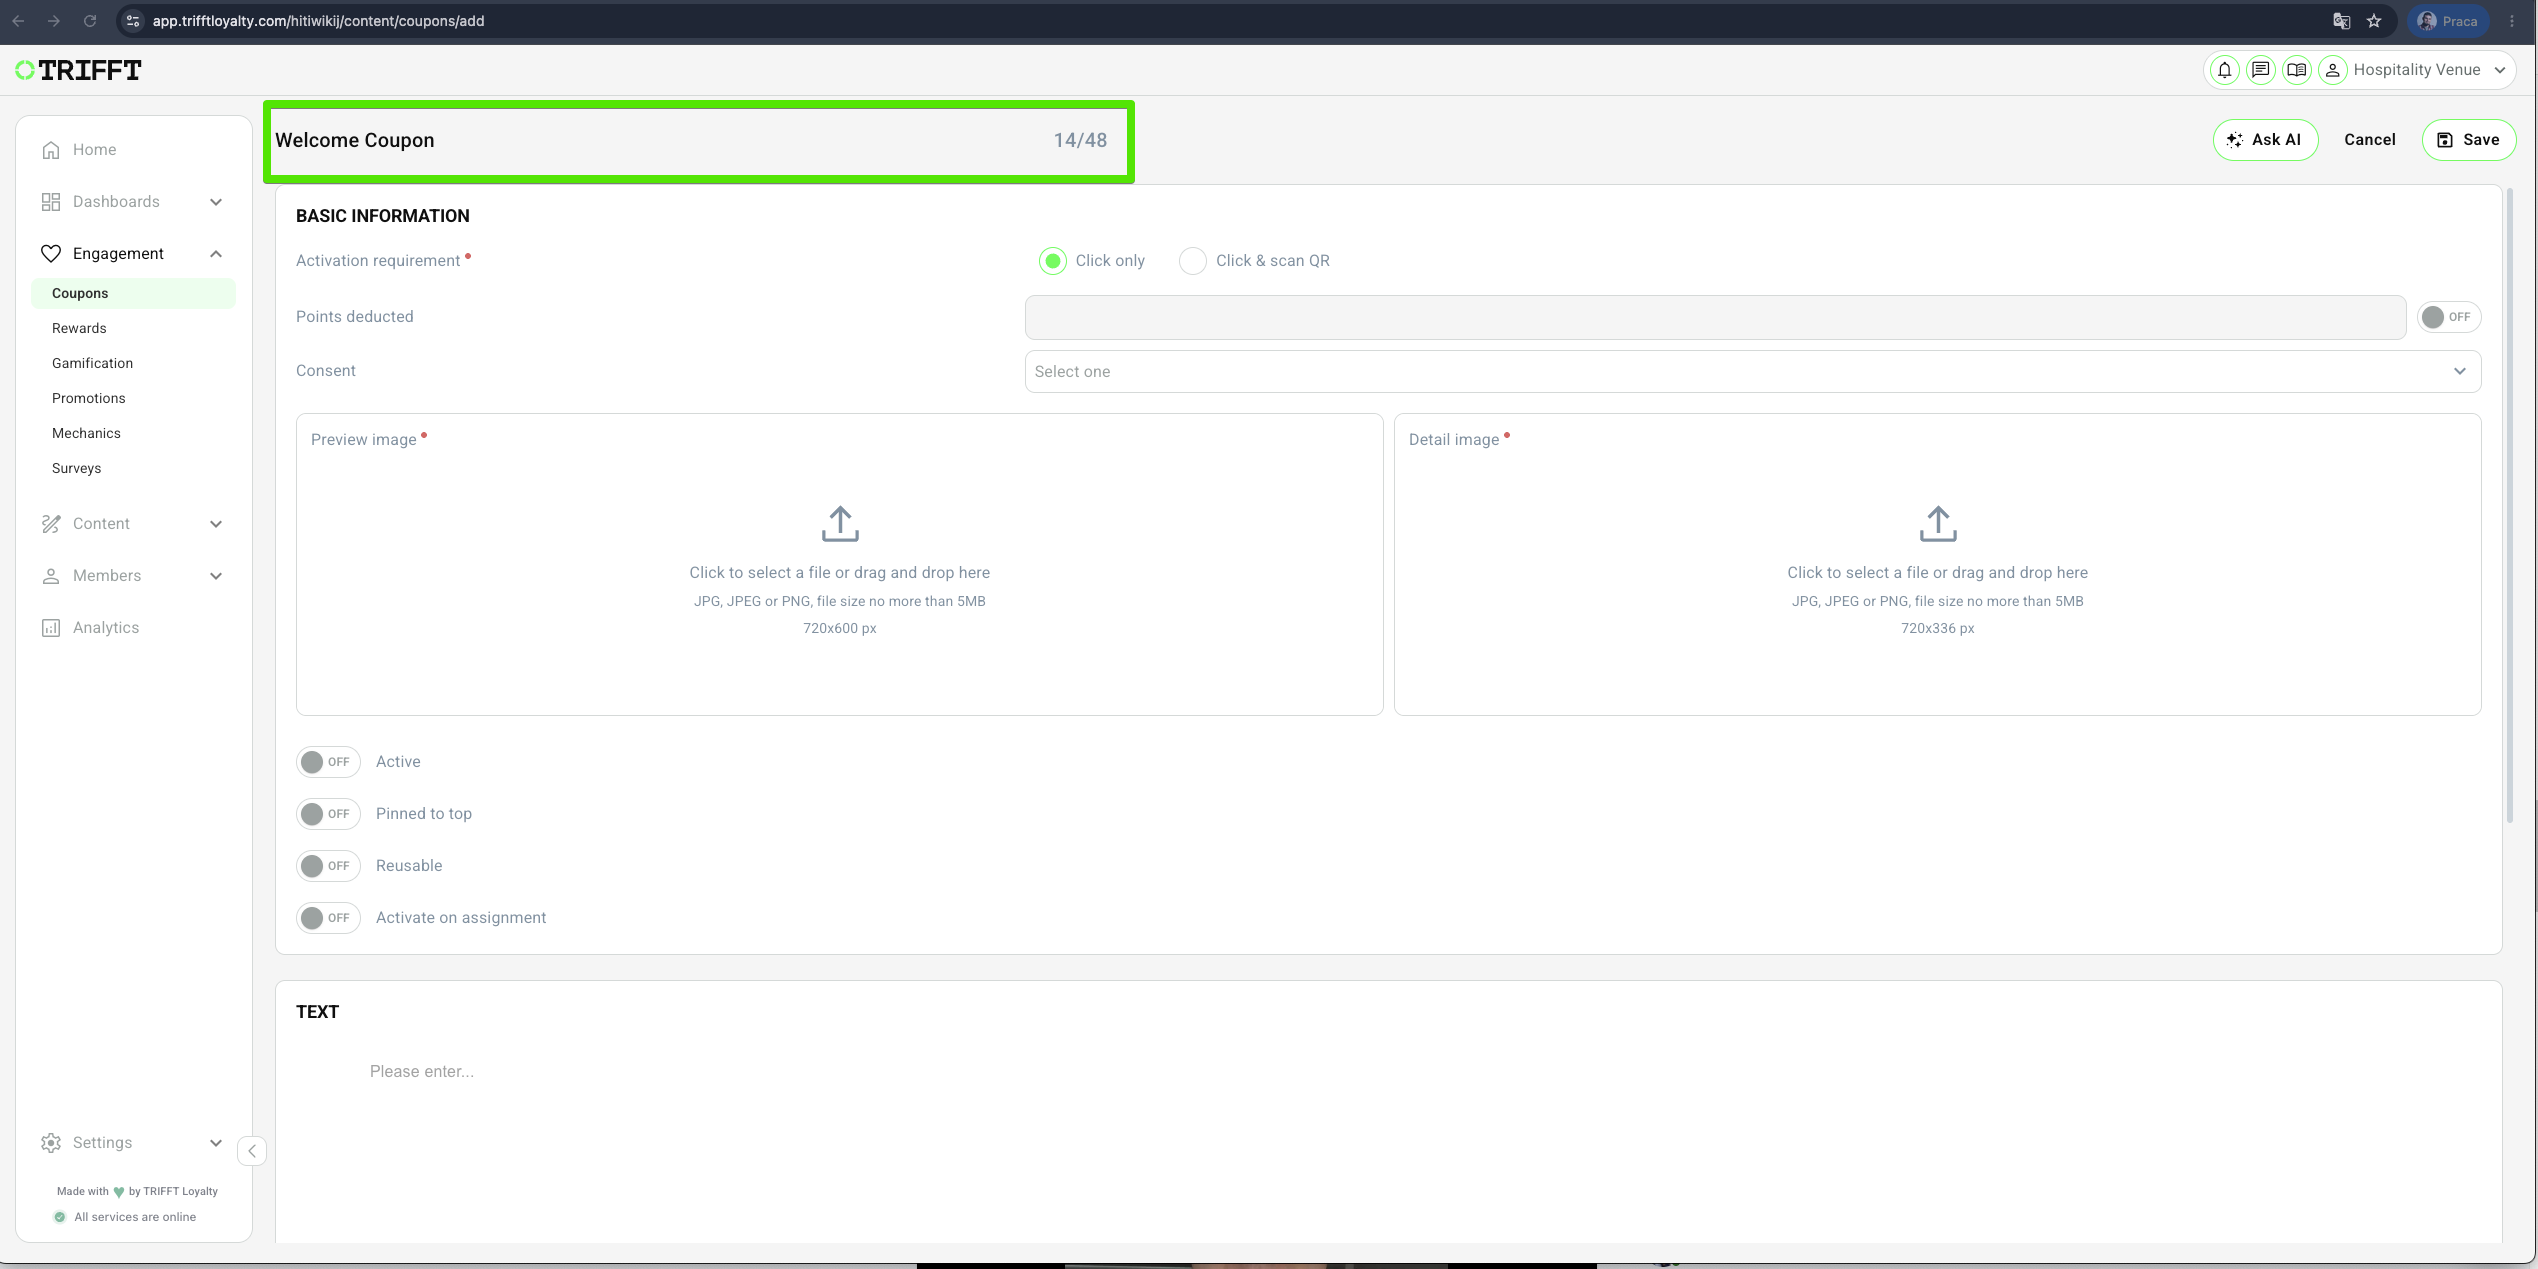
3. Fill out the Title for the Coupon
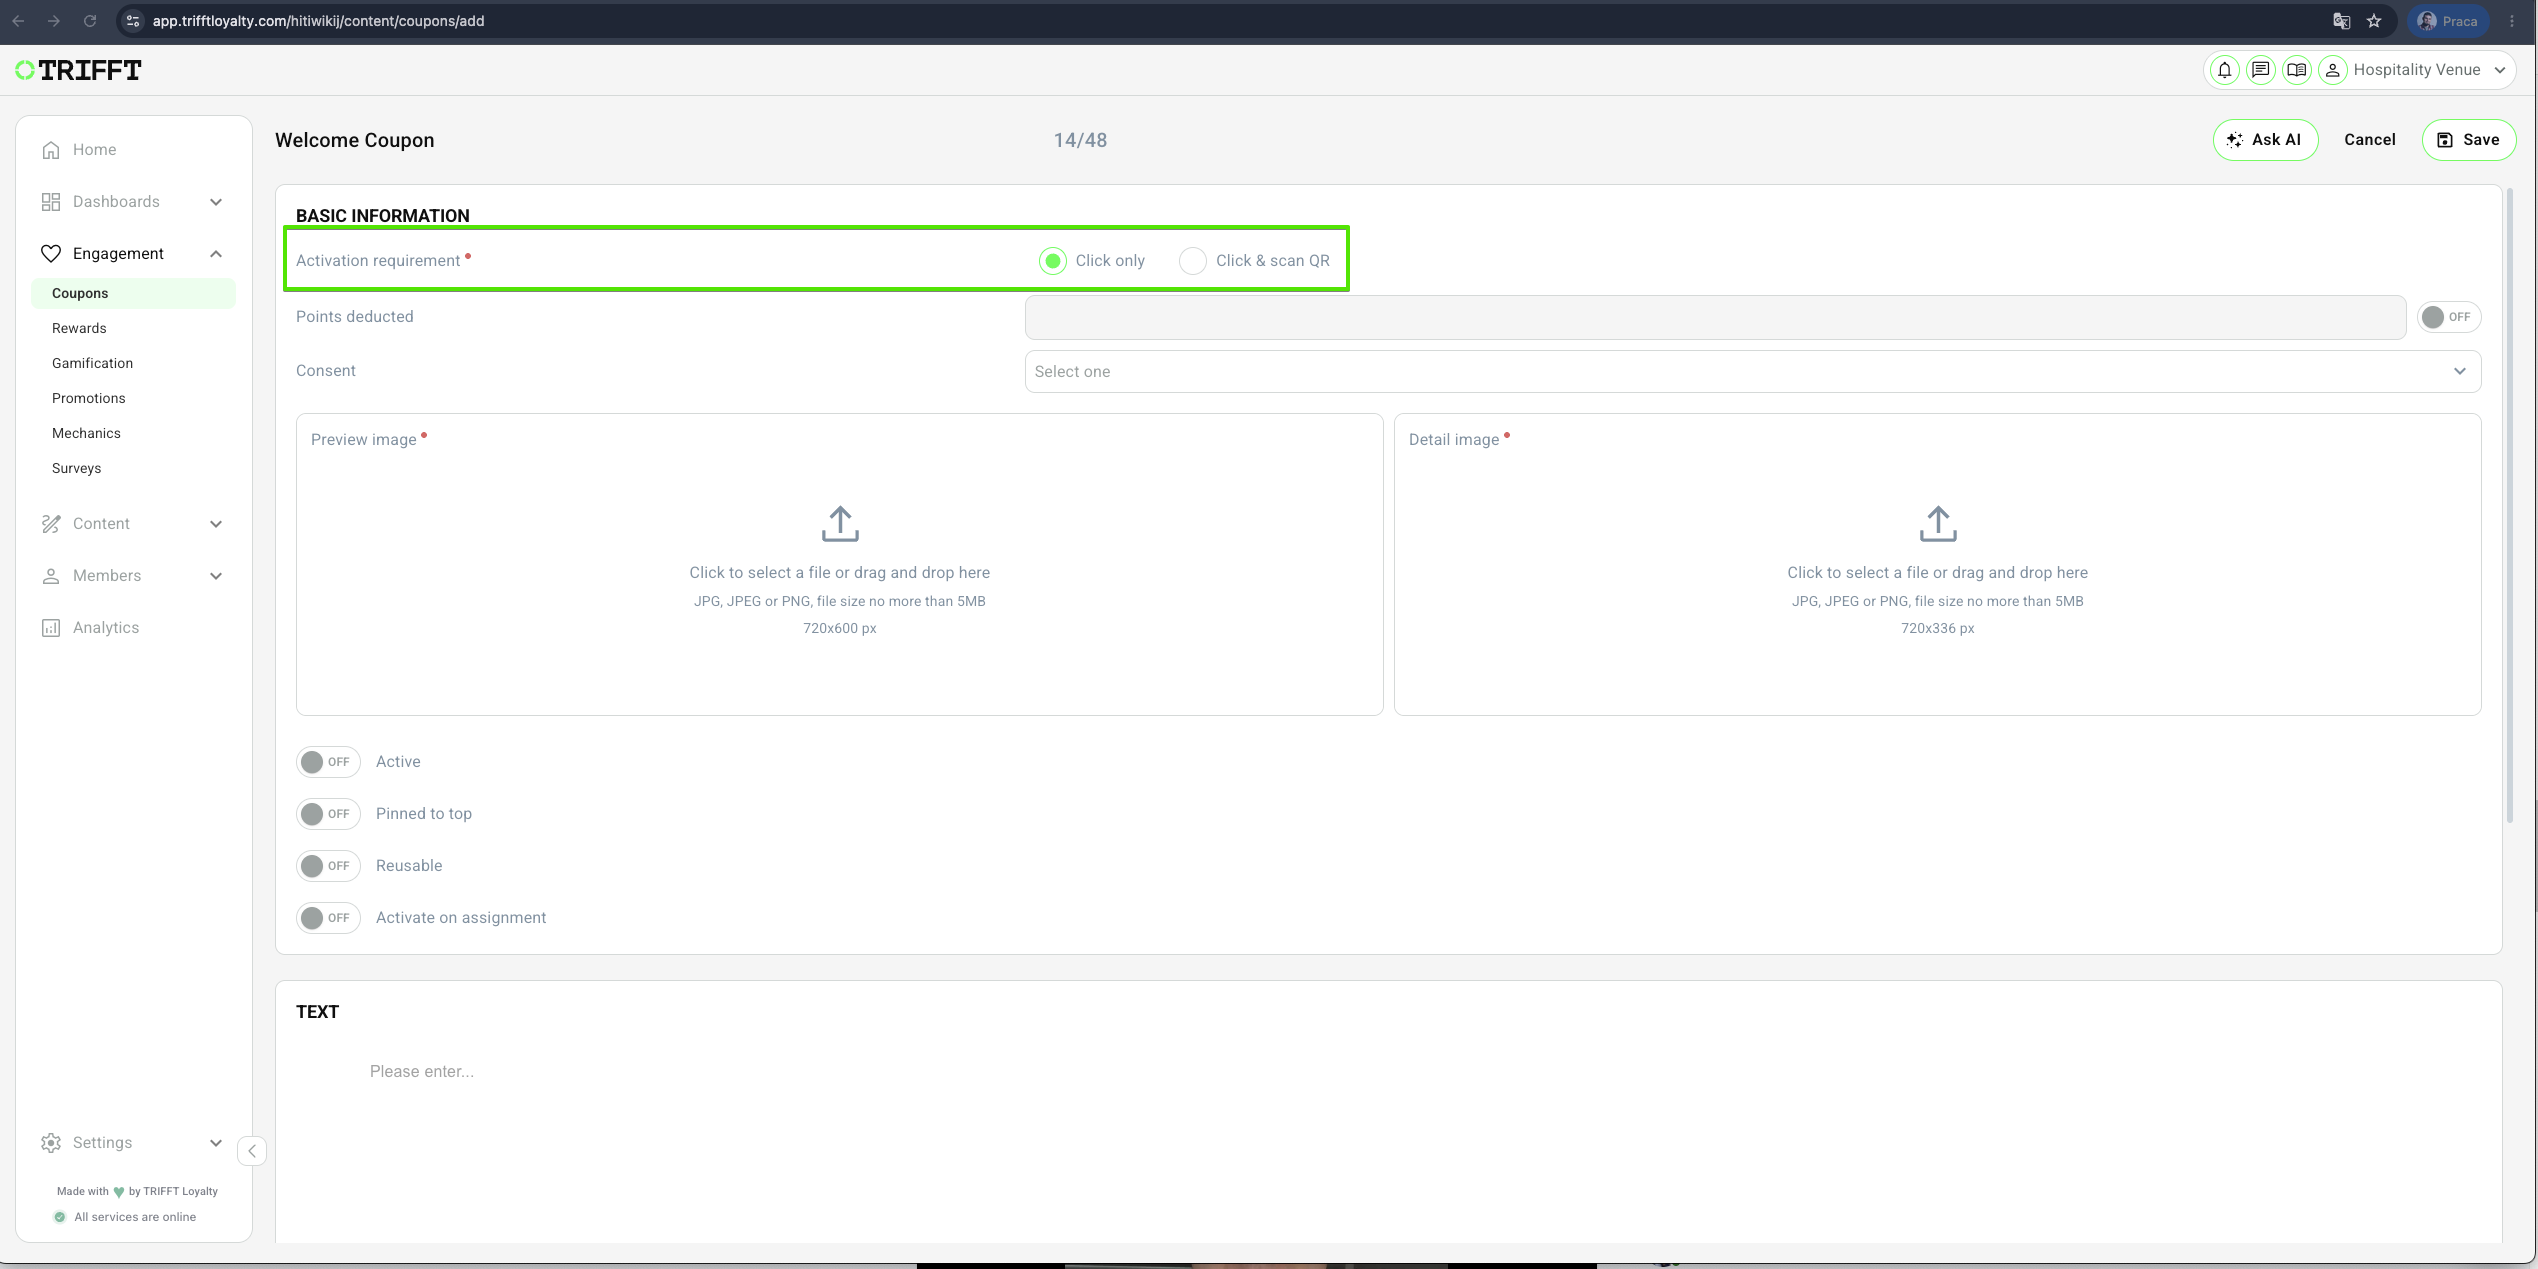
4. Select "Activation requirement"
Turn on the Coupon Activation option in General settings ON, if you want to use the feature of activating the coupons.
- Choose the "Click Only" option if you wish for Members to activate their coupons solely by clicking on them. If, however, you wish for Members to scan the Venue QR to activate the coupons, choose the "Click & scan QR" instead.
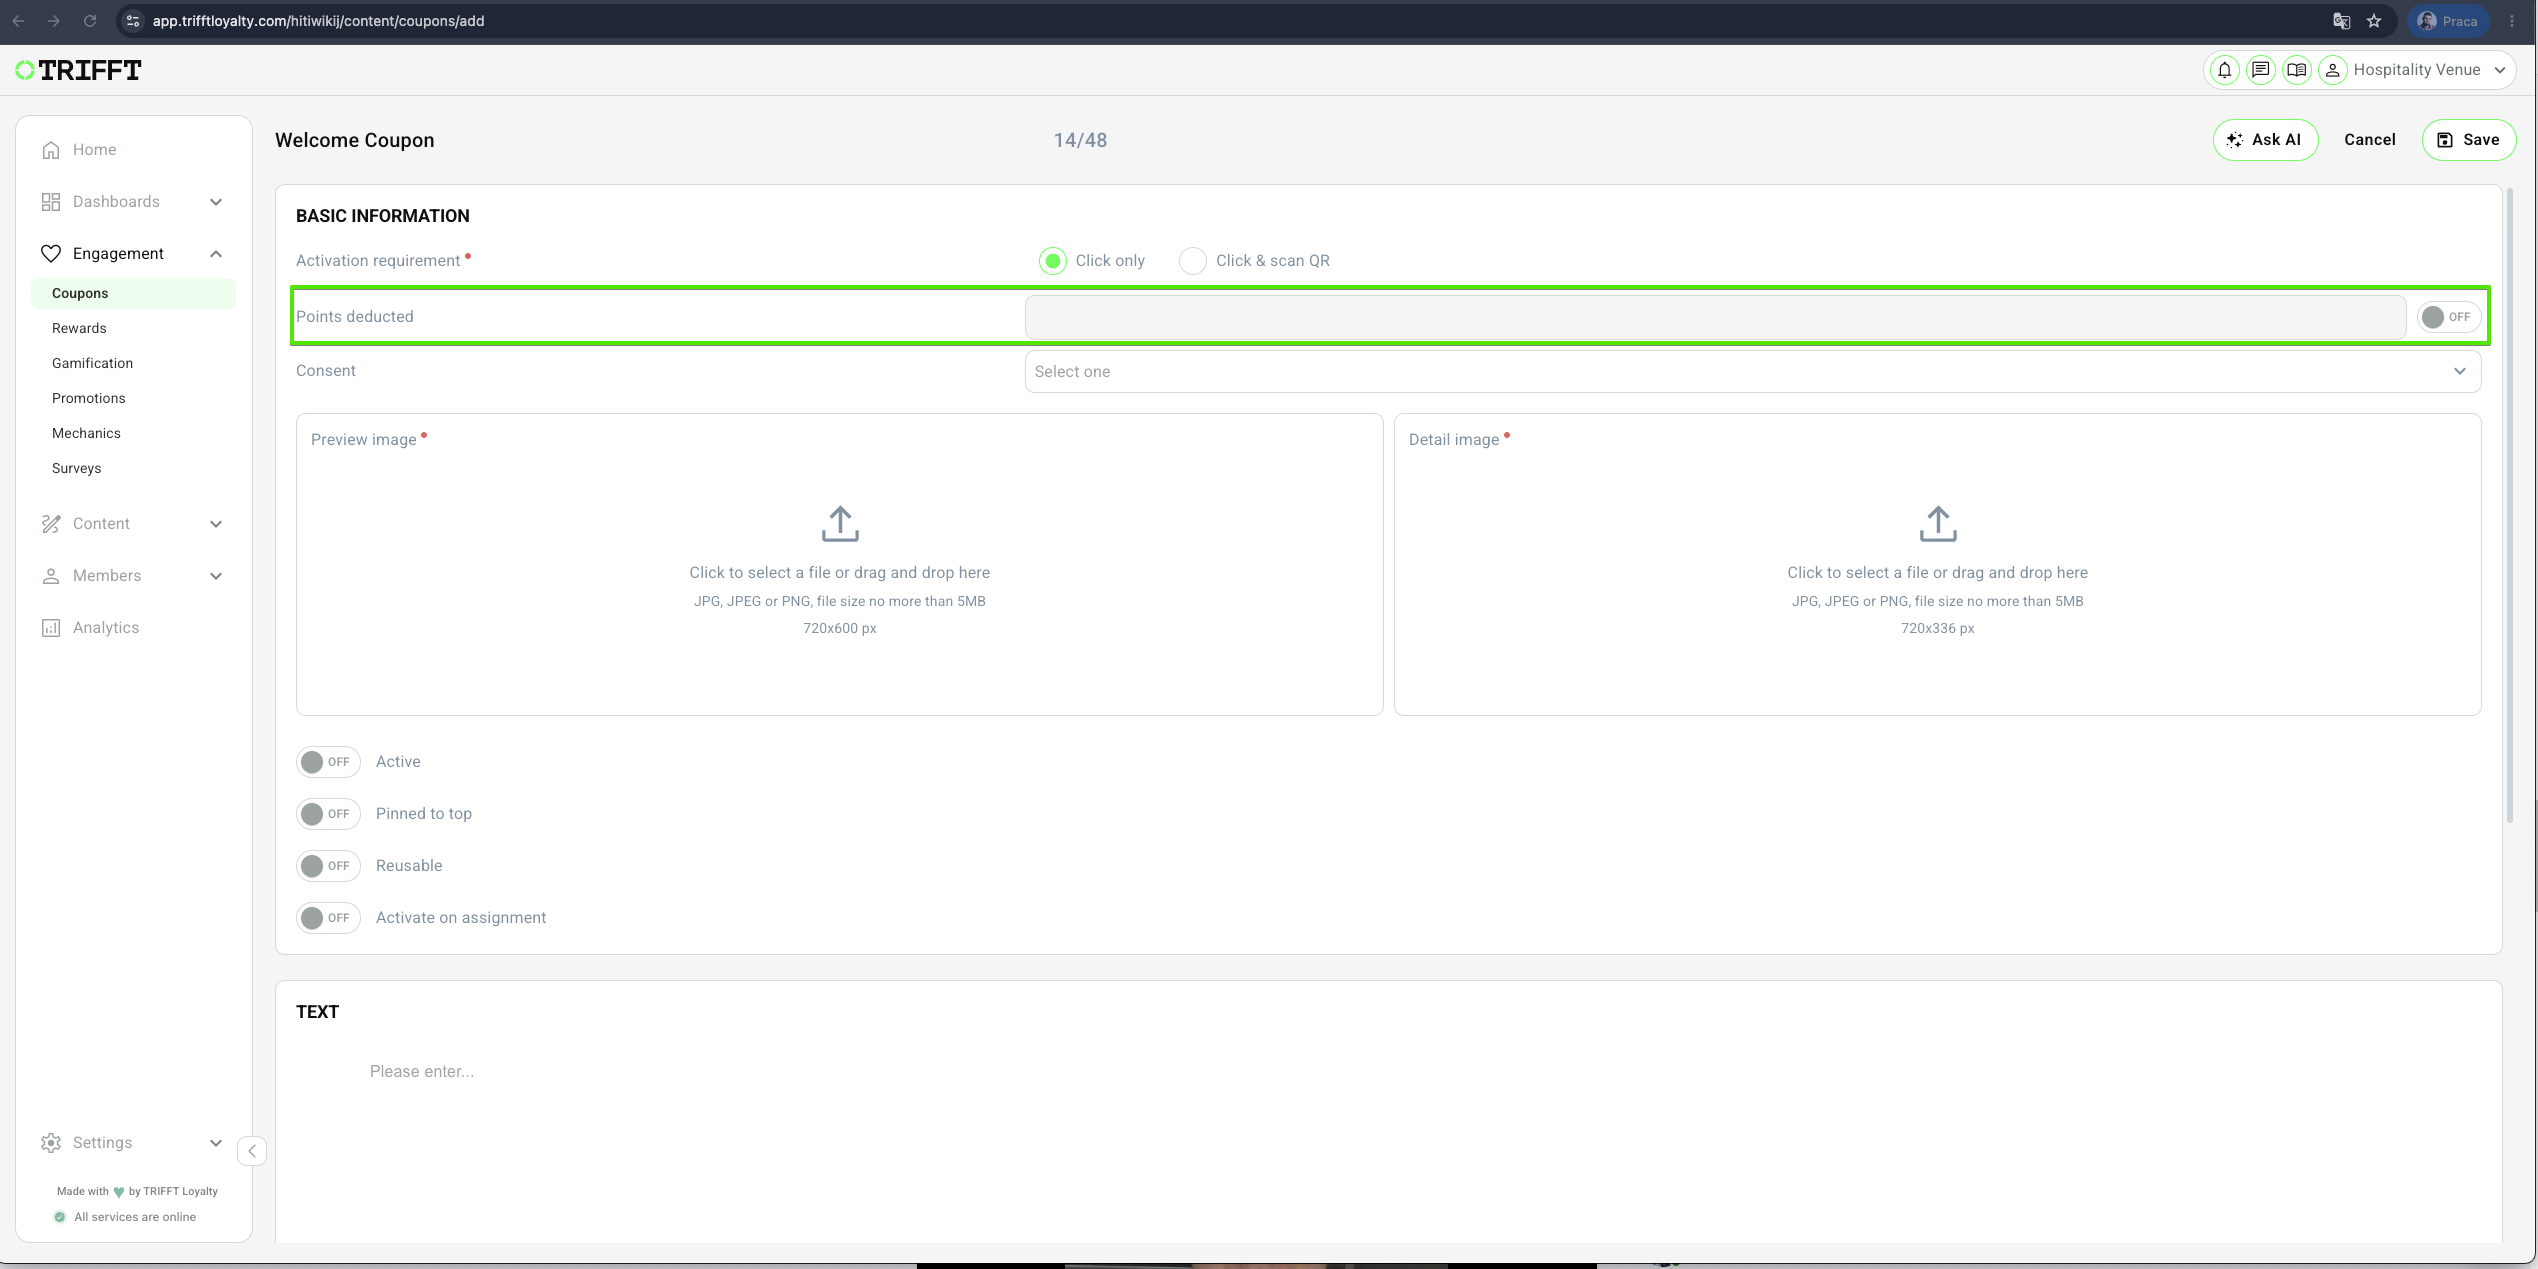
5. Check points_required
- If you want to require Members to spend points to access coupons, enable the "points_required" option. Then, specify the number of points deducted from their wallets upon coupon activation.
If you don't want to take points for the coupon activation, leave the "points_required" turned off.
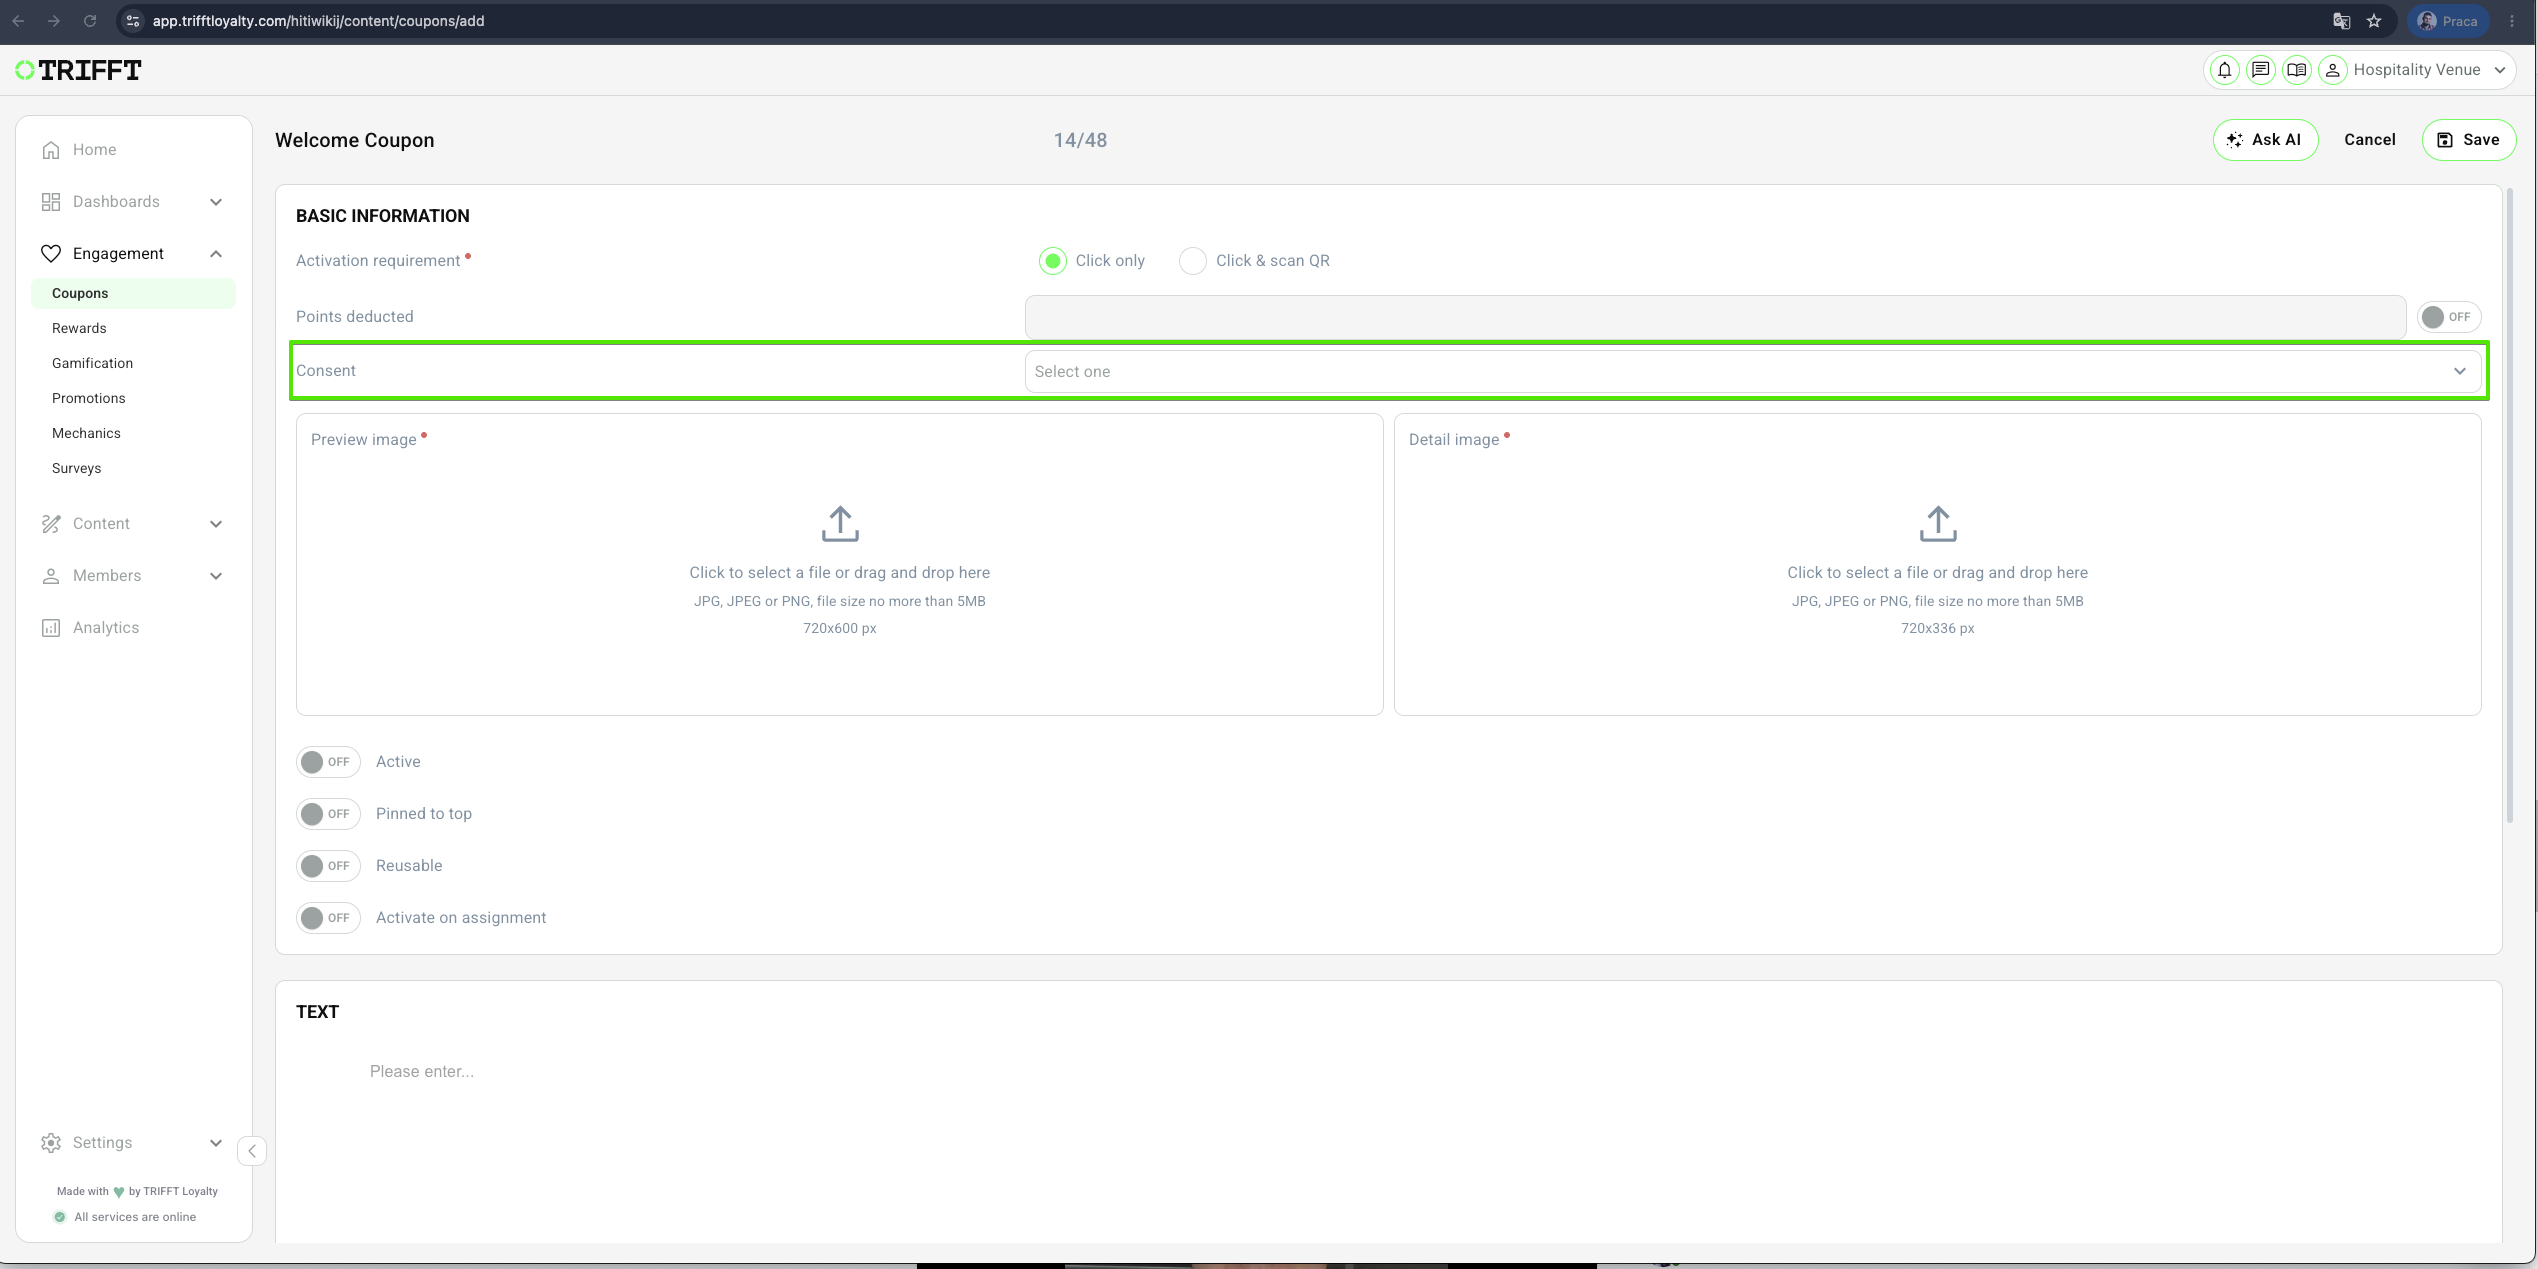
6. Consent
If you want coupon redemption to be conditional on accepting the terms of use, link the appropriate consents to this coupon. Here you can find detailed information about consents.
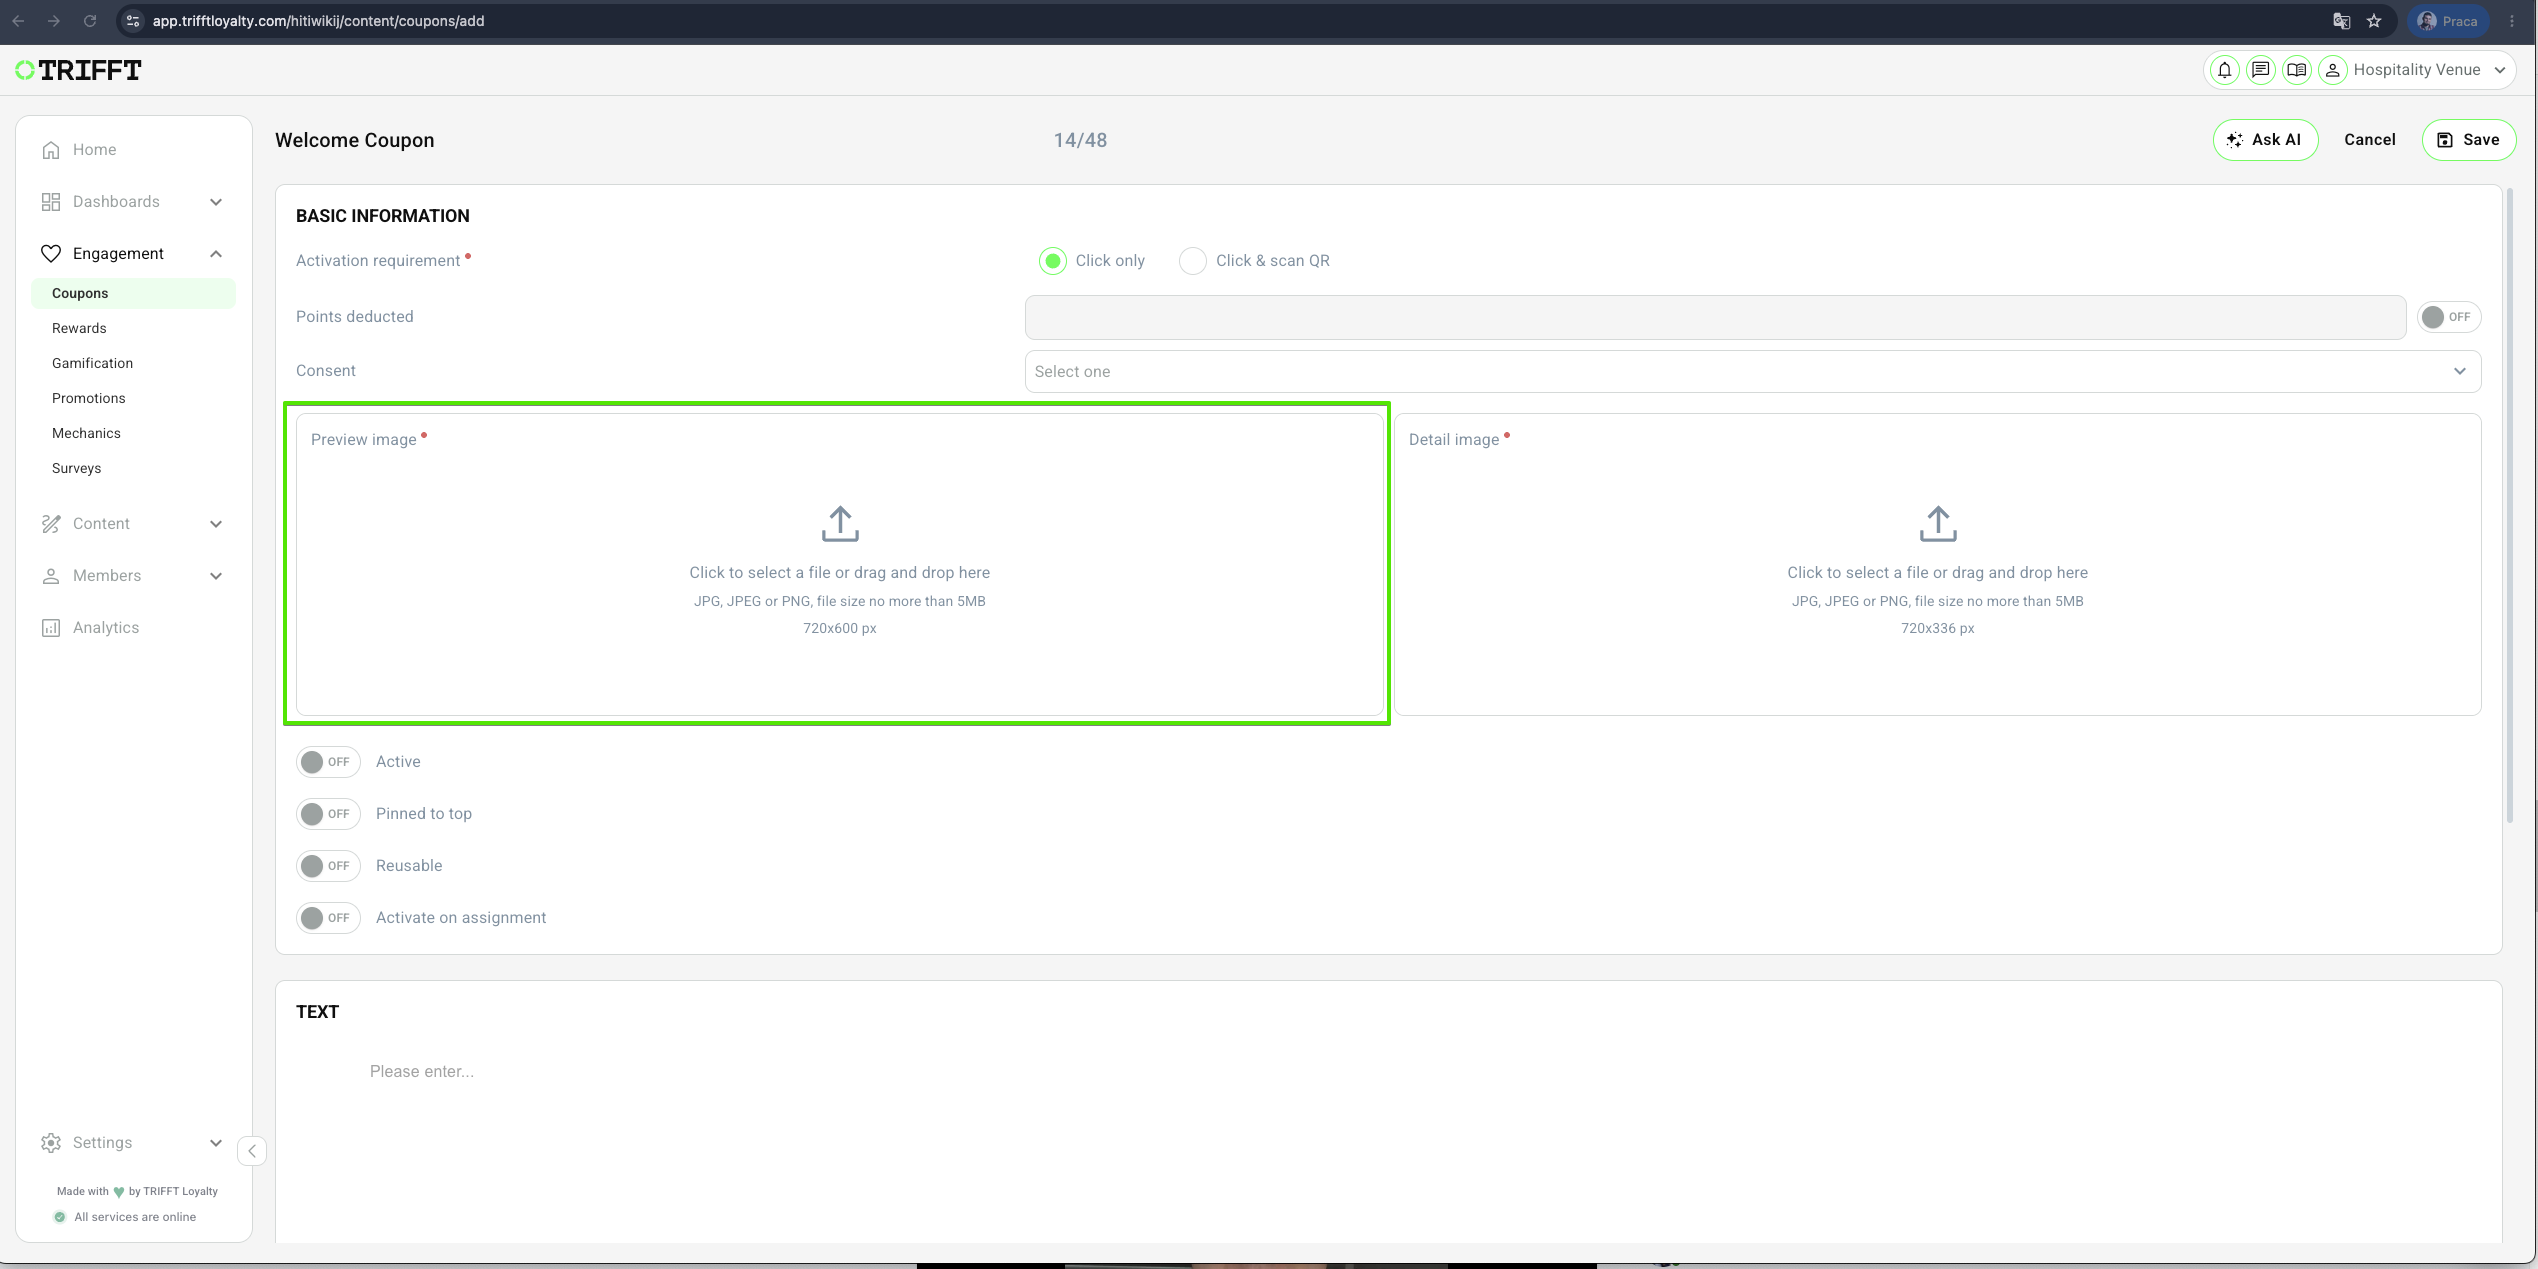
7. Upload a Preview Image for Coupon
- The preview image serves as a visual representation of the coupon for Members to view before opening it.
To upload an image, click on the upload_icon or drag your preferred preview image directly into the Preview image area. (Please note that providing a preview image is mandatory. Coupons without a preview image cannot be saved.)
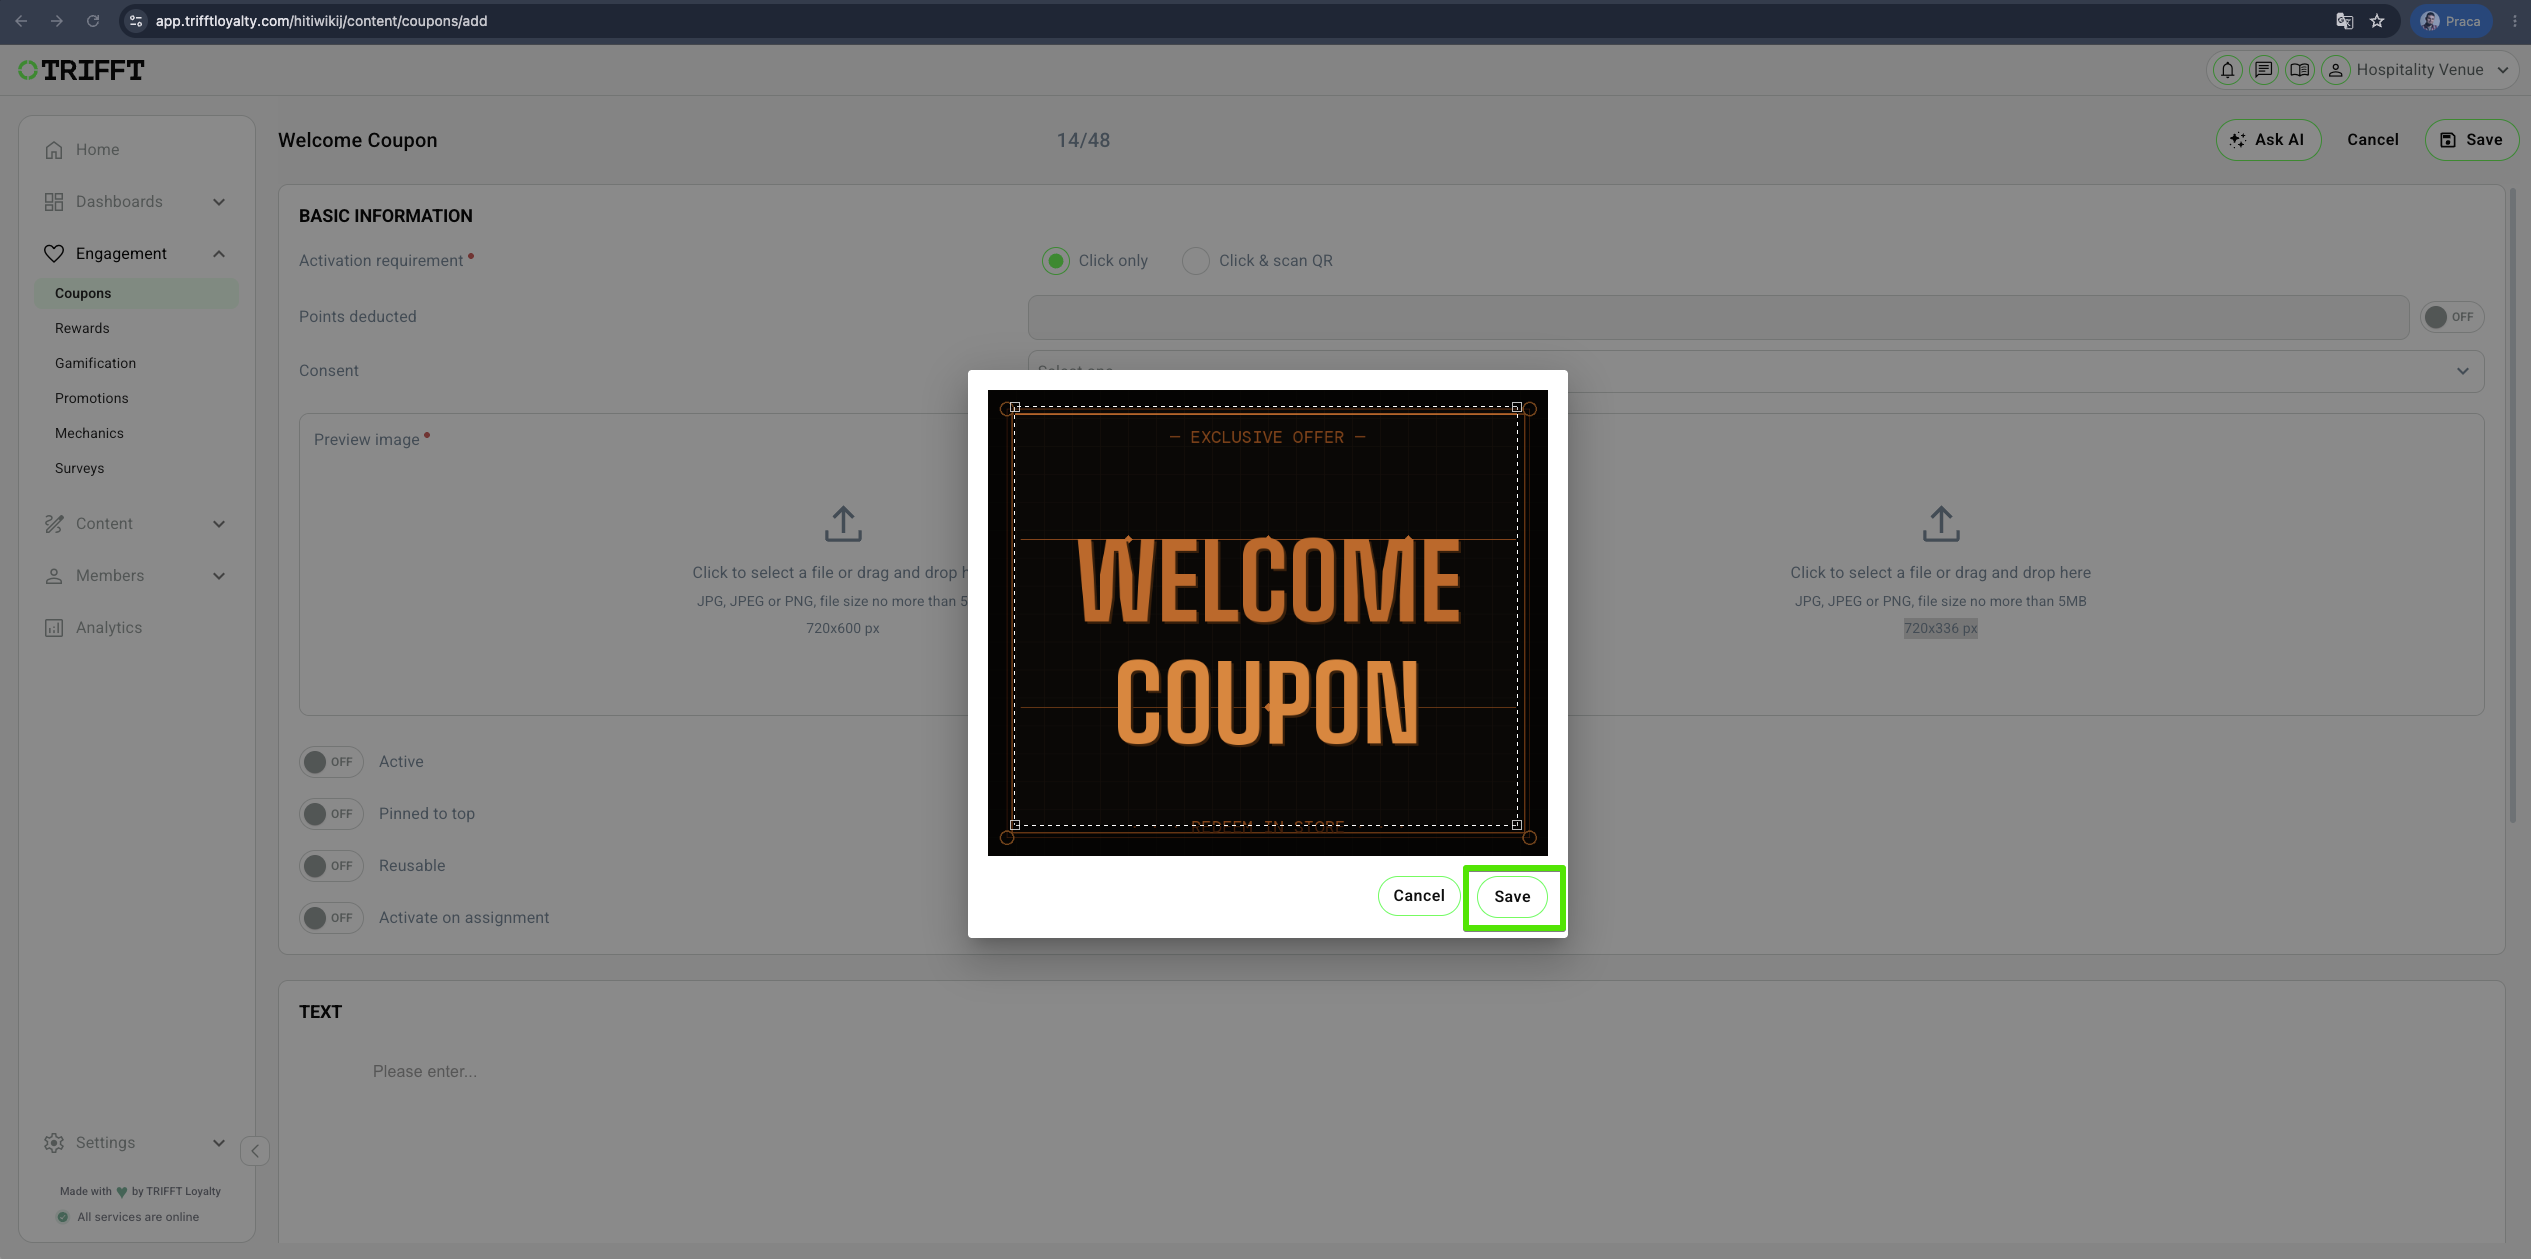
8. Adjust the preview image & Save
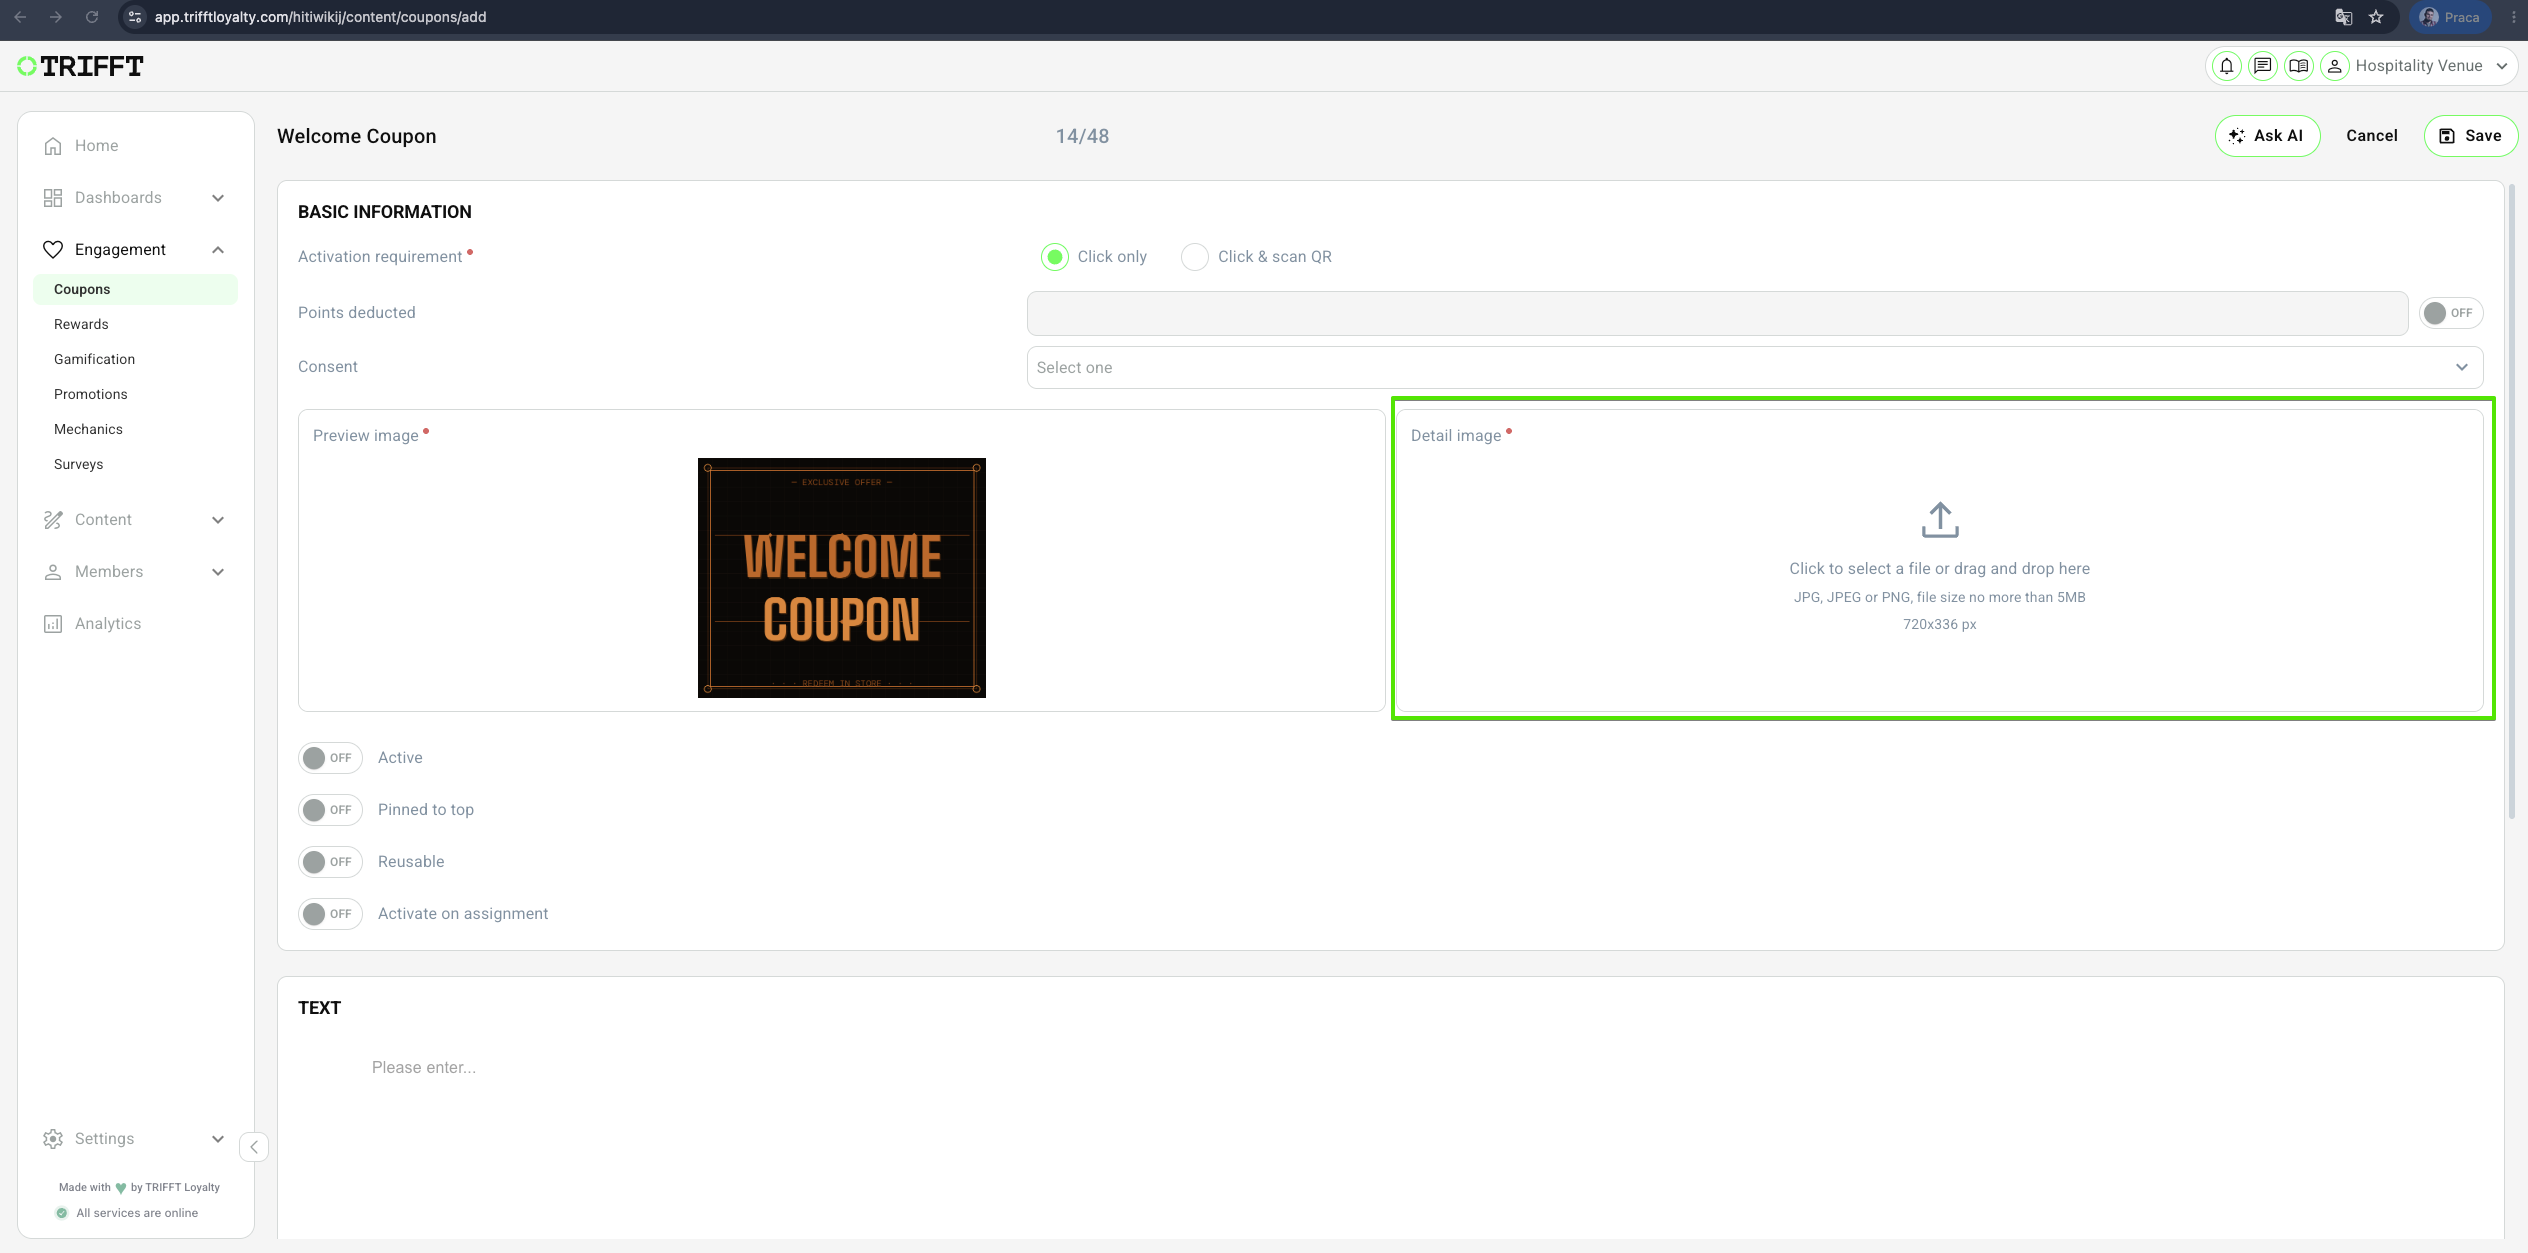
9. Upload the Detail Image
- The Coupon Detail image is displayed within the main body of the coupon after a Member opens it from the coupon list.
To upload an image, click on the upload_icon or drag your preferred preview image directly into the Detail image area. (Again, please note that providing a Detail image is mandatory. Coupons without a Detail image cannot be saved.)
Repeat the same steps as you did for the Coupon Preview image.
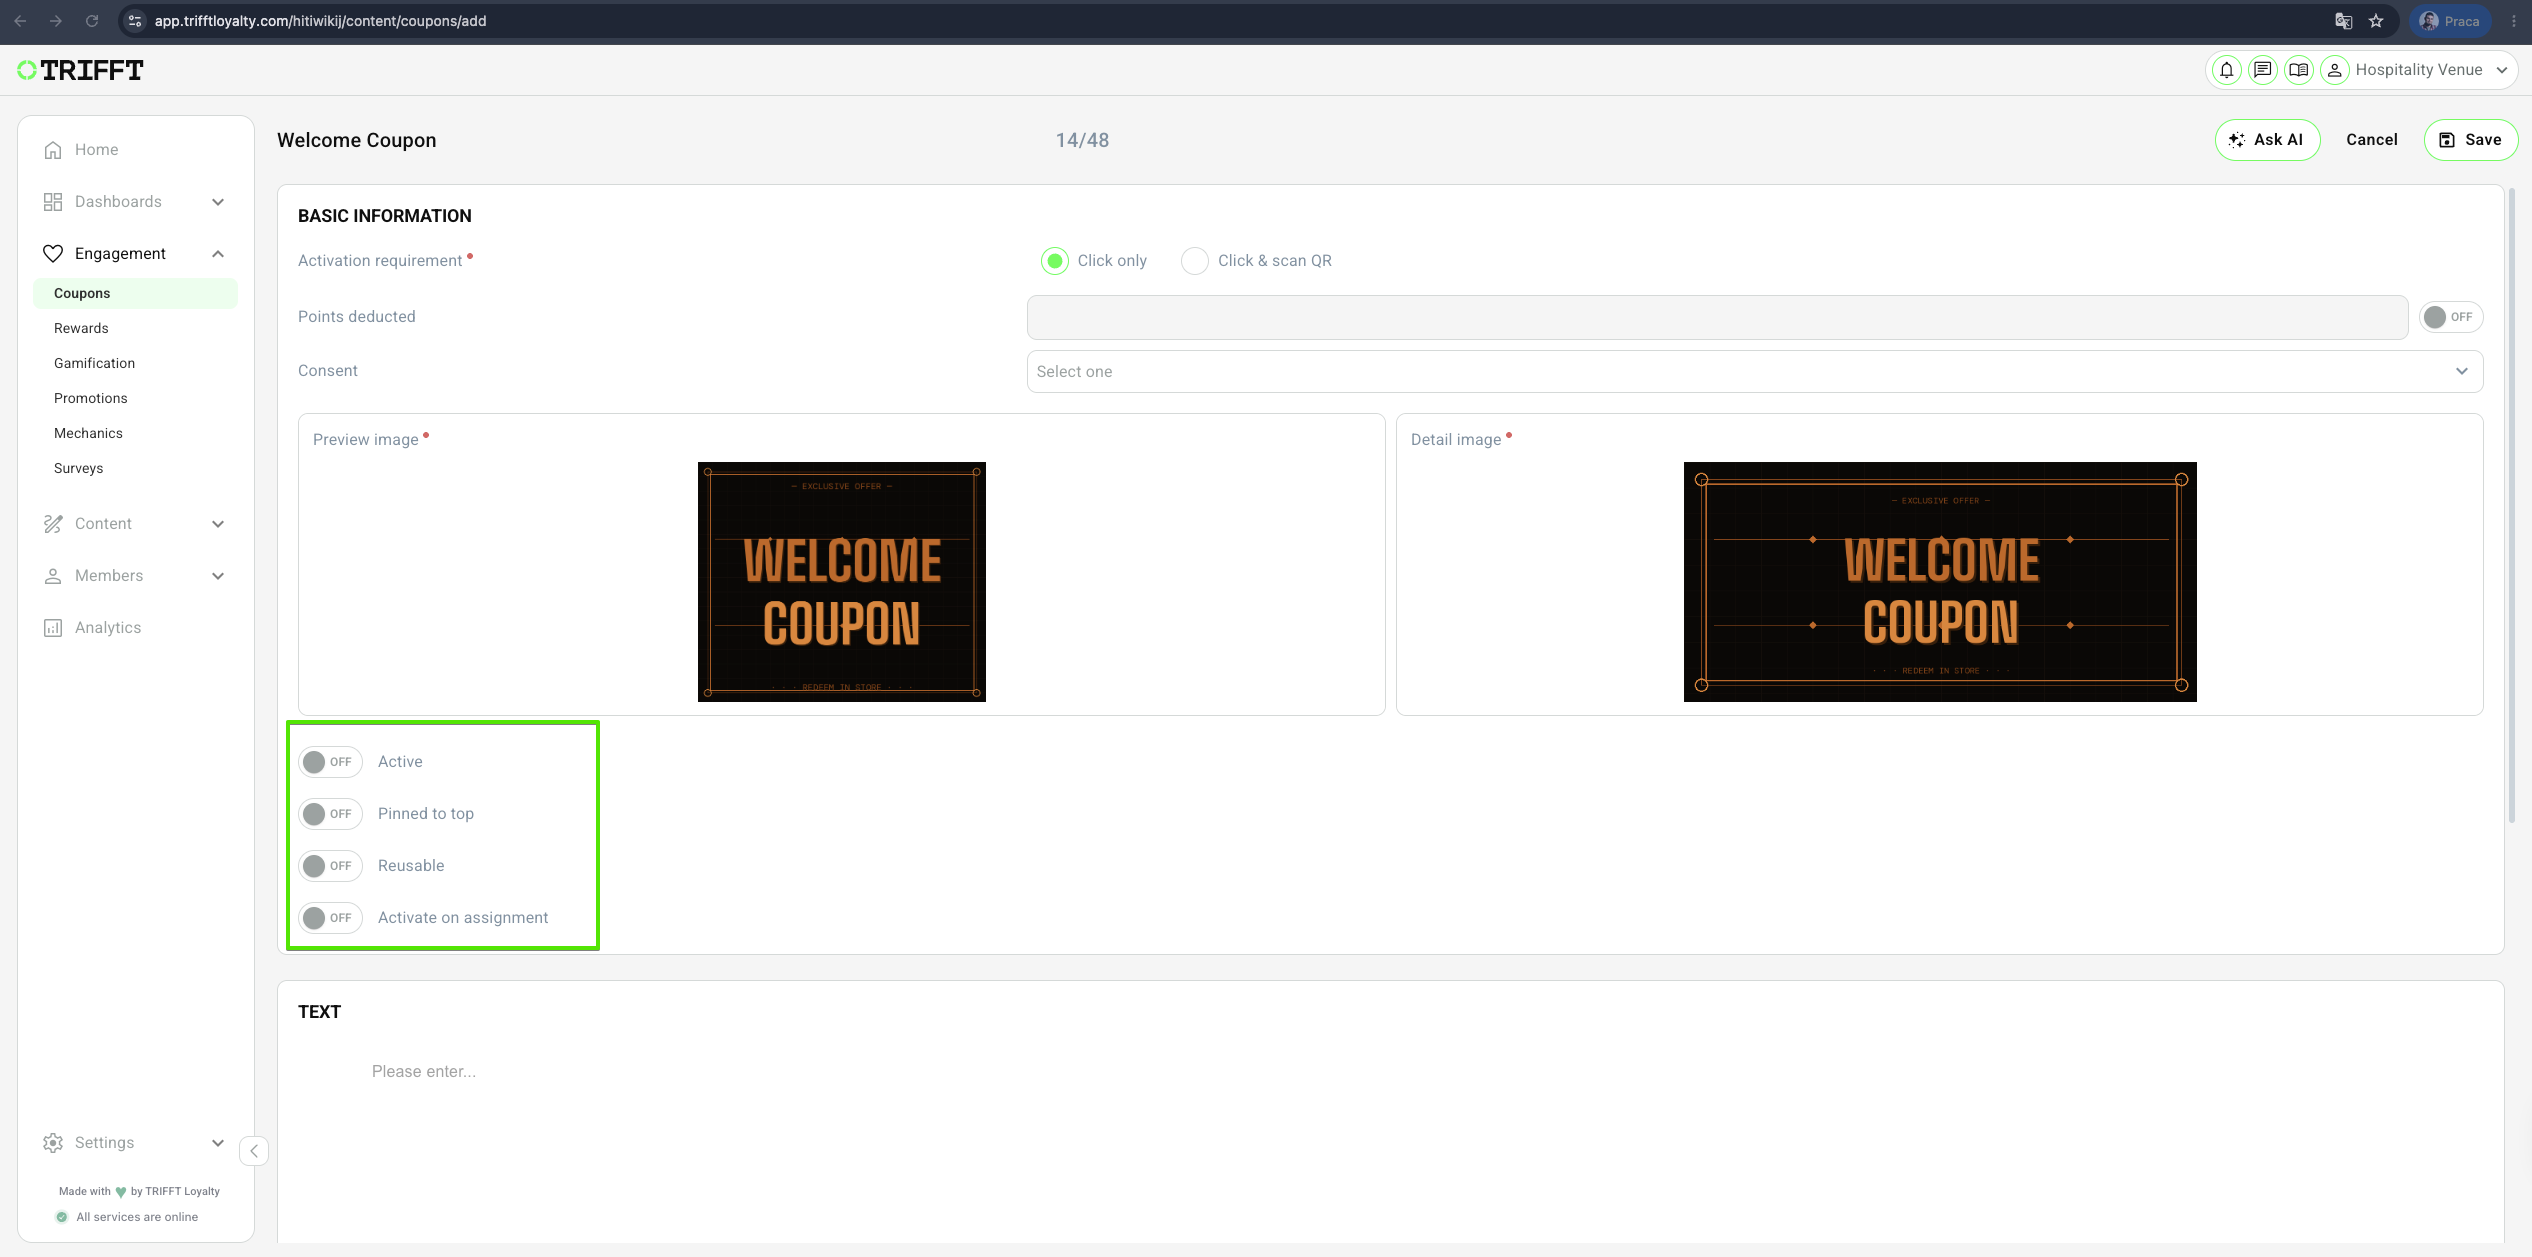
10. Configure the toggles
Active: Coupons that do not have this toggle turned on will not be visible to members.
Pinned to top: This toggle makes sure that the coupon is visible on top of the list of coupons available in the app.
Reusable: Toggling this setting on ensures that the selected coupon can be used multiple times.
Activate on assignment: Turn on if you want to enable the auto-activation feature of assigned coupons.
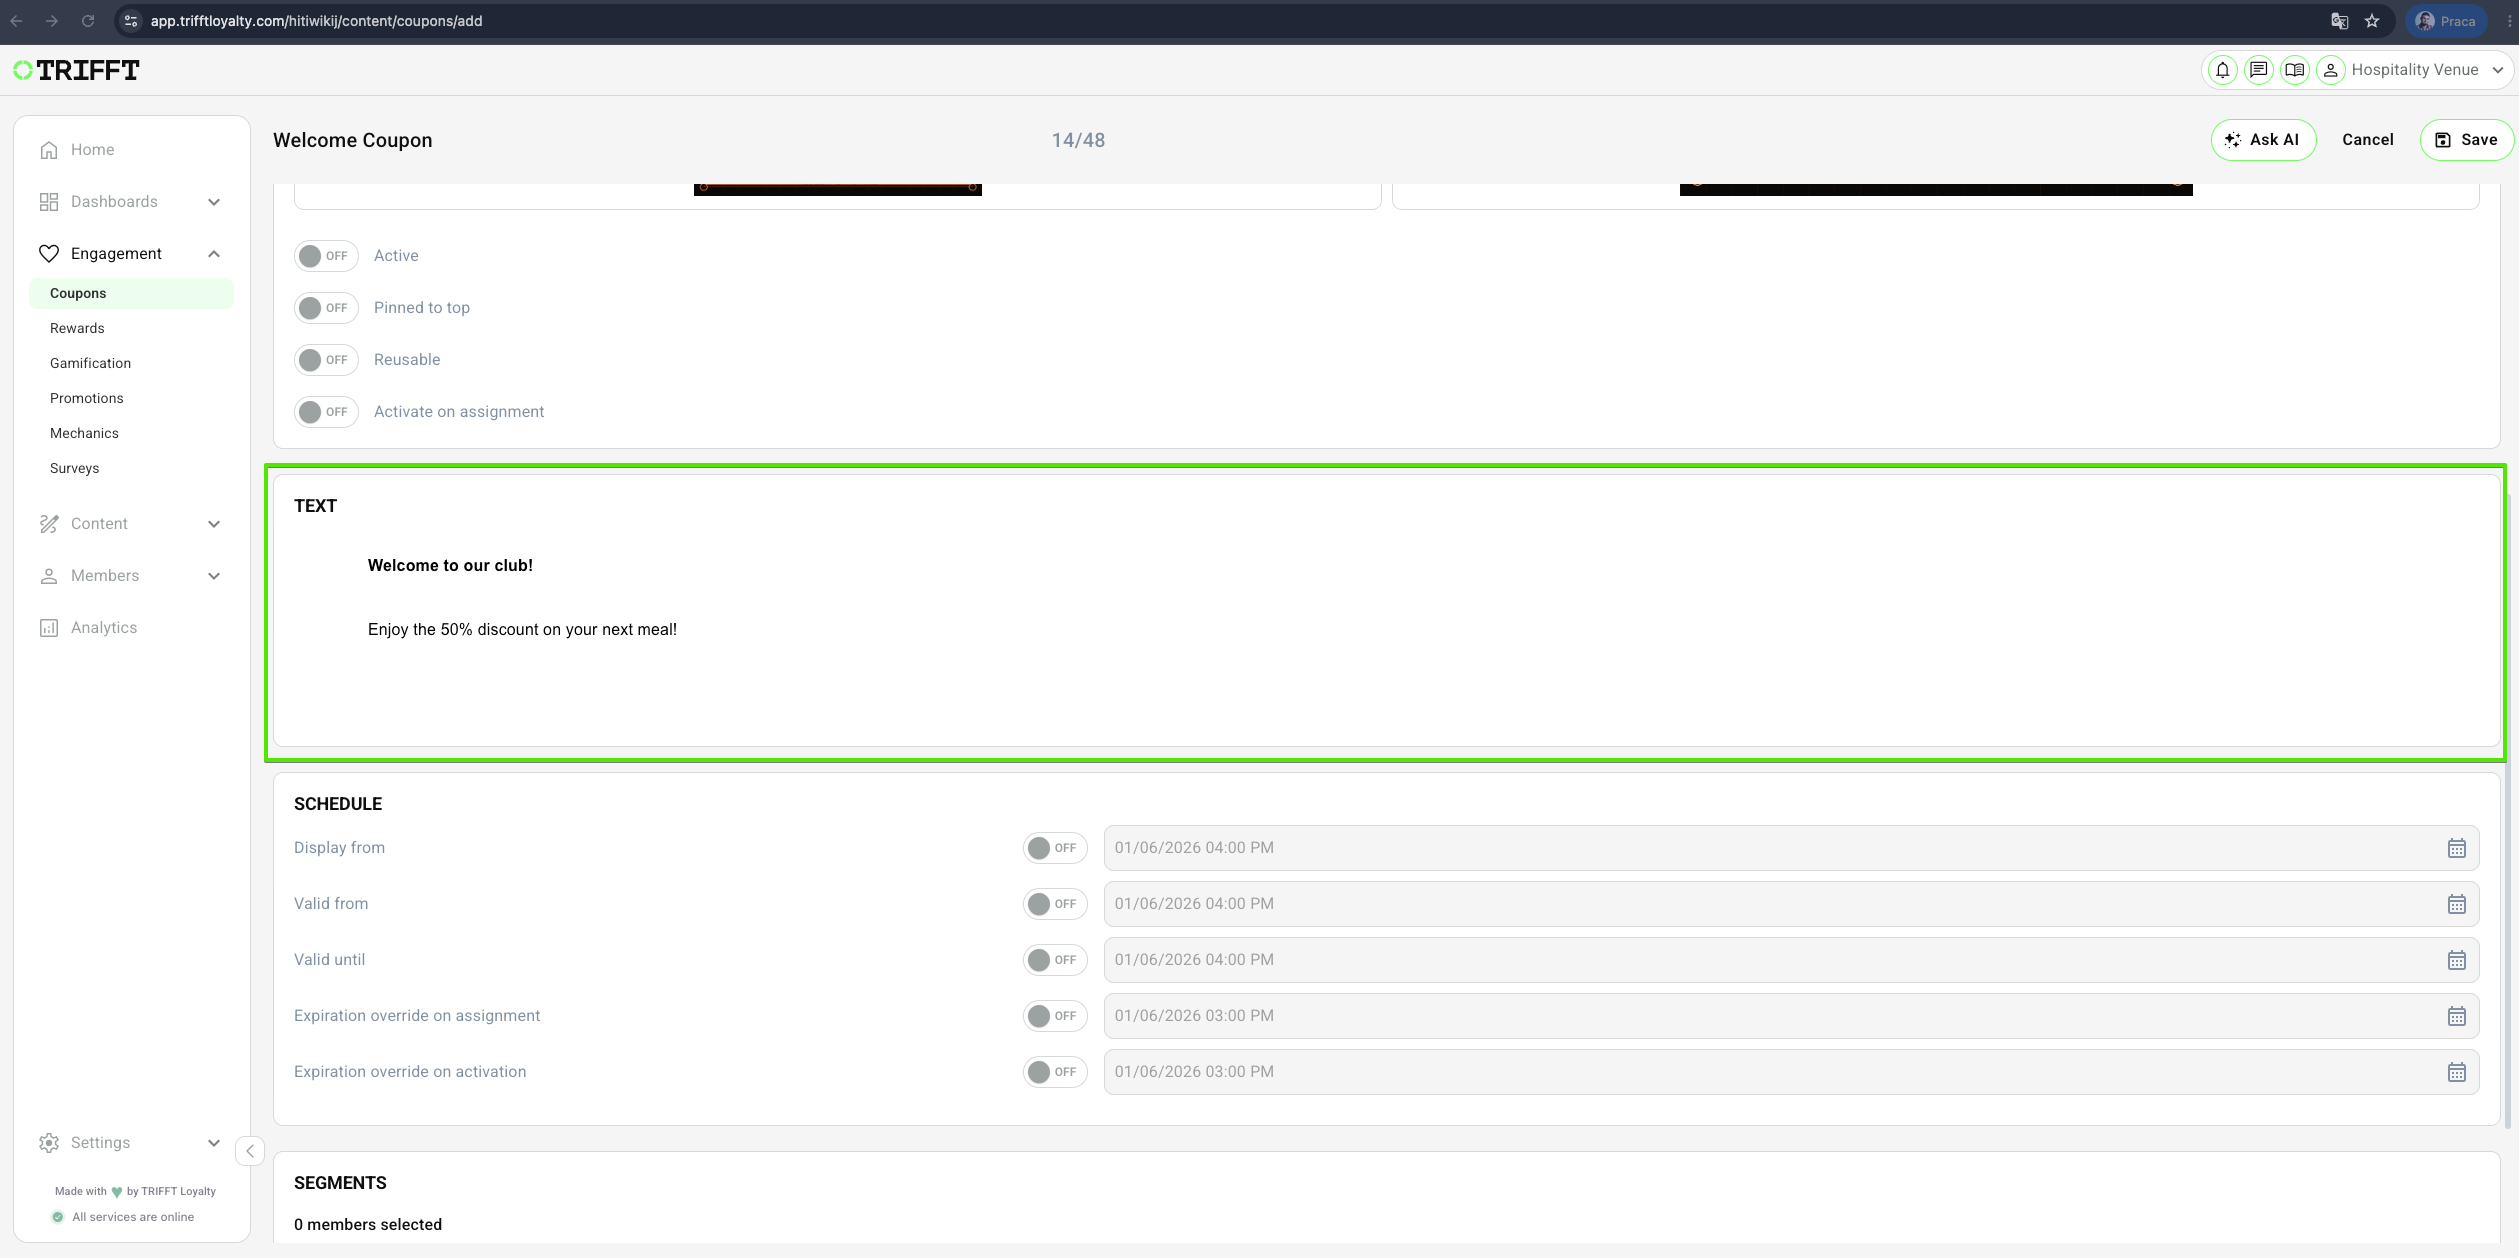
10. Fill out the main body text
- This section is used to provide additional information about the coupon to the customer.
11. Adjust the Coupon Scheduling options
Display From: This date indicates when the coupon will become visible to Members.
Valid From: This date indicates when the coupon will be accessible (valid/functional) to Members.
Valid Until: This date indicates when the coupon will stop being accessible (valid/functional) to Members.
Expiration override on assignment: Overwrites the original expiration after the coupon's assignment.
Expiration override on activation: Overwrites the original expiration after the coupon's activation.
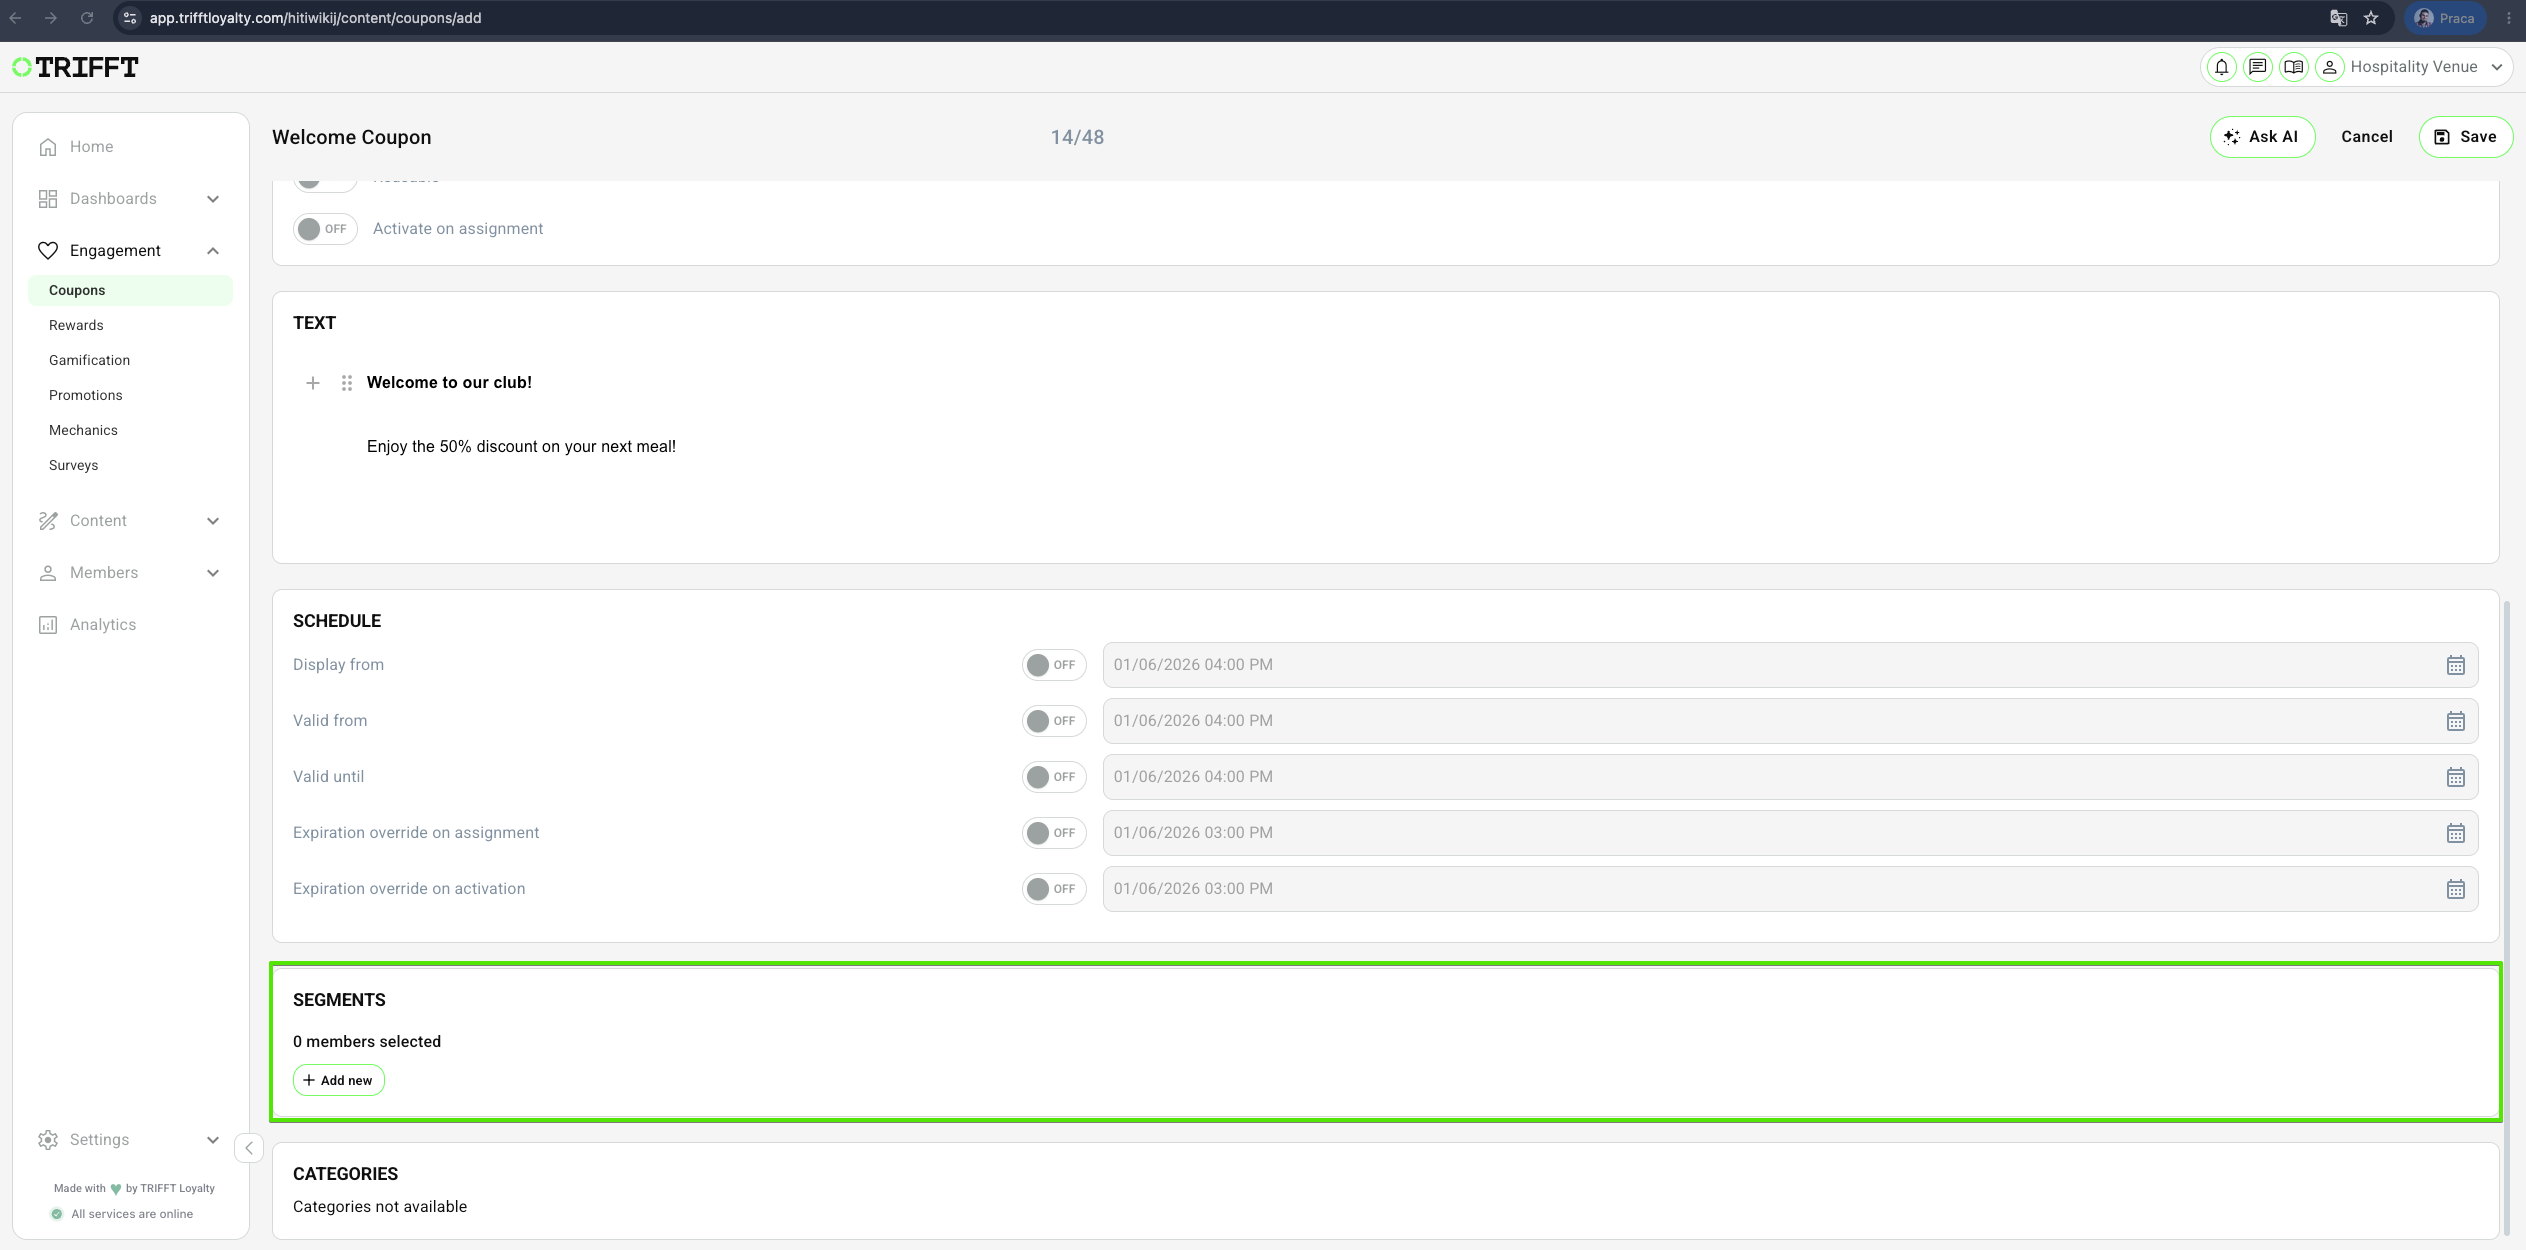
12. Add segments
You have the option to send the coupon to everyone, or you can choose to send it only to specific Members by selecting the corresponding segments. Here you can find detailed information about segments.
If you want to create a pool coupon visible for all Registered members, just select the Registered Members segment. Customer can activate this coupon manually in the app.
If you want to make it visible only for some members but let them decide if they want to have this coupon assigned/activated you can create a segment with all of these members and select this segment.
If you want to directly assign coupon individually to the members you can do it with using our API Assign a Coupon to a Member or with the "+" button in the Member's detail in the Coupon's section,
13. Add a coupon to a specific category if...
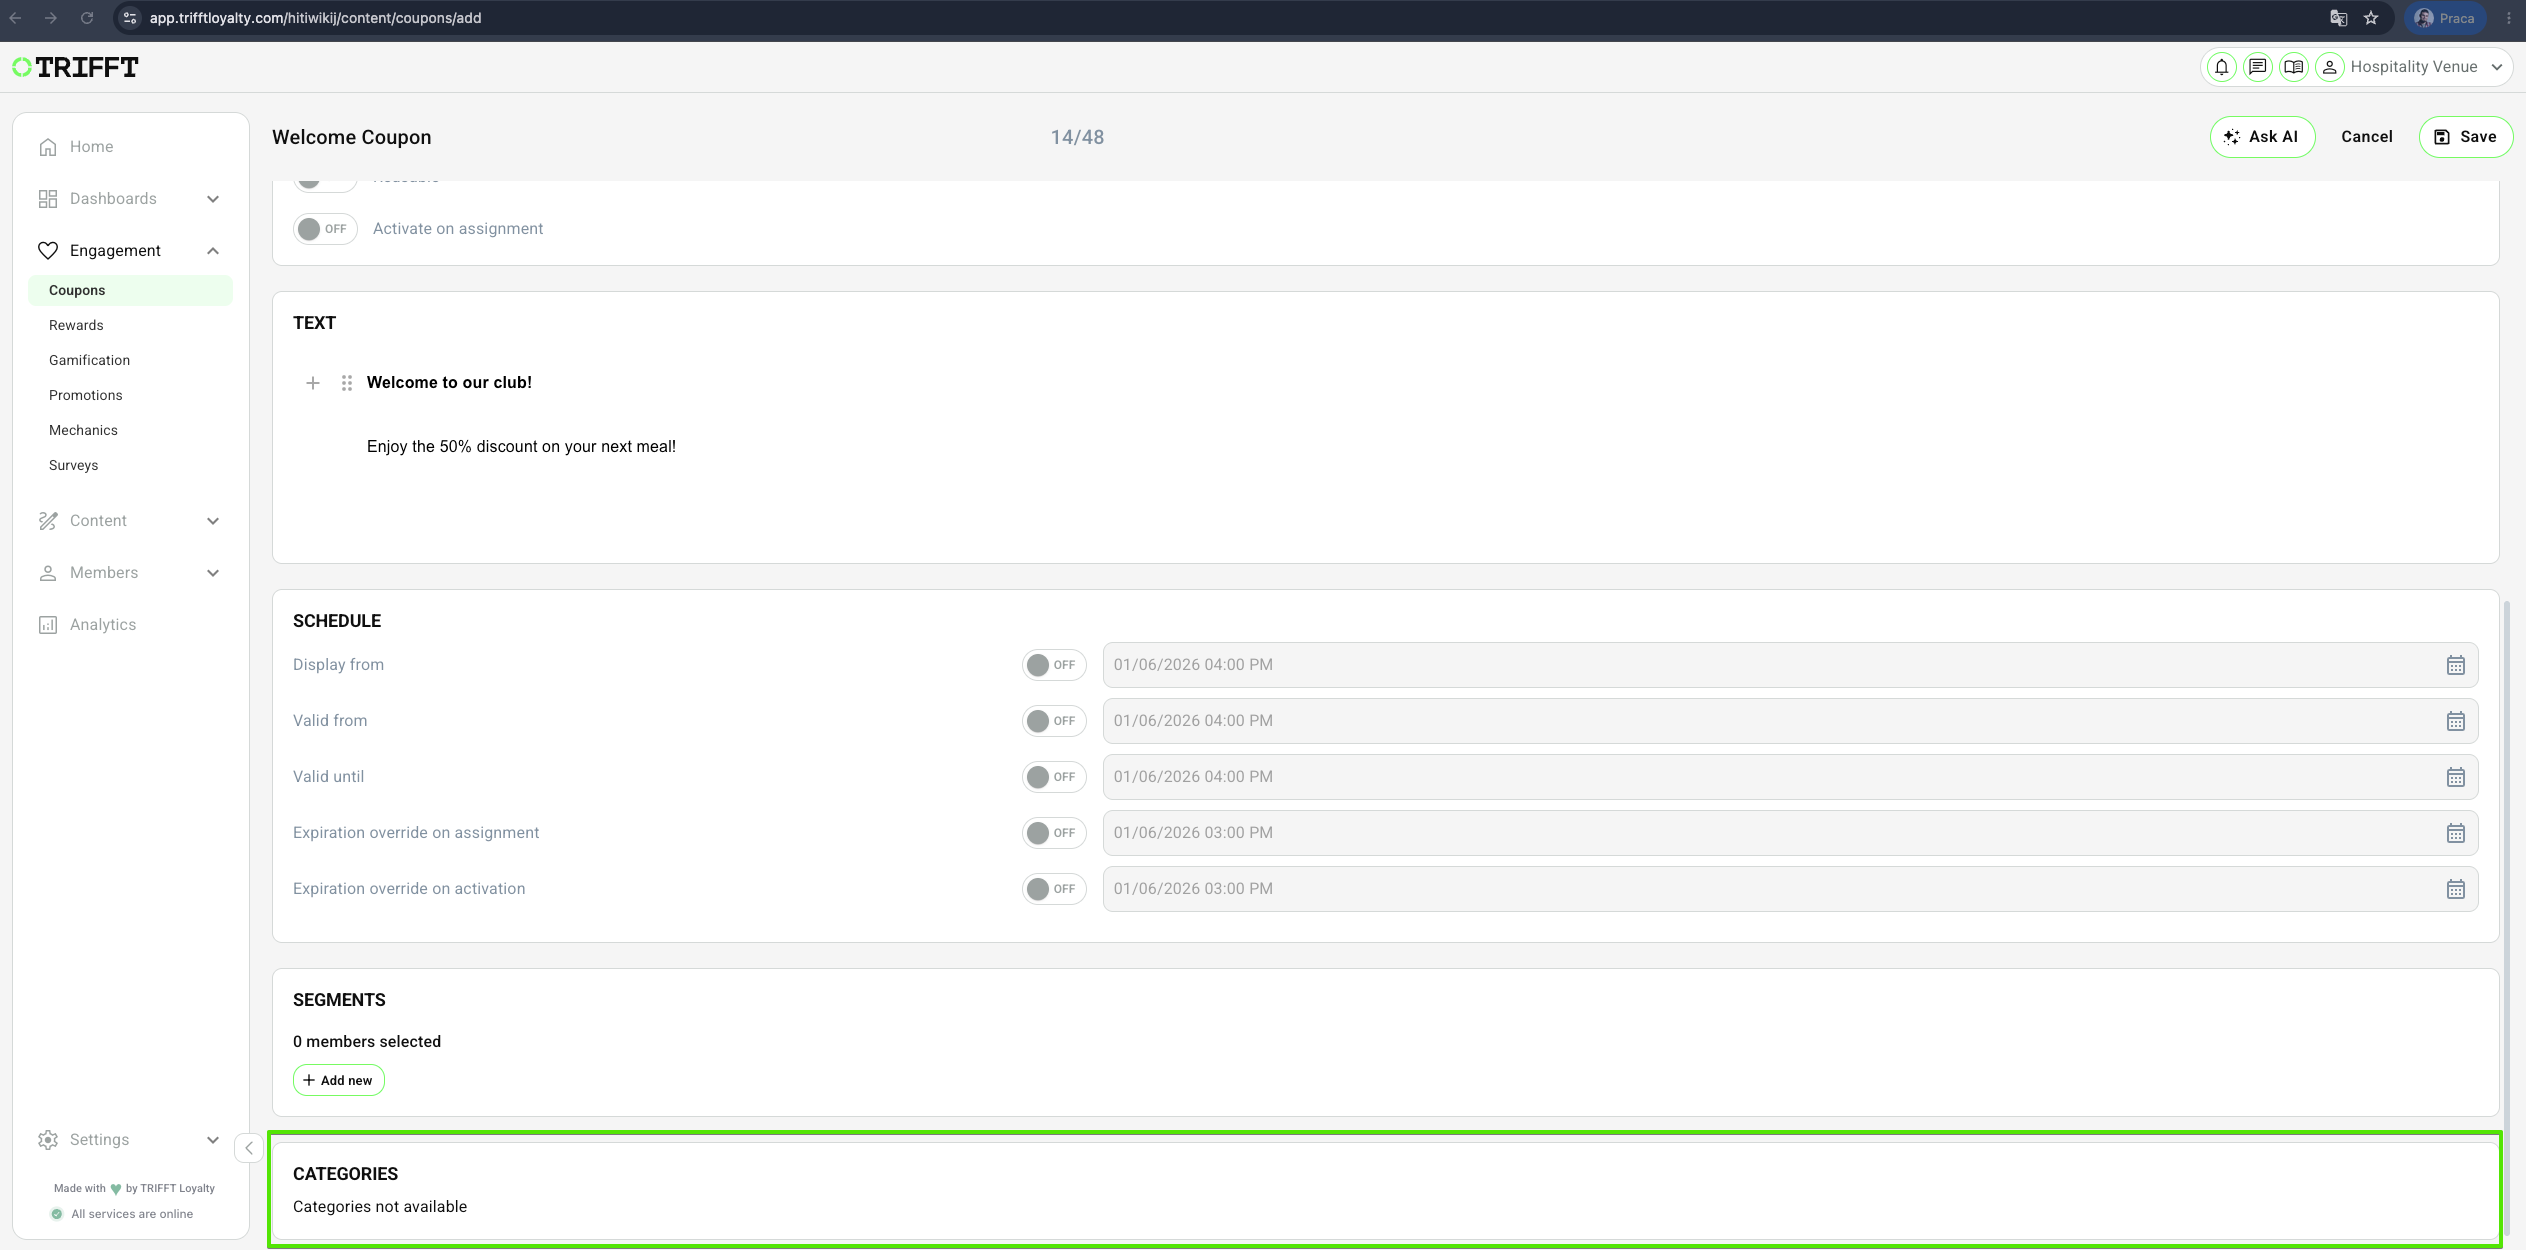
If you wish to categorize a coupon, you can select from the available category list. If no categories are available, please refer to the Category section for further guidance.
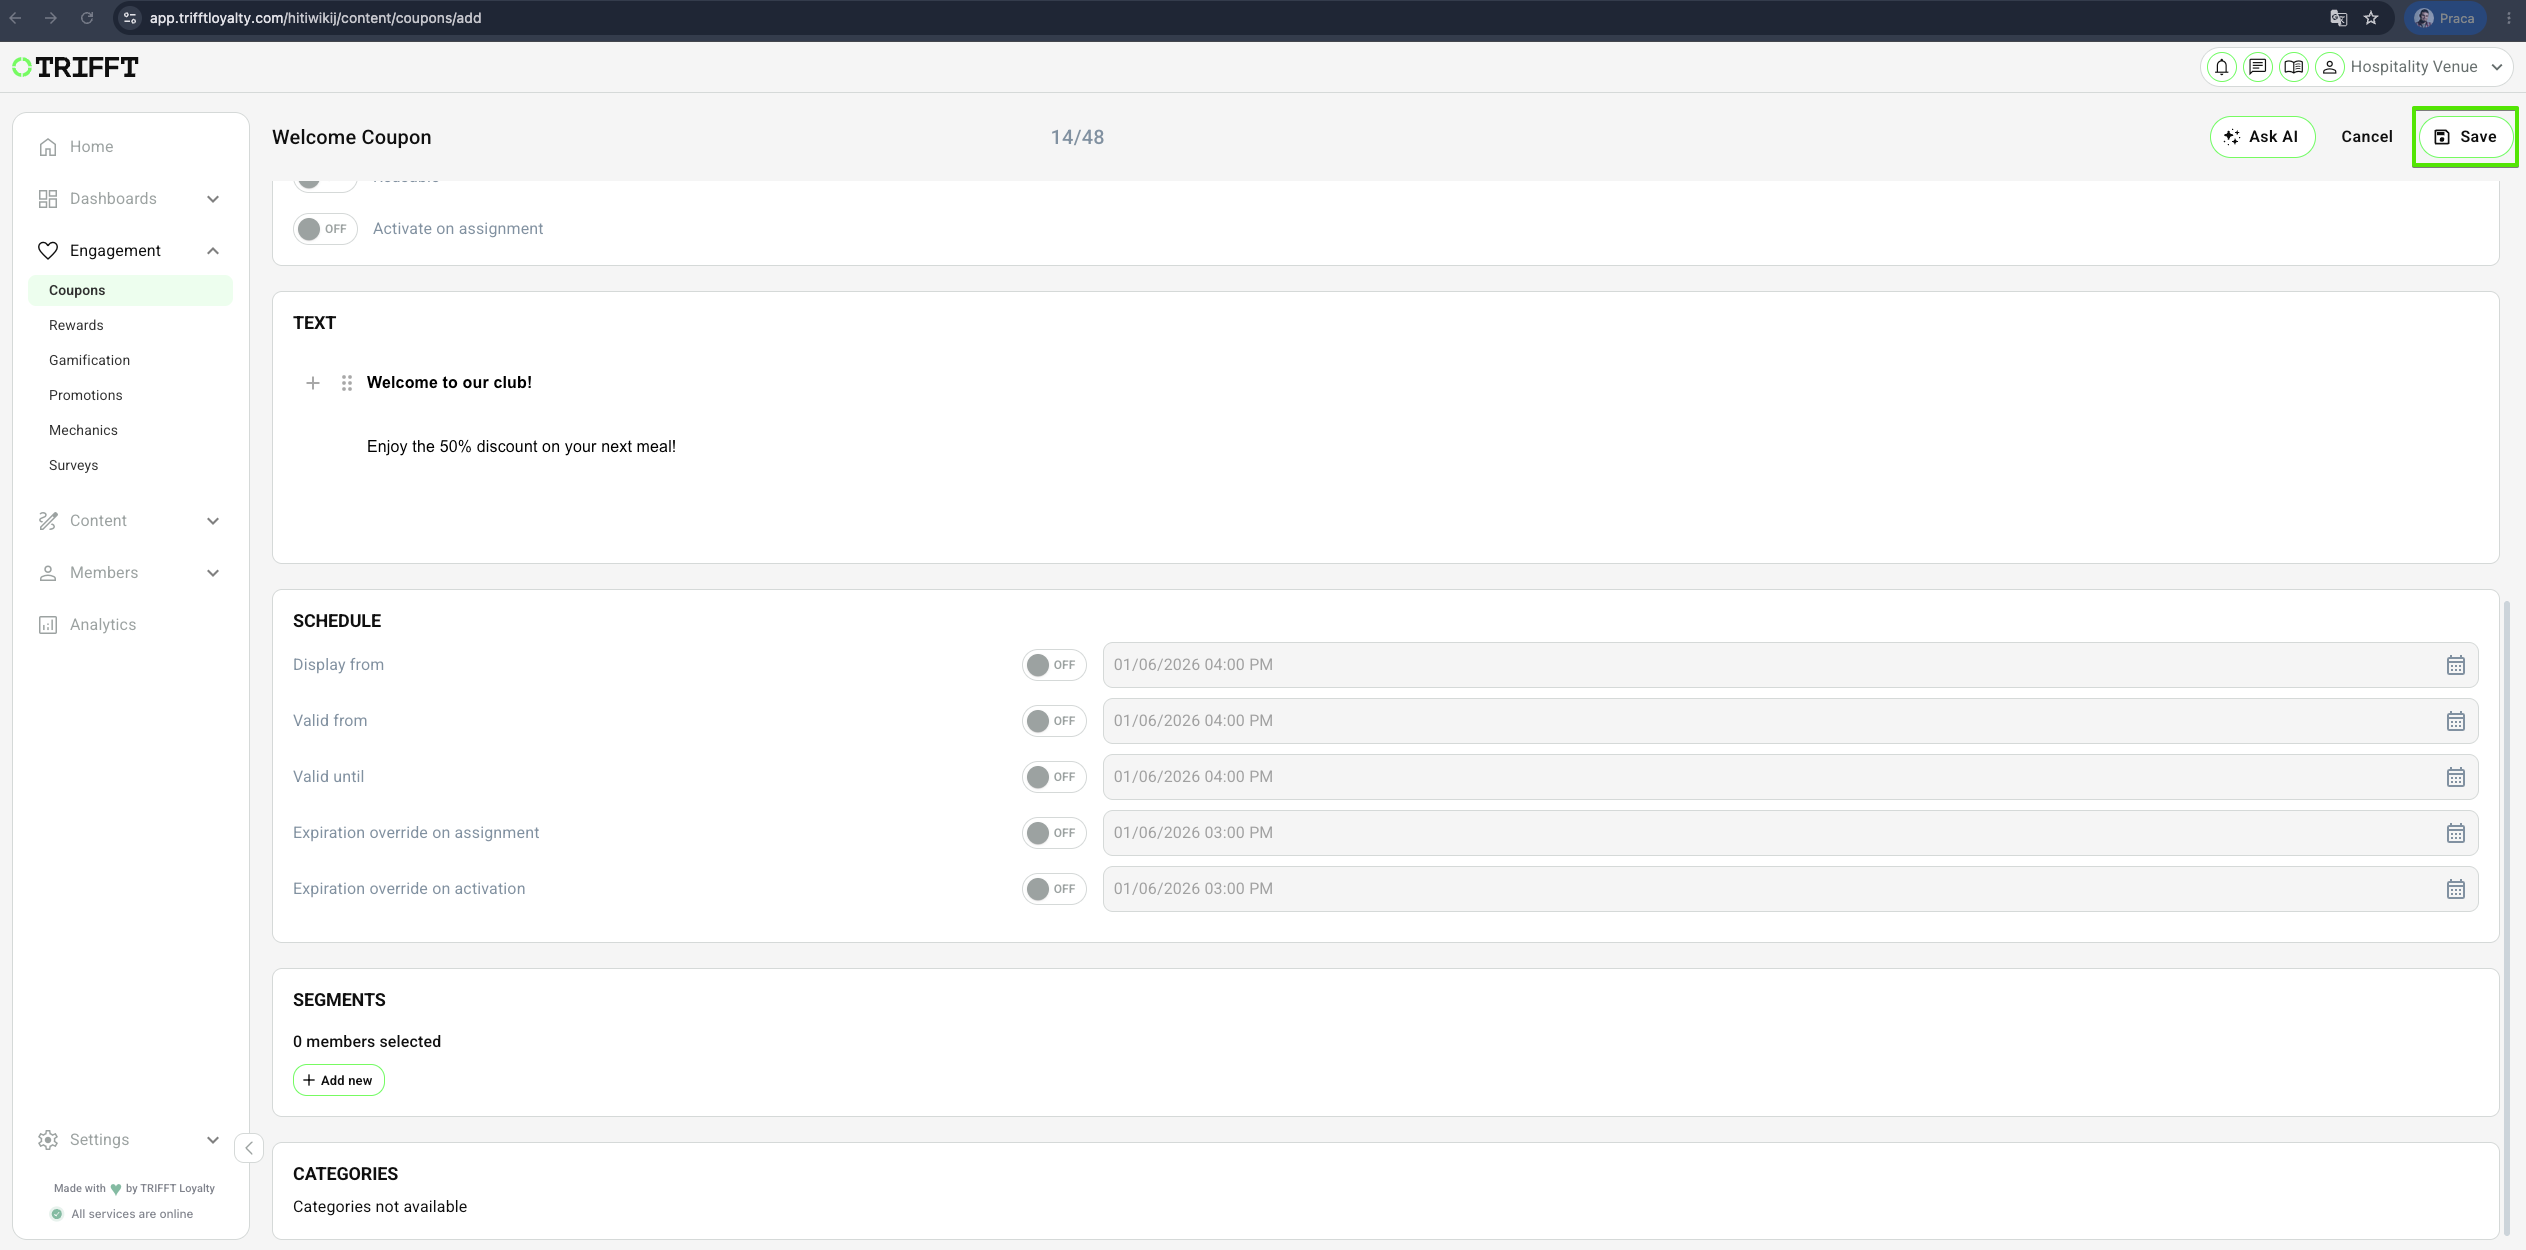
14. Save the Coupon
Configuration checklist
Run through this checklist before going live:
Technical Settings
- Usage limit is set
- The POS integration is tested to ensure it recognizes the generated code patterns
- Turn on the Coupon Activation option in General settings ON, if you want to use this feature.
Content & UX
- Redemption instructions are clear for customers
- Tile images and descriptions meet branding guidelines
Updated about 1 month ago