
Locations Set Up
This guide covers how to set up Locations in TRIFFT from scratch, including validation steps.
Prerequisites
Admin or Configuration role required — Ensure you have the 'Admin' or 'Custom→Settings→Locations' role in the TRIFFT Cockpit.
Before you begin, gather the following:
| Requirement | Details |
|---|---|
| Data | Latitude/Longitude coordinates, physical address, opening hours, and unique Location ID from your POS. |
| Integrations | Confirm Shopify or relevant POS integration is installed and syncing. |
Step-by-step setup
1. Open the Locations panel
- Log in to the TRIFFT Cockpit and navigate to Settings > Locations.
2. Add locations
- Click Add New to create a new location.
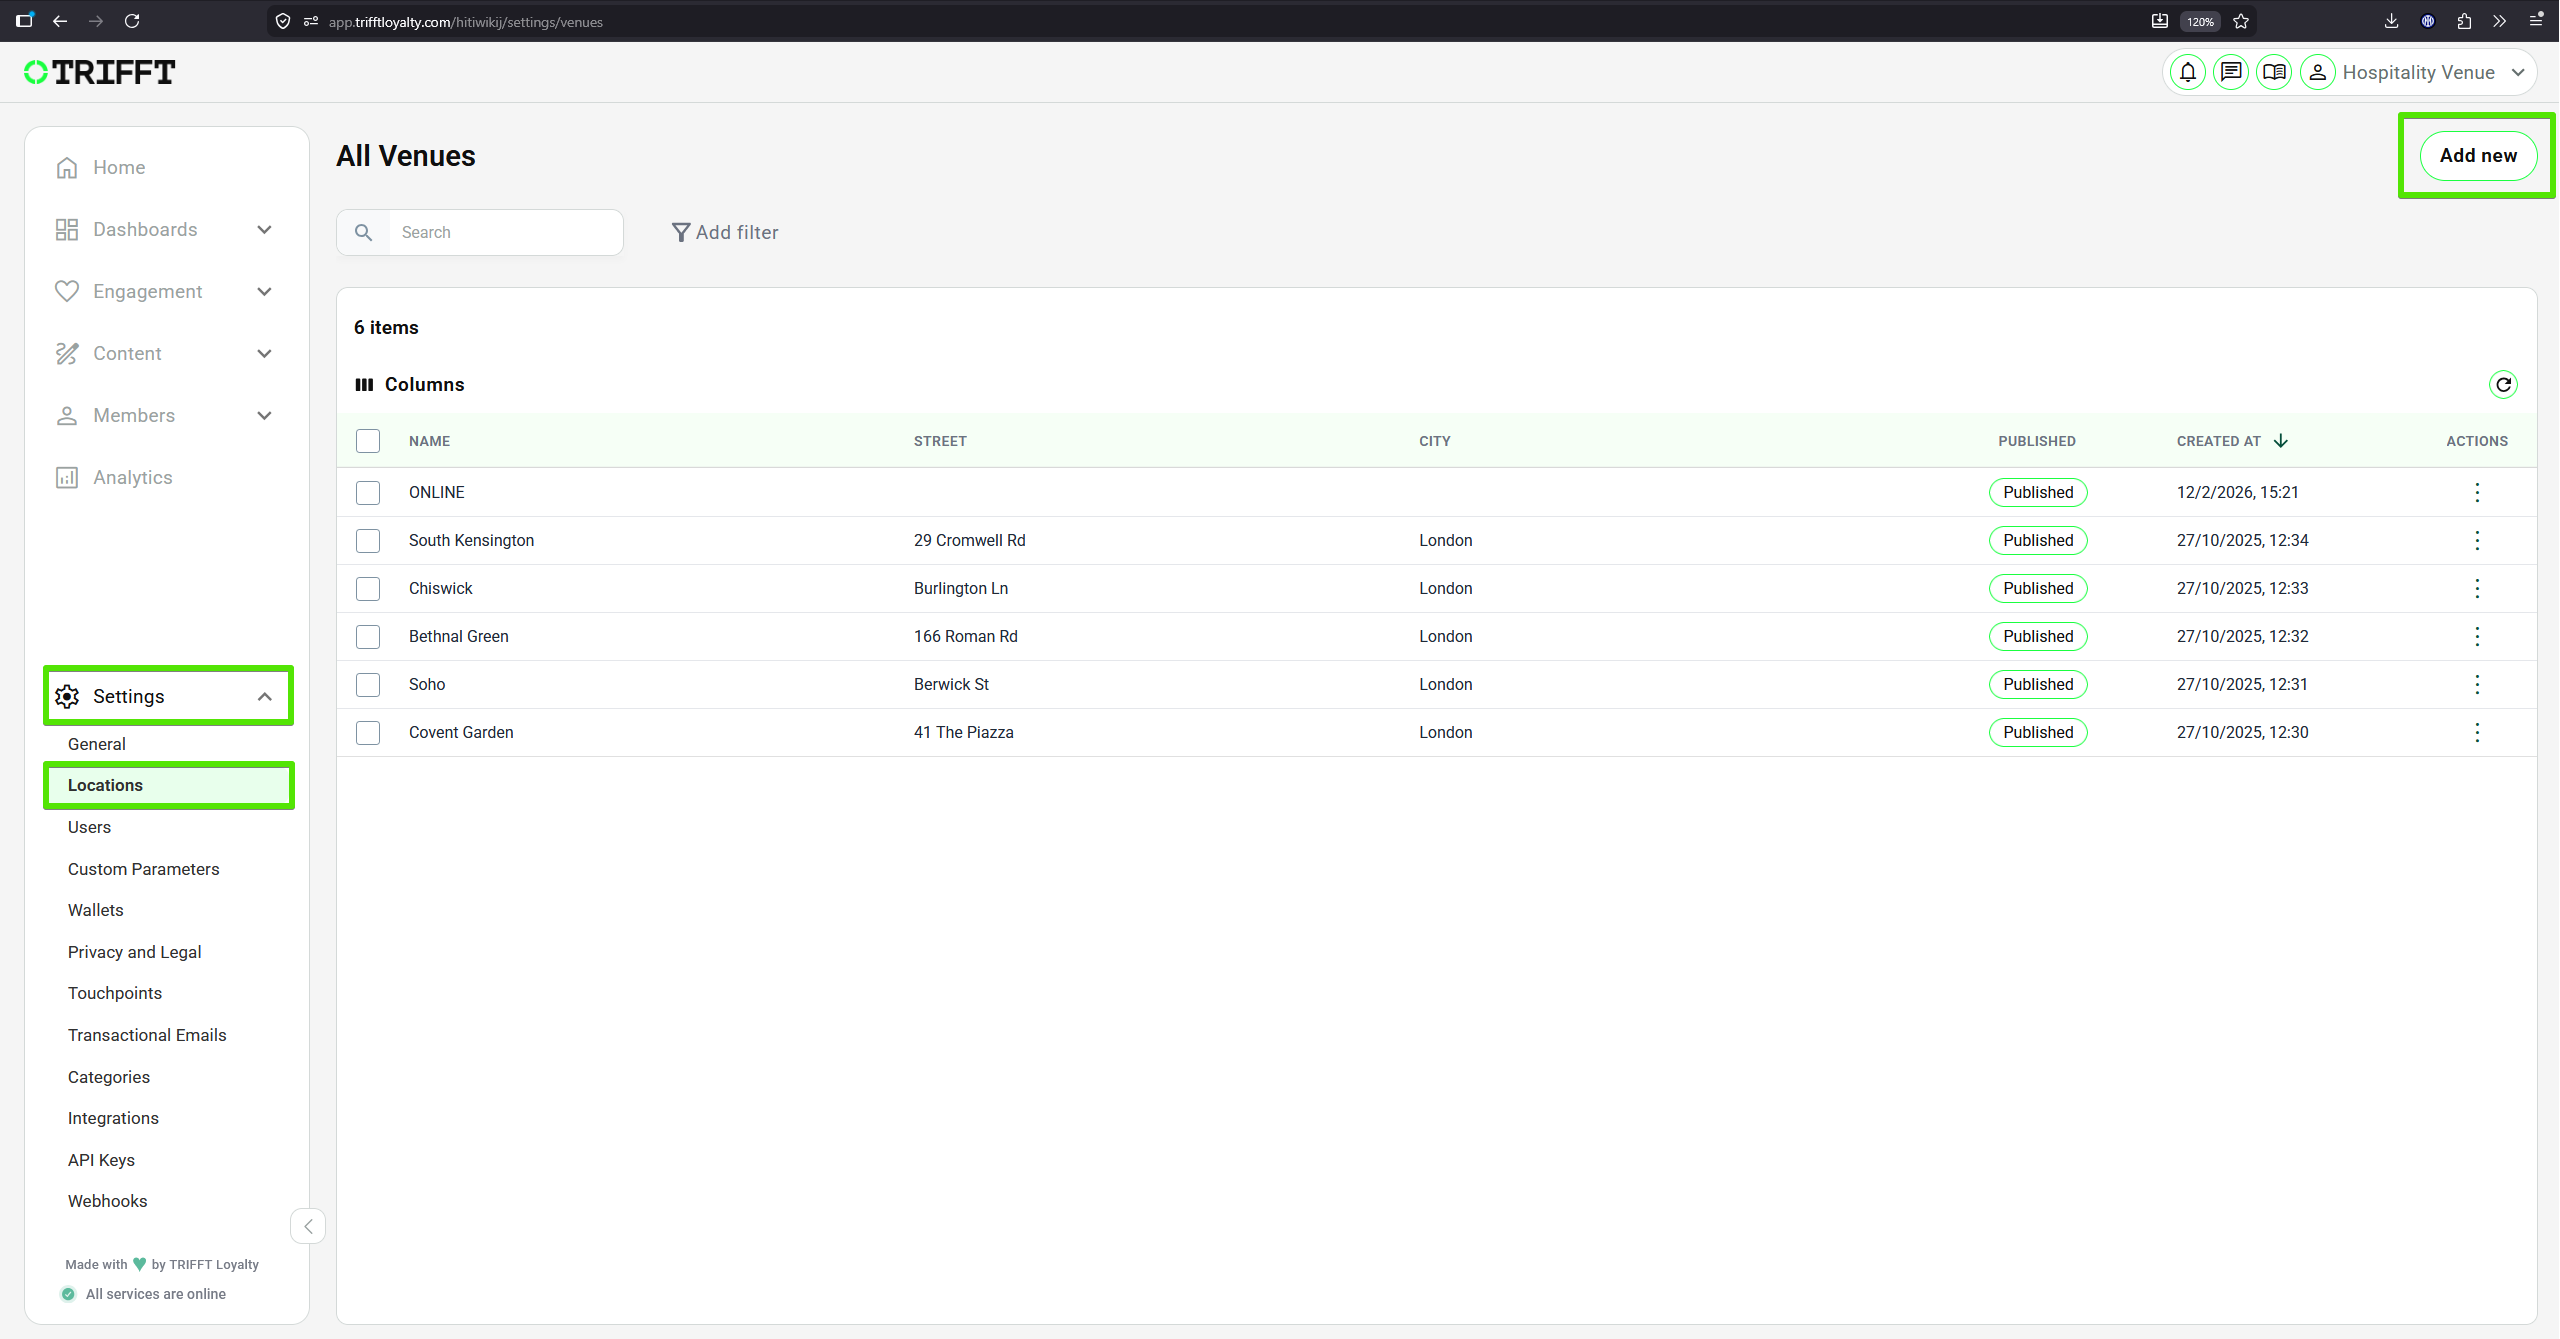
Creating a New Location
3. Enter core details
- Enter the Location Name, Latitude/Longitude coordinates, and address details.
Note: QR Code for each Location is generated automatically once the Location is saved for the first time.
4. Configure app assets and hours
-
Upload a venue-specific image and set operating hours for the App's Store Finder
When the LOGO image is not uploaded, the app uses the main application logo as the default logo (icon shown as a pin on the map)
5. Go live
- Save your changes and Publish to make the location live for member check-ins.
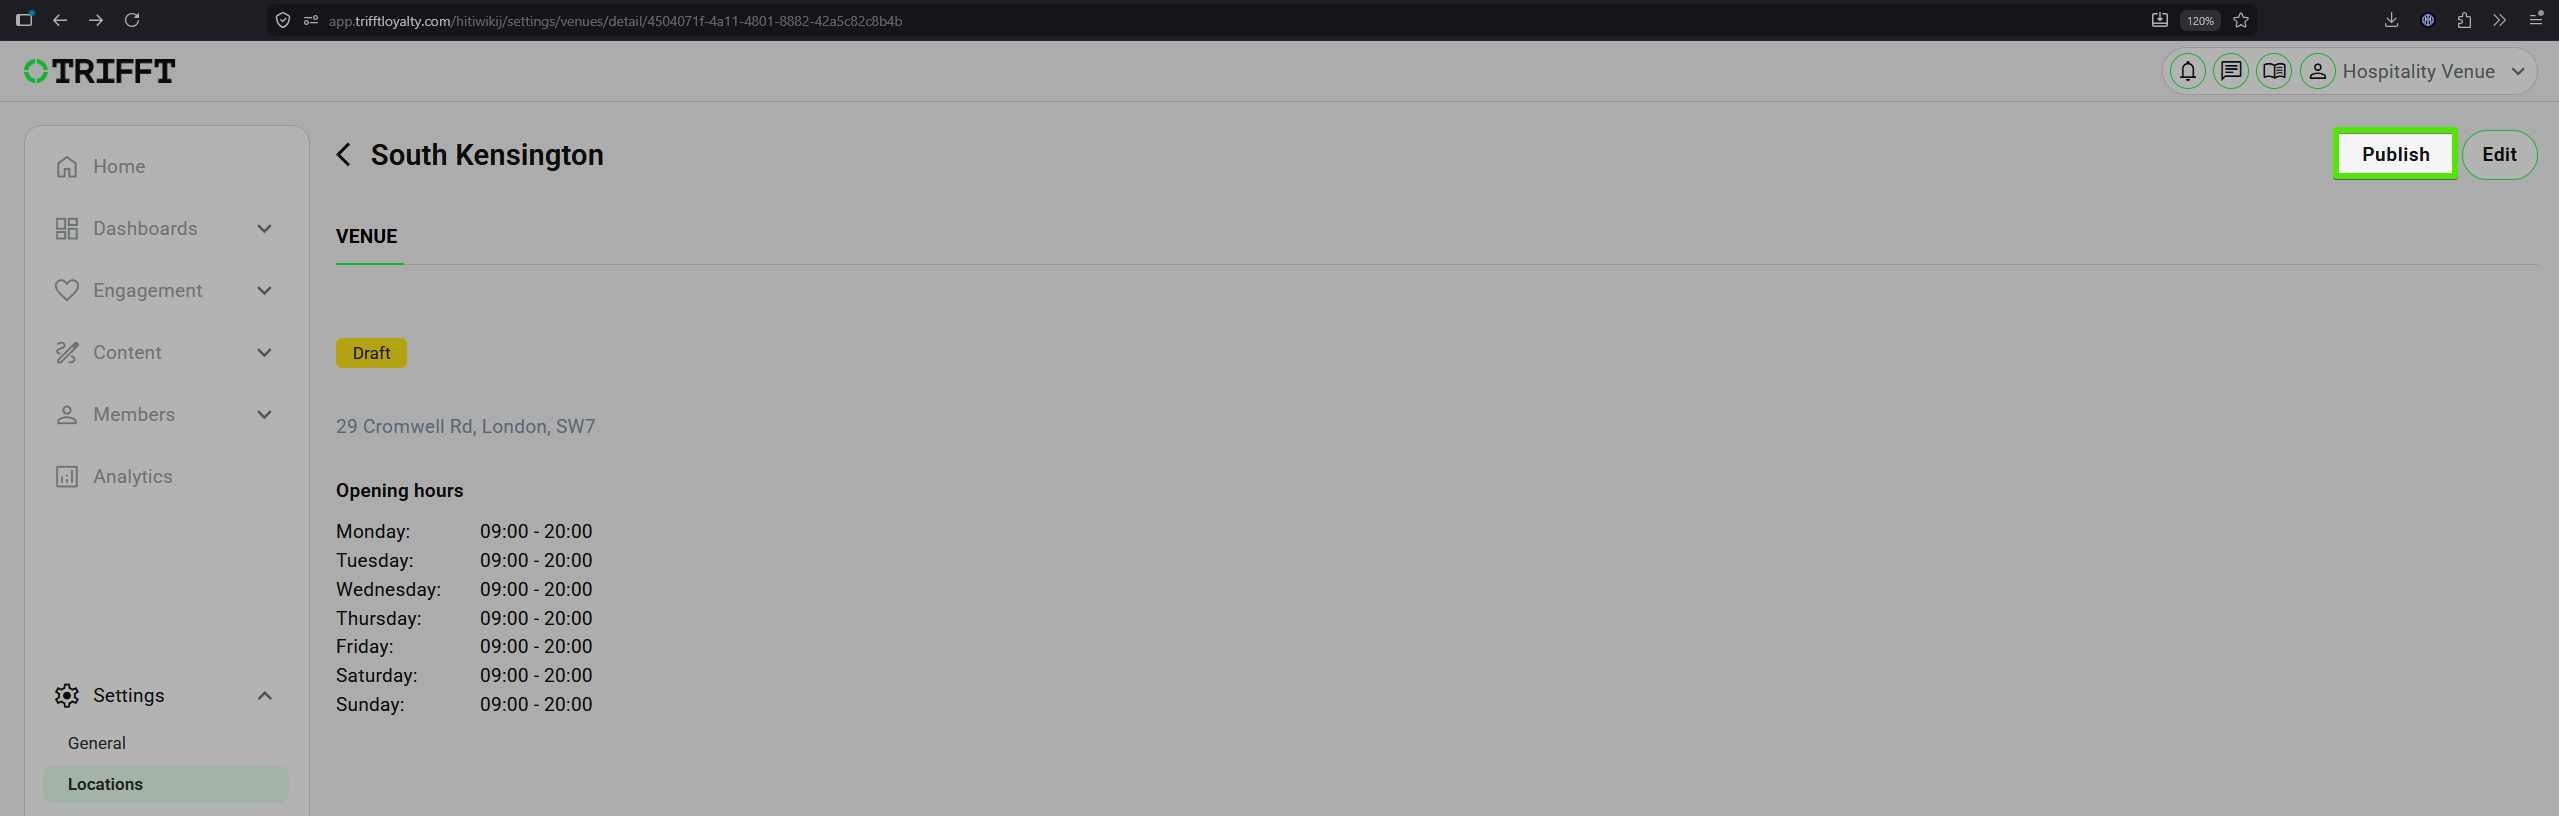
Publishing Location after all changes are Saved
6. Validate map accuracy
- Preview the location in the App to ensure the map pin is accurate.
Mapbox default position — To set your default gps position navigate to: Settings→Touchpoints→Mobile App→Settings→Mapbox Position
Settings→Locations' role in the TRIFFT Cockpit.
Before you begin, gather the following:
| Requirement | Details
Configuration checklist
Run through this checklist before going live:
Data & Syncing
- Latitude and Longitude are correctly formatted for Map view
Location IDmatches the external POS system for transaction syncing- Opening hours are set in the correct timezone
Visibility & Branding
- Visual assets (store photos) meet the required aspect ratio
- The location is toggled as Active
Updated about 1 month ago